Chocolate is a beloved treat enjoyed by people of all ages. From chocolate bars to chocolate-covered strawberries, there are countless ways to enjoy this sweet treat. However, many chocolate lovers may find themselves wondering how long it takes for chocolate to harden once it’s melted.
One of the biggest challenges when it comes to working with chocolate is getting it to harden properly. Normally, it would typically take 20 to 30 minutes to harden at room temperature.
But there are different factors that affect the hardening process, so that time-frame could speed up or slow down depending on the specific conditions and techniques you use.
Whether you’re making chocolate candies, coating fruit or cookies, or simply drizzling chocolate over a dessert, achieving the perfect texture and consistency is essential.
That’s why it’s important for both professional bakers and home cooks to master the skill of properly hardening chocolate by following the right techniques and tips. So, let’s dive in and explore the best ways to achieve the perfect texture!
Factors Affecting Chocolate Hardening
The hardening of chocolate can be affected by several factors. Understanding how each of these factors affects the process can help you achieve the desired texture and consistency for your chocolate creations.
- Temperature: Chocolate hardens when the cocoa butter in it solidifies. Temperature plays a critical role in this process. In general, the ideal temperature for hardening chocolate is around 68-70°F (20-21°C).
It’s essential to maintain the temperature within this ideal range during solidification. Keeping a close eye on the temperature will ensure that the cocoa butter will solidify gradually, producing chocolate with a smooth and shiny finish.
If the heat isn’t enough, the cocoa butter will solidify too quickly and result in brittle chocolate bars. But if it’s too much, your chocolate will have soft or even gooey textures.
- Humidity: Humidity levels can also affect the hardening process of chocolate. High humidity can cause chocolate to take longer to harden or even prevent it from hardening properly.
This is also why it is not recommended to harden your chocolate in the refrigerator. The high humidity levels will cause the surface of your chocolate to become moist and sticky, which will then result in a dull, streaky appearance and grainy texture.
- Chocolate type: The type of chocolate you use can also affect how quickly it hardens. Dark chocolate usually takes longer to harden than milk chocolate, while white chocolate can be more sensitive to temperature changes.
On average, dark chocolate may take around 20-30 minutes to harden, while milk chocolate only takes around 15-20 minutes. White chocolate, on the other hand, may harden in as little as 5-10 minutes, depending on the other factors mentioned in this list.
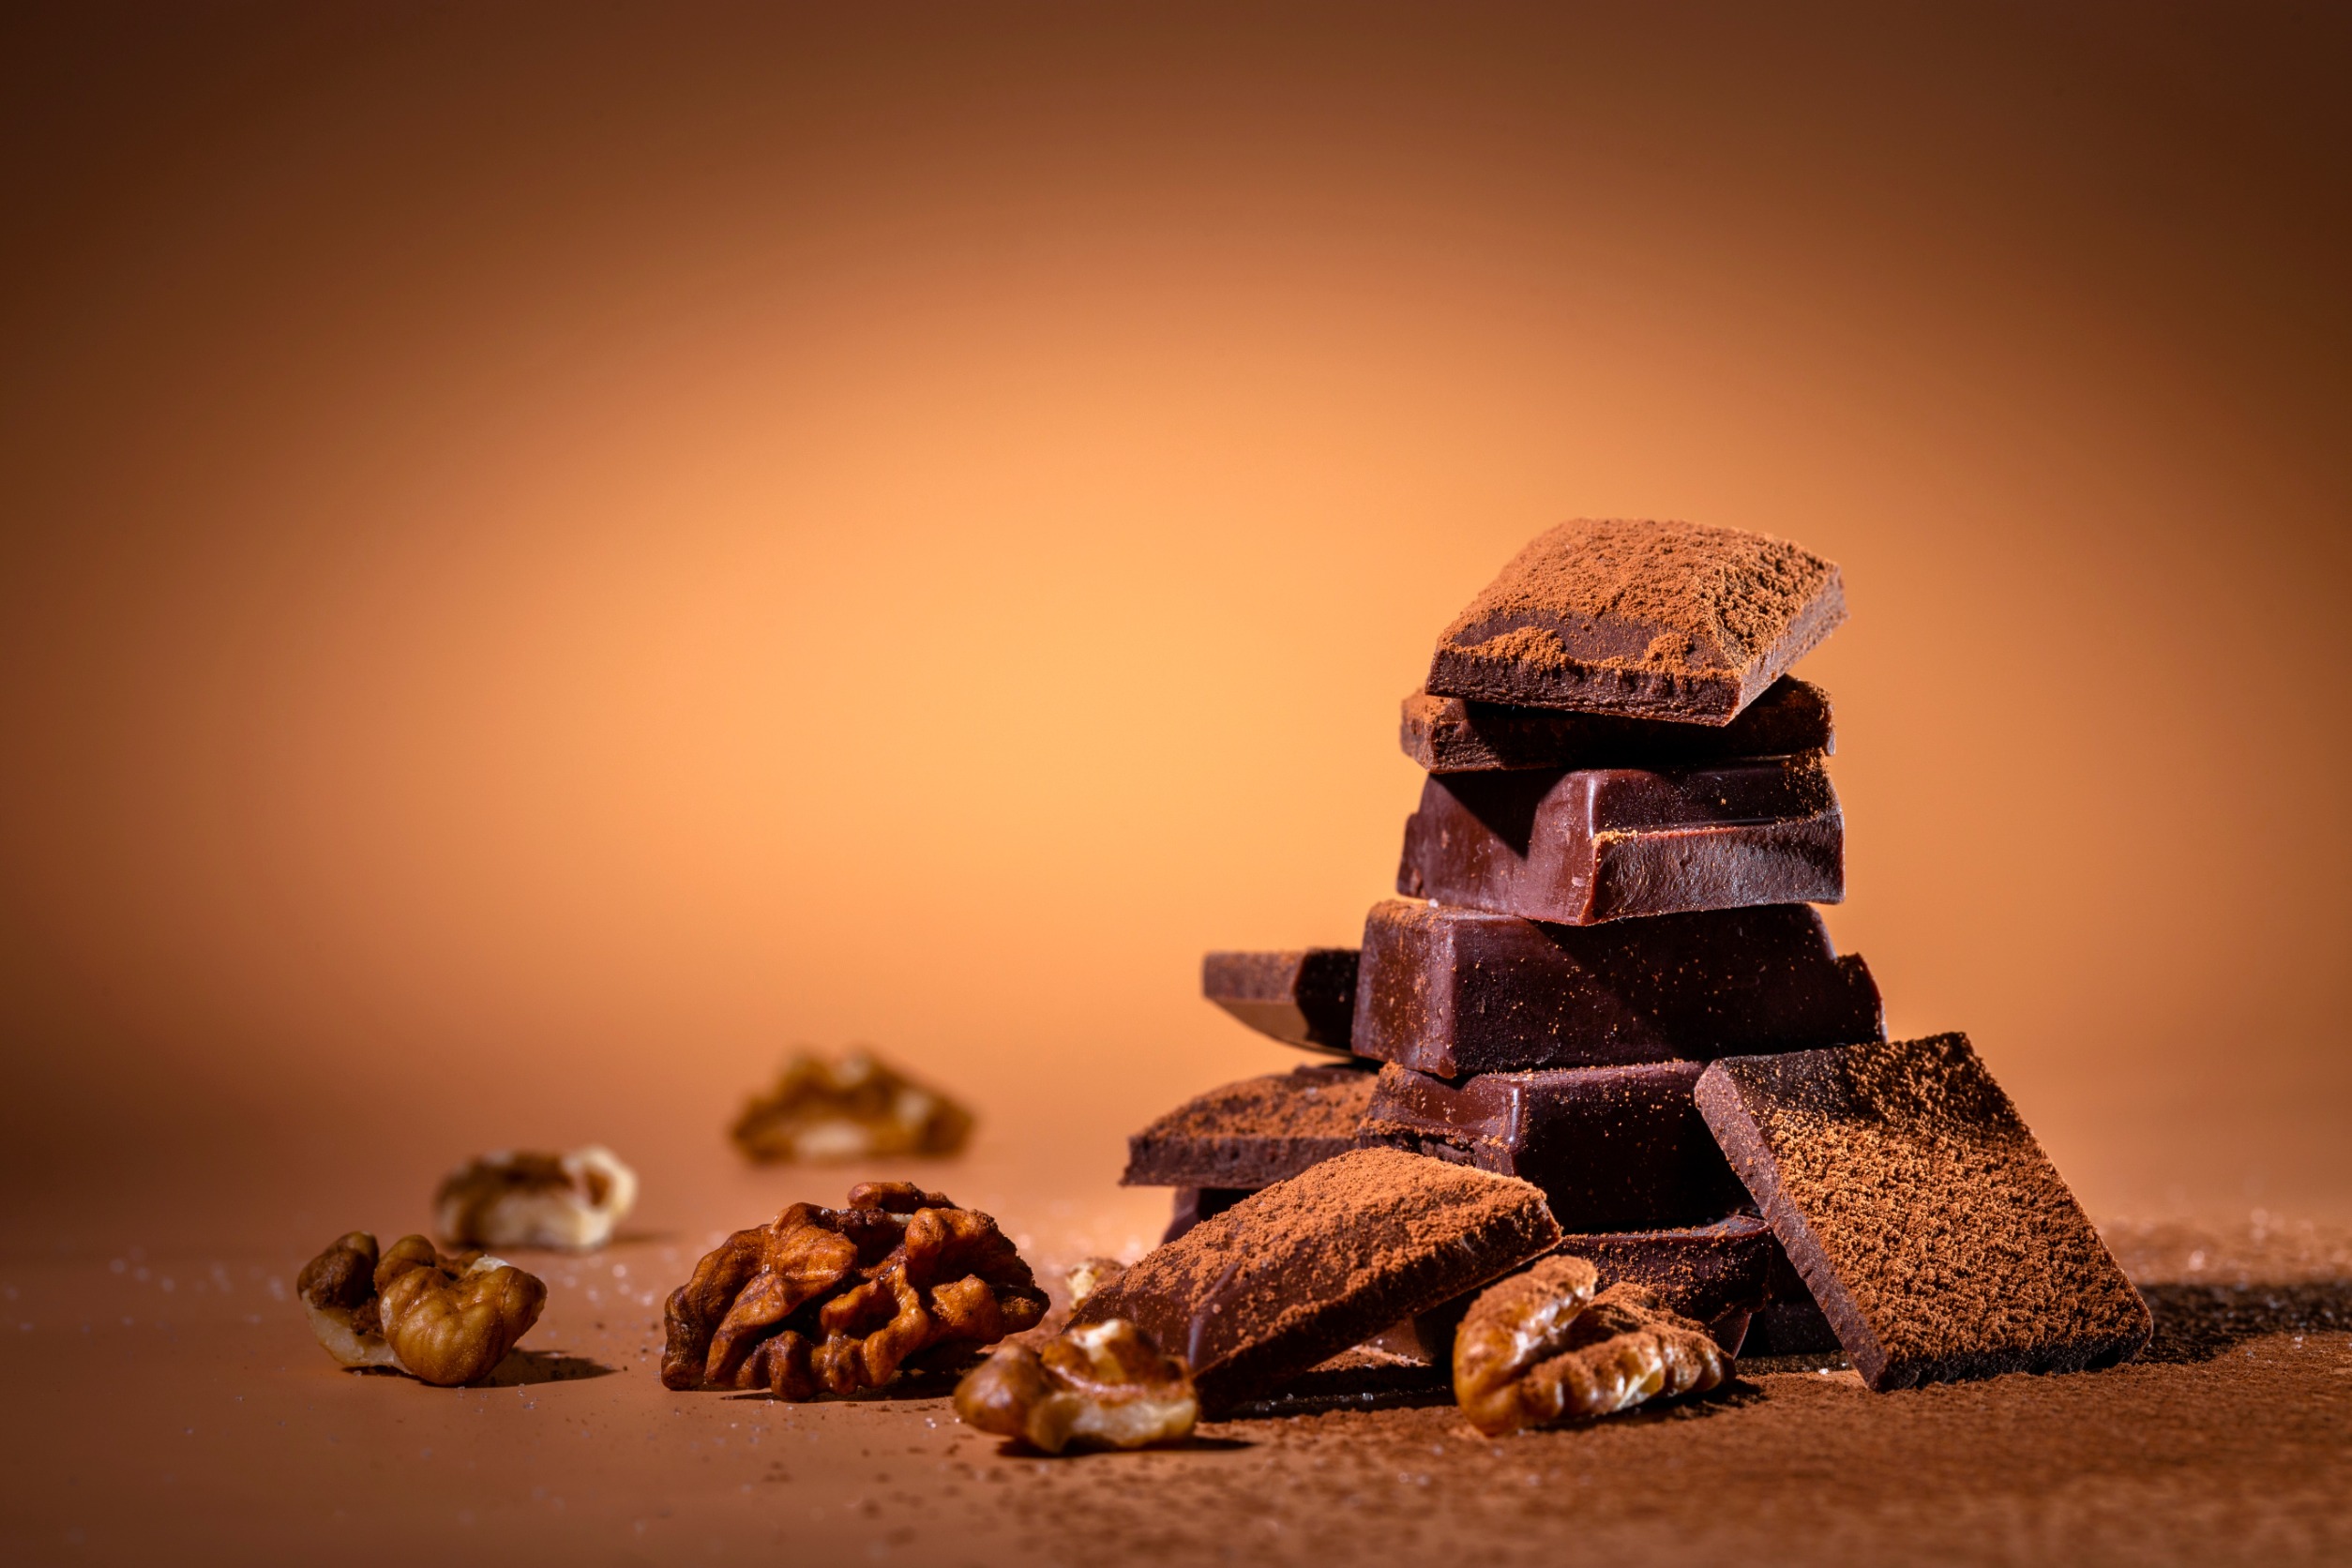
- Addition of ingredients: Adding ingredients to the chocolate, such as nuts, dried fruits, or alcohol, can also affect its hardening process. These ingredients can affect the chocolate’s temperature and humidity levels, so it’s important to take them into consideration when hardening your chocolate.
Plain chocolate will usually harden faster than chocolate that has added ingredients. But there are specific ingredients that can also play a role in hastening the hardening process, so the exact effect can vary.
Tips for Achieving Perfectly Hardened Chocolate
Getting your chocolate to harden perfectly can be a tricky process, but if you are aware of the right tips and techniques, it can be easily done. Here are some tips to help you achieve perfectly hardened chocolate:
1. Proper tempering
Proper tempering is a crucial step in ensuring that your chocolate hardens correctly. It involves melting the chocolate to a specific temperature and then cooling it down while stirring to encourage the cocoa butter to solidify evenly.
The specific temperature for tempering chocolate can vary depending on the type of chocolate being used. For dark chocolate, the temperature range is typically between 115-120°F (46-49°C) for melting and 88-90°F (31-32°C) for cooling.
But for milk chocolate, the melting temperature is between 105-113°F (40-45°C) for melting and 82-84°F (28-29°C) for cooling.
Lastly, white chocolate will melt at around 100-110°F (38-43°C) and cool at 80-82°F (27-28°C).
2. Use of molds
Using molds can be an effective way to ensure that your chocolate hardens into a specific shape. It is also a great way to add a touch of personality and beauty to your creations.
One of the most popular choices on the market today is silicone molds, as they are flexible and easy to use. Silicone molds are also non-stick by nature, so your chocolate should easily release once they are hardened.
3. Avoidance of condensation
It’s important to take steps to prevent condensation to ensure that your chocolate hardens properly. Unfortunately, many people who have difficulty hardening their chocolate often overlook this critical step.
So if you want your chocolate to harden perfectly, you would have to store it in a cool, dry place and avoid sudden temperature changes that can cause condensation to form.
4. Use of a cooling rack
Using a cooling rack can help promote even cooling and prevent the chocolate from developing a dull or gray appearance.
Simply place your chocolate on a cooling rack once it has been dipped or poured, and allow it to cool completely before removing it.
If you do not have it at home, you can also use parchment paper or a sieve as a makeshift cooling rack to promote even cooling.
Techniques for Speeding Up Chocolate Hardening
There are a few techniques you can use to speed up the hardening of chocolate. One popular technique is refrigerating it; this helps lower its temperature and solidify cocoa butter more quickly, leading to a harder texture.
However, too much refrigeration could cause your chocolate to become too cold and lose its shine and texture. So you should only use this method if you are in a hurry and at times when you do not need your chocolate to look aesthetically pleasing.
Using a fan can also expedite the hardening process by encouraging air circulation and evaporation. But it is incredibly important to set the fan on low speed to make sure that it won’t cause uneven cooling and lead to a subpar texture on the chocolate.
Still, allowing your chocolate to harden at room temperature is ideal. So if you have time and want to avoid any potential texture or appearance issues, this should be your default method.
Techniques for Slowing Down Chocolate Hardening
If your chocolate is hardening too quickly, there are techniques that you can use to slow the process down.
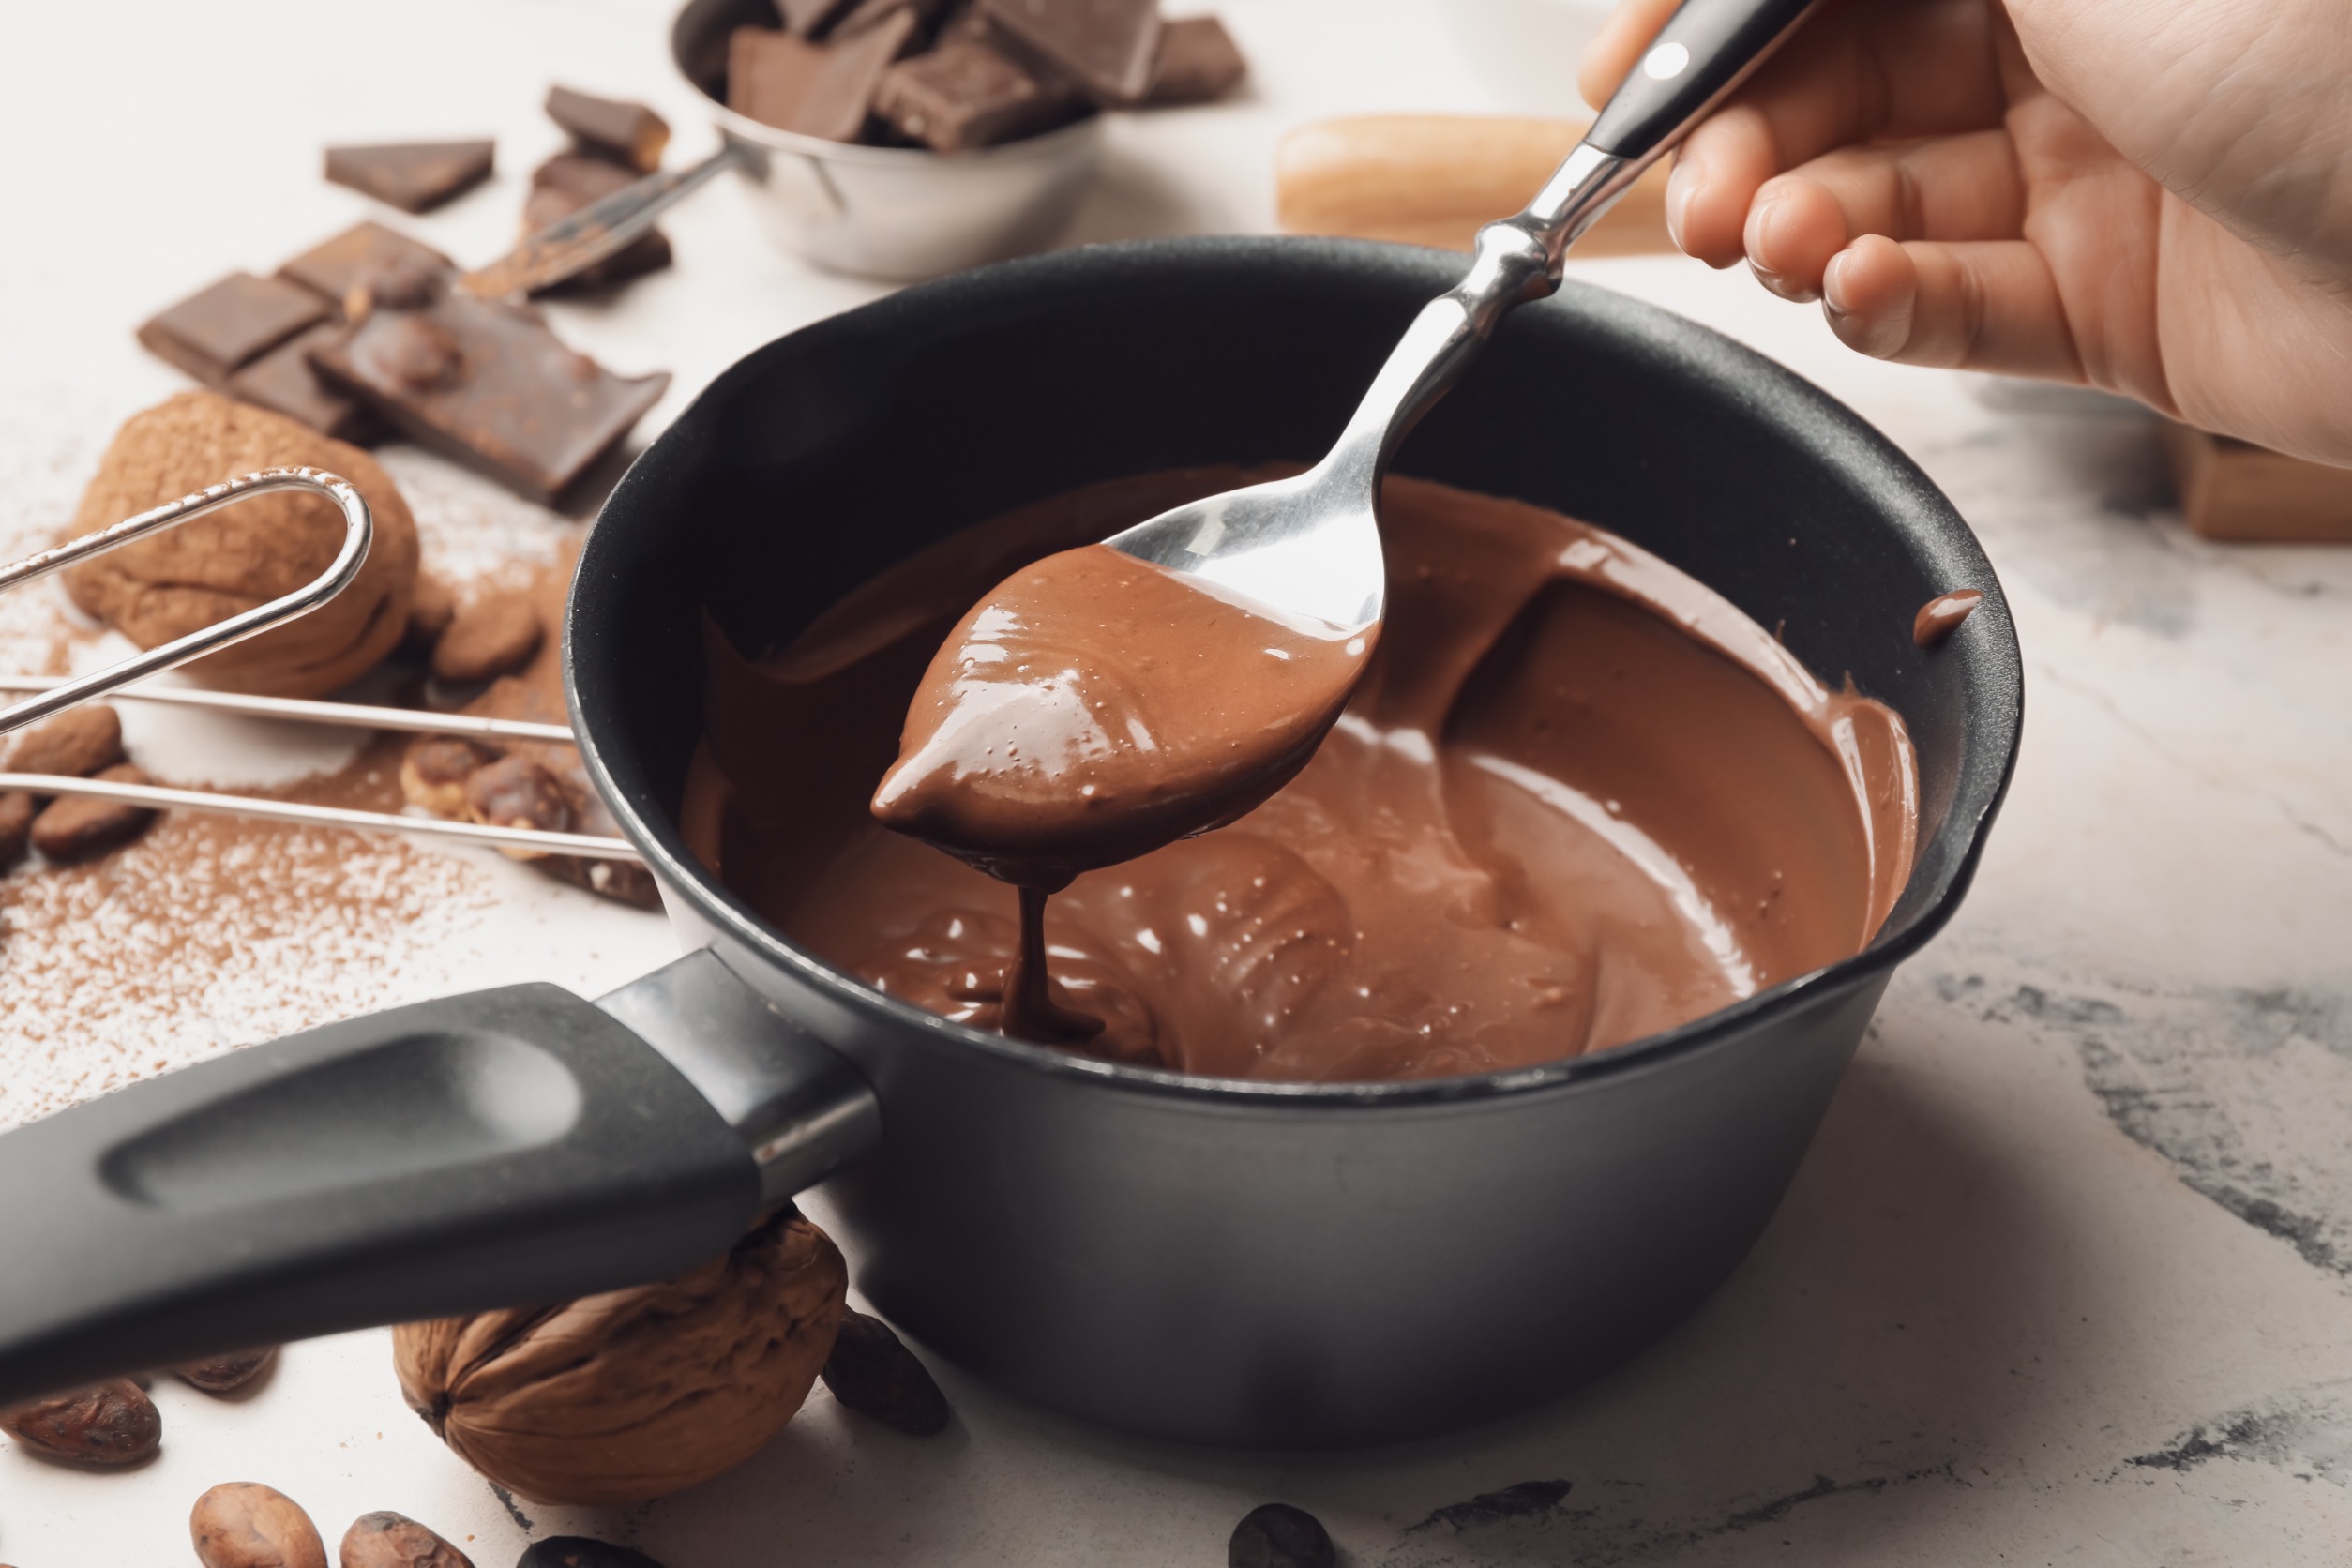
One popular method is the double-boiler approach. This involves placing a bowl of chocolate over a pot of simmering water, which helps regulate its temperature and prevents overheating.
Another technique is to add cocoa butter to your chocolate. This slows down the hardening process and improves the texture and flavor of the chocolate at the same time.
Finally, adding corn syrup to your chocolate can help delay the hardening process. This is because corn syrup acts as a humectant, attracting and retaining moisture.
By adding a small amount of corn syrup to your chocolate, you can help it remain soft and pliable for extended periods of time. It also helps prevent cracking during storage.
But you have to be mindful that this technique should only be used occasionally. Too much corn syrup may alter the flavor and texture of your treat.
Final Thoughts
Hardening chocolate is essential to creating an irresistible and visually stunning final product. By understanding the different methods for both speeding up and slowing down the hardening process, you can achieve the desired texture and aesthetic for your confections.
So whether you’re a professional chocolatier or just an amateur baker, investing time to learn and master these techniques will undoubtedly take your chocolate creations to the next level.