Jerky is a popular survival meal among campers and hikers. When making jerky, timing is everything, and deer meat is no exception. Messing that up could lead to soft, damp “jerky” liable to attract bad bacteria. Getting the balance right makes the difference between a crisp cut of tender meat and Salmonella-on-a-stick in the making.
Deer meat is very easy to dehydrate due to its leanness. The process for preparing deer jerky varies a bit between using ground or sliced venison, but the dehydration time remains the same. Simply let your jerky dry out in low heat over 4-10 hours. Pre-cook your jerky before drying, as the low temperature during dehydration can’t safely kill bacteria.
Ground jerky and sliced jerky make for very different eating experiences. Be sure to carefully consider what each have to offer before committing to a method.
Ground vs Sliced Jerky
Jerky can be prepared ground or sliced, and both offer their own sets of pros and cons. There isn’t a proper answer to which type is best. It mostly boils down to what you’d prefer, but we’ll let you know exactly what both sides have to offer.
Ground Jerky
Ground jerky is just jerky made from pre-ground meat. It’s noticeably more tender than sliced jerky, and a lot easier to flavor. Mixing spices into ground meat is more practical than long, potentially inconsistent marination.
Ground jerky is more popular with beginners, as it’s much easier to prepare. The individual cuts will also be more uniform, being very easy to store after cooking. The ground meat itself is more accessible and much cheaper to boot.
The main drawback here is the fat content. There’s little you can do beyond rinsing off what you can. It’s also much harder to find leaner meat grounds. Some companies introduce filler products to pad out their product’s volume. At the very least the meat has been processed, rendering it significantly more susceptible to bacteria. Curing salts are a necessity when making ground jerky.
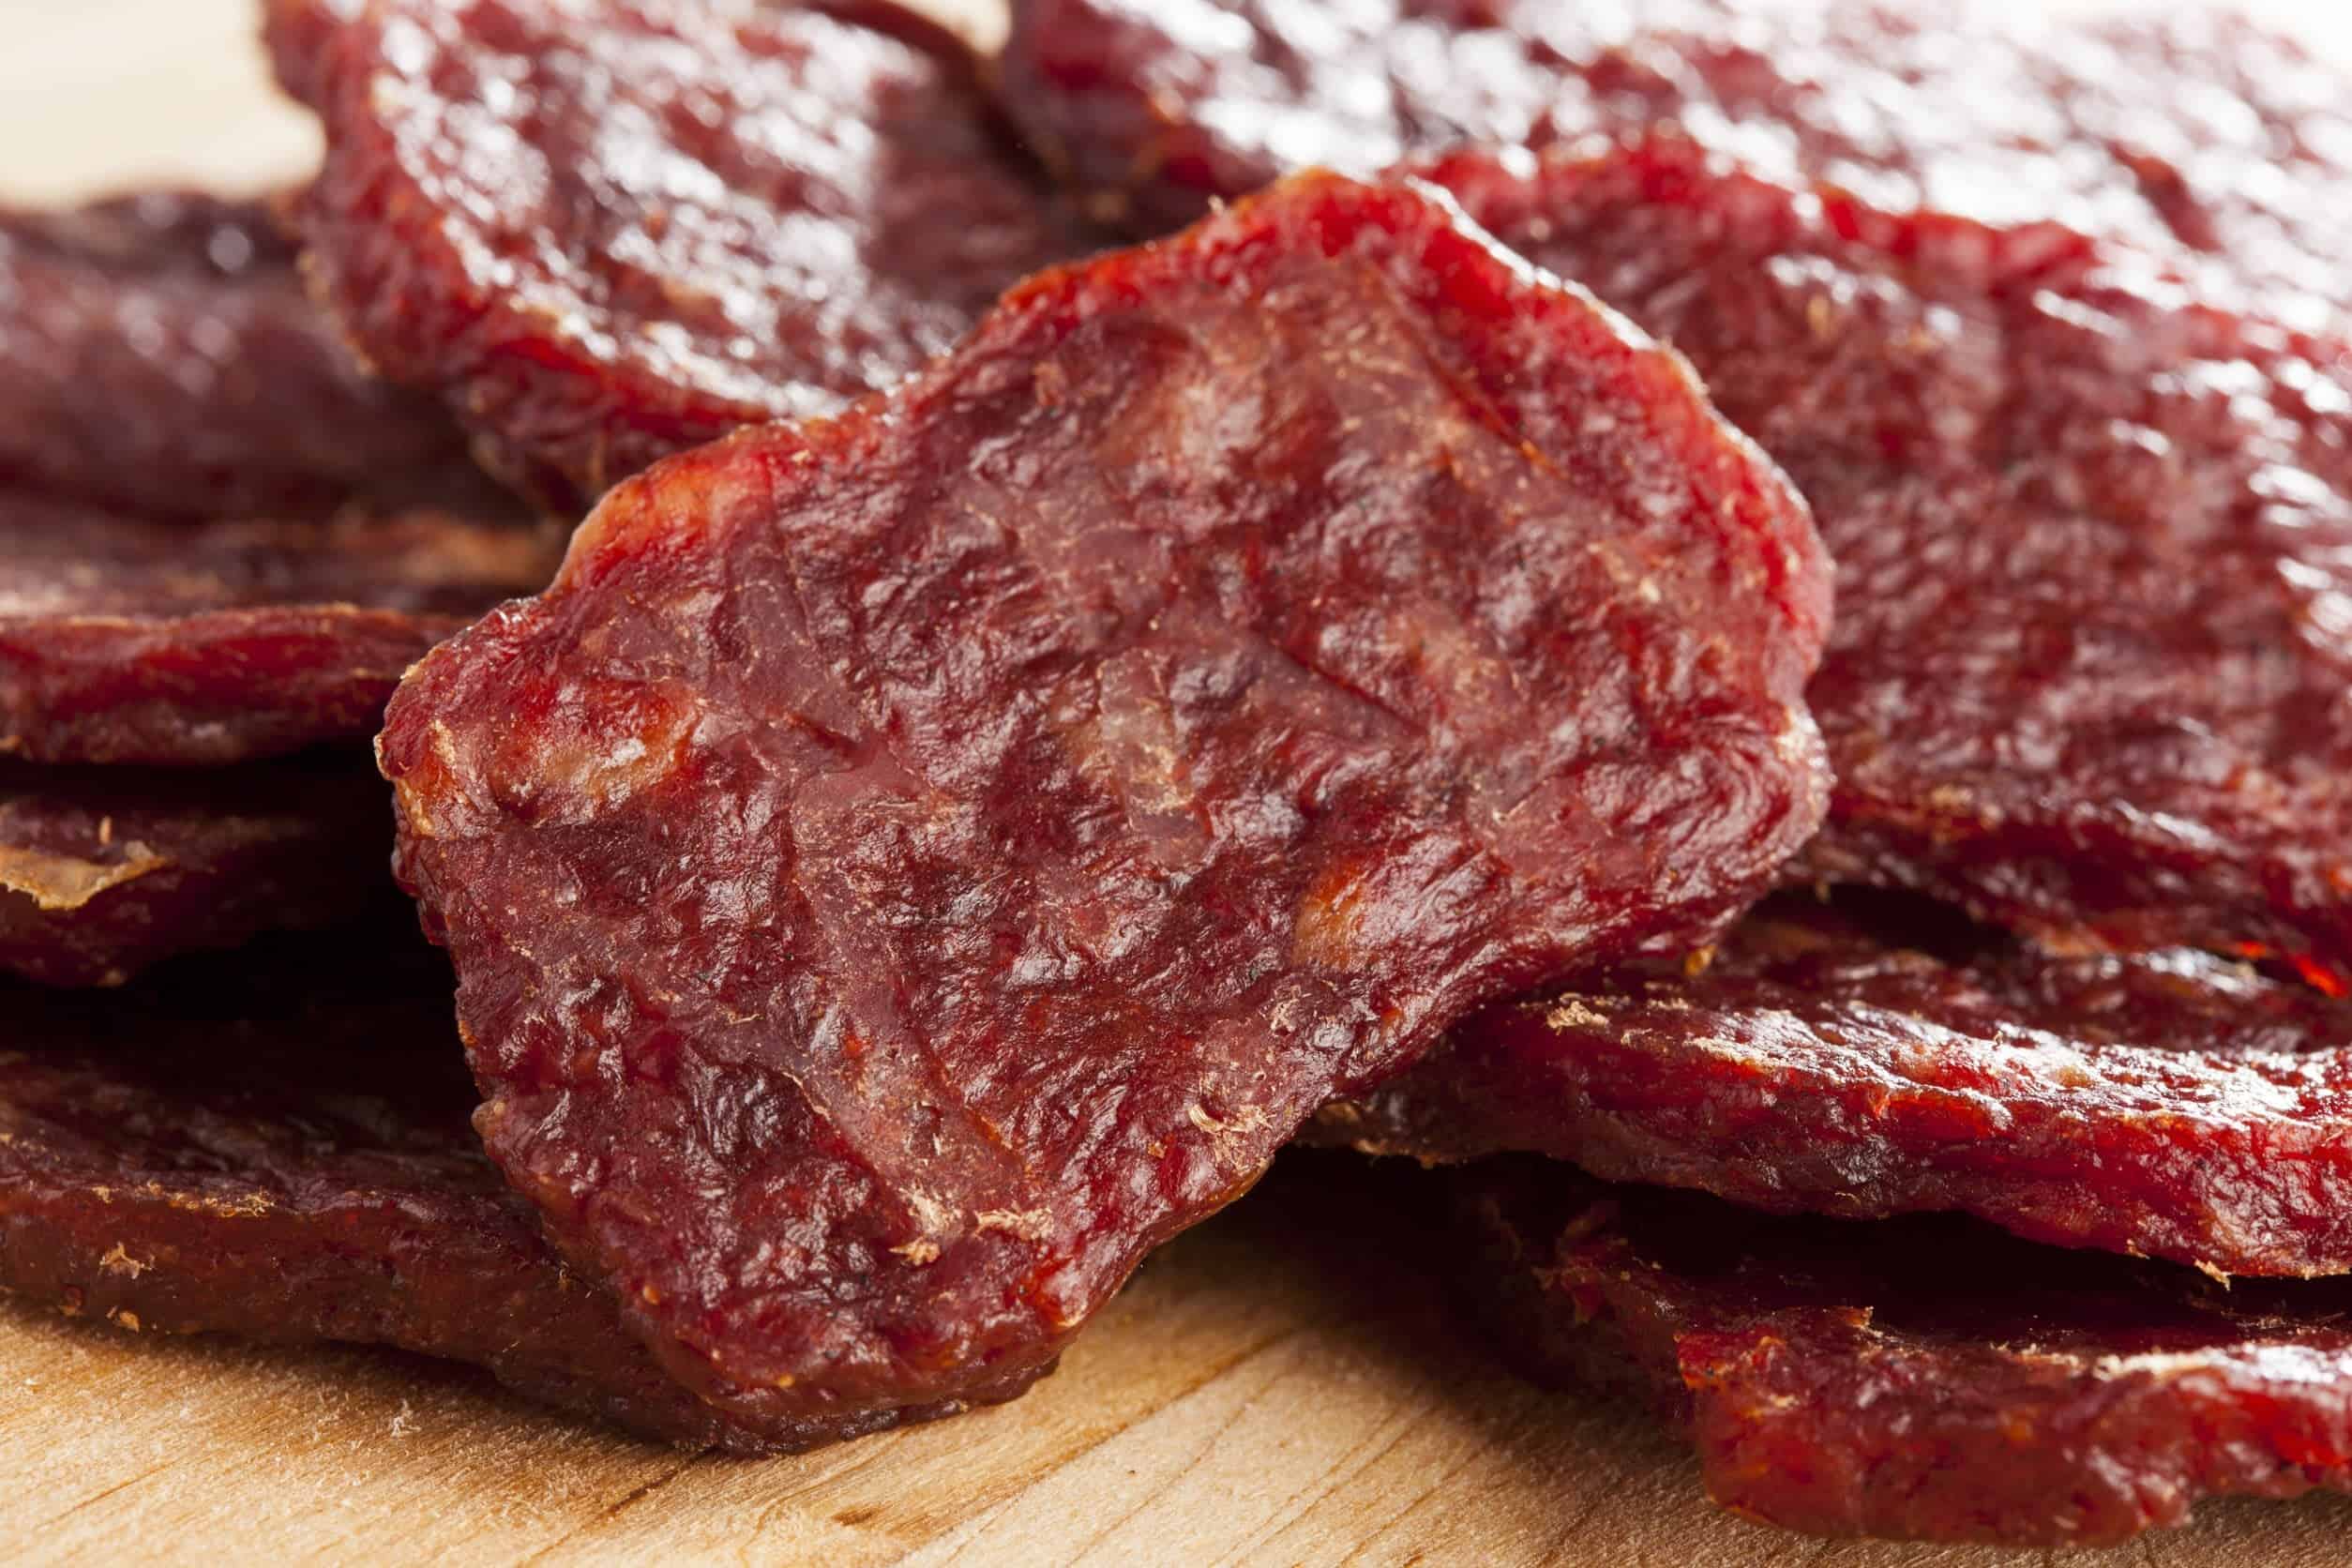
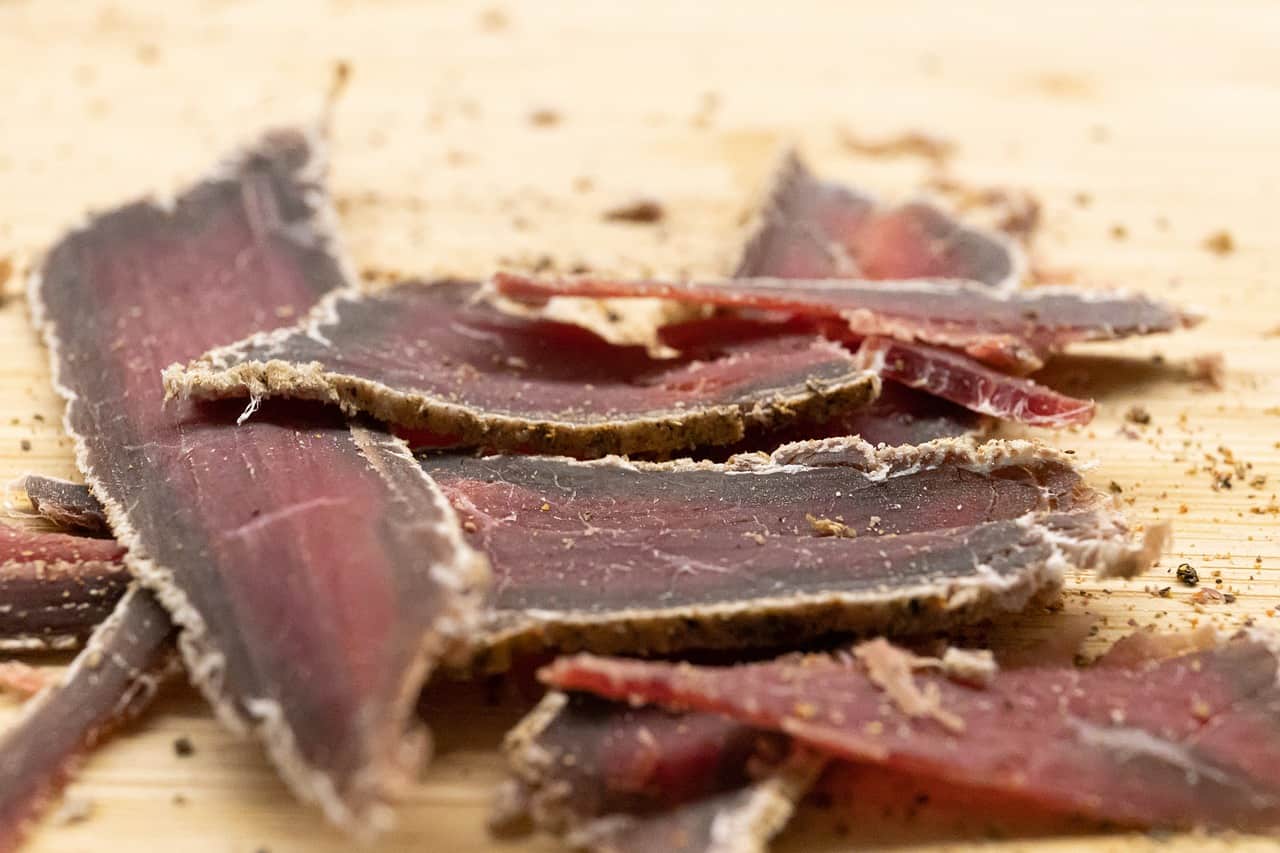
Sliced Jerky
Sliced jerky is much firmer, which makes it a bit tough to chew on. The process is also slightly more involved, and you won’t have very uniform cuts. Thankfully, that isn’t too problematic: you can just ask the butcher to pre-slice your deer. They usually won’t charge extra for it.
While the cuts will end up less uniform than ground jerky, thickness matters more for even cooking time. If everything is sliced properly, the difference between types should be negligible.
Sliced jerky is also healthier, as the meat you have won’t be processed at all. There’s very little chance for bacteria to have been introduced, and won’t necessarily need curing salt (though it’s still strongly recommended!). Any fat on the venison can be removed at your leisure, which is another huge advantage over ground jerky.
What to Make?
Ground jerky is often preferred for people new to the task, as they can ensure both the size and flavor of their meat remain consistent. The result is also more uniformly sized, and subsequently easier to store. Ground meat is a better option for beginners, owing to its better price, accessibility, and more forgiving cooking requirements.
Sliced jerky comes best once you have some experience under your built. It’s also a healthier option, and you won’t have to worry about fat content, fillers, or processing ruining your recipe. While the marination might take a while, sliced jerky is a great option after you’ve got a firm grasp on what you’re doing.
Preparing Deer Jerky
Preparations differ between types of jerky prepared, though the cooking time remains standard.
Ground
Season thoroughly while limiting the moisture introduced into your mix. A teaspoon or two of cold water may be needed for dry spice blends, but don’t go beyond that if possible.
Refrigerate your ground meat for around 6-12 hours. This should provide enough time for the spices to set in, on top of the meat binding enough to handle more easily. Spread evenly over a metal pan, then return to the chiller to firm up a bit more. It should take no more than half an hour.
Next, slice the meat into uniform segments – a pizza cutter can do great work here. It’s not needed to cut everything cleanly, and you can trim what you couldn’t after some time in the oven.
Sliced

You’ll have a much easier time cutting chilled or frozen venison. This way also reduces the amount of drippage and residue. Rinse your knife and cutting surface, and watch for contamination.
The meat will have a few protruding membranes strands here and there. You don’t have to mind them, as a few hours in the oven renders the distinction irrelevant. Slice as thinly and cleanly as possible against the grain – that is, cutting through muscle fibers rather than along them.
Marinate your jerky slices now. It should take between 12-24 hours for the flavor to fully set in. Don’t go beyond 48 hours, as the marinade will most likely break down the meat too much. Simply pat dry and plop them into your oven or dehydrator.
Timing and Temperature
| Minimum Duration | Drying Temperature |
| 4 hours | 155°F (68.3°C) |
| 6 hours | 150°F (65.6°C) |
| 7 hours | 145°F (62.8°C) |
| 8 hours | 135°F (57.2°C) |
| 10 hours | 125°F (51.7°C) |
Cook time and temperature are inversely proportional when making jerky. Higher temperatures can save you a few hours waiting, but lower and longer cooks give better meat and shelf life. Try to figure out what balance suits your tastes best.
Time and temperature requirements are the same between both types of jerky. Ground meat is a bit more controllable as they’re portioned more evenly, but given similar thinness, it shouldn’t alter your cook time too much.
Be sure to turn over your jerky every hour or so to ensure even cooking. Few things are worse than jerky underdone on one side.
Precooking Your Jerky
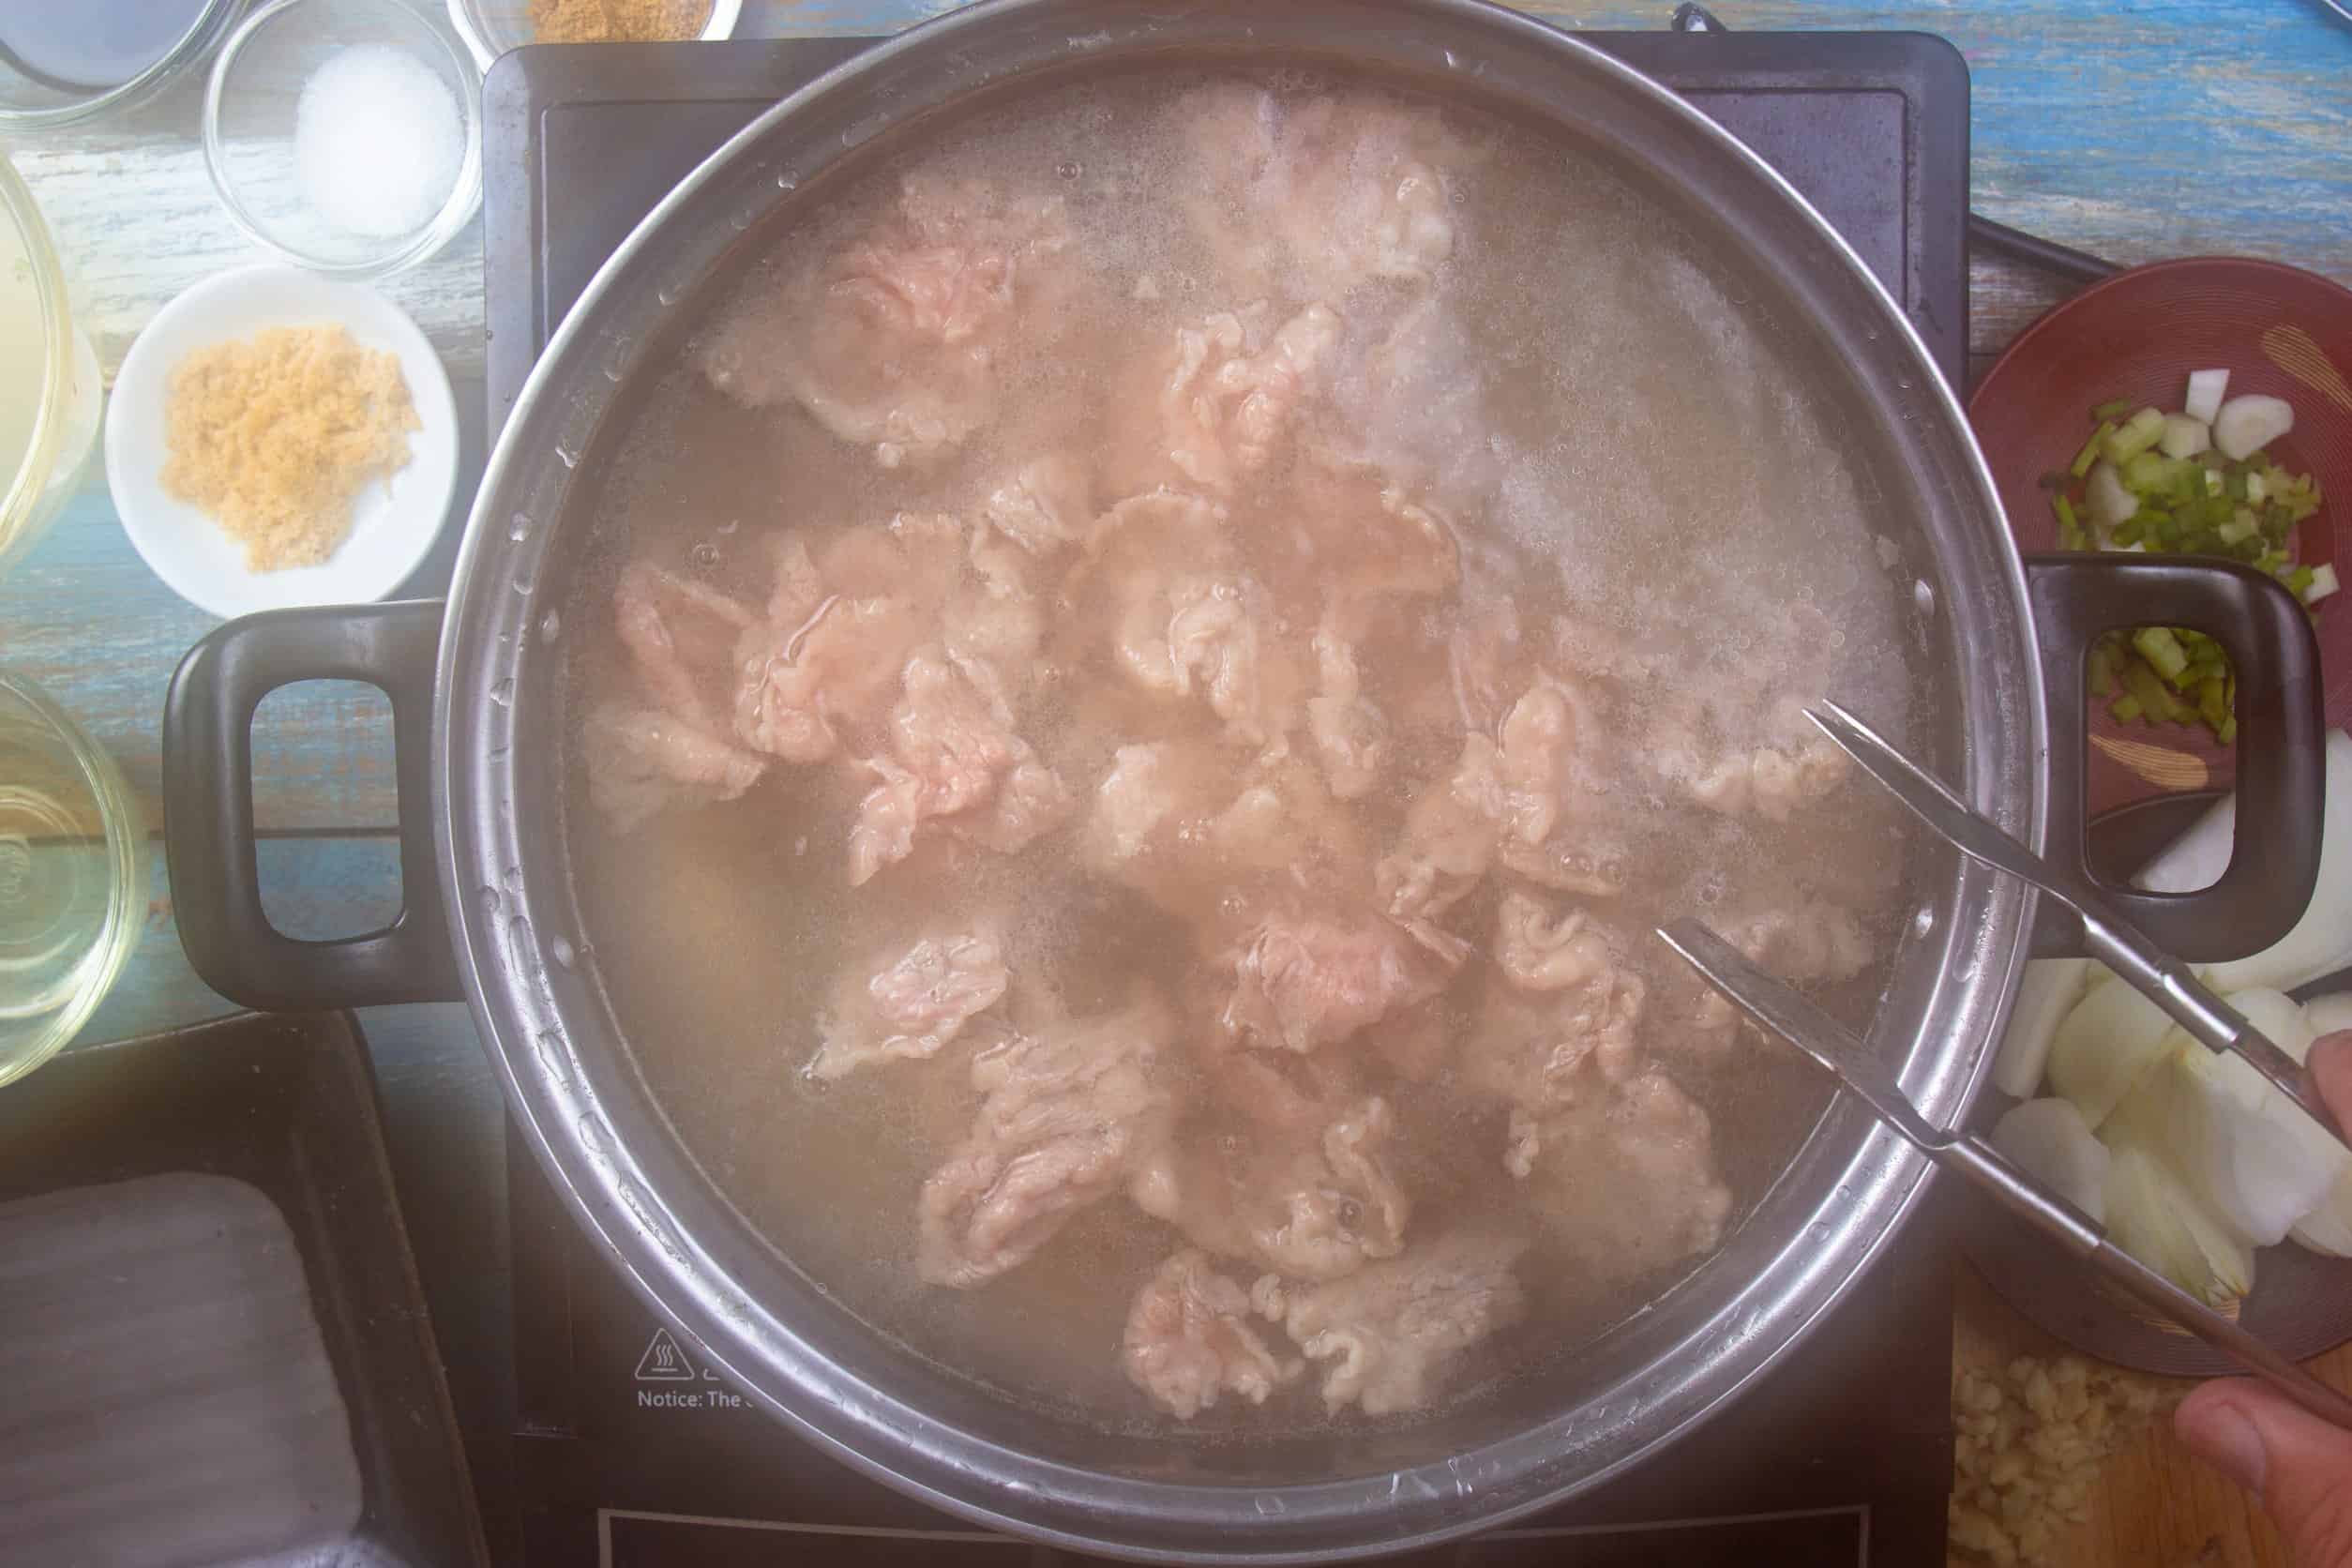
Deer meat needs a minimum temperature of at least 160°F (71.1°C) to kill its most dangerous bacteria. As the list above indicates, the drying temperature is nowhere near enough to guarantee your food’s safety. That’s why it’s very important to precook your jerky. Not only does this make your meat safer, but it also reduces cooking time.
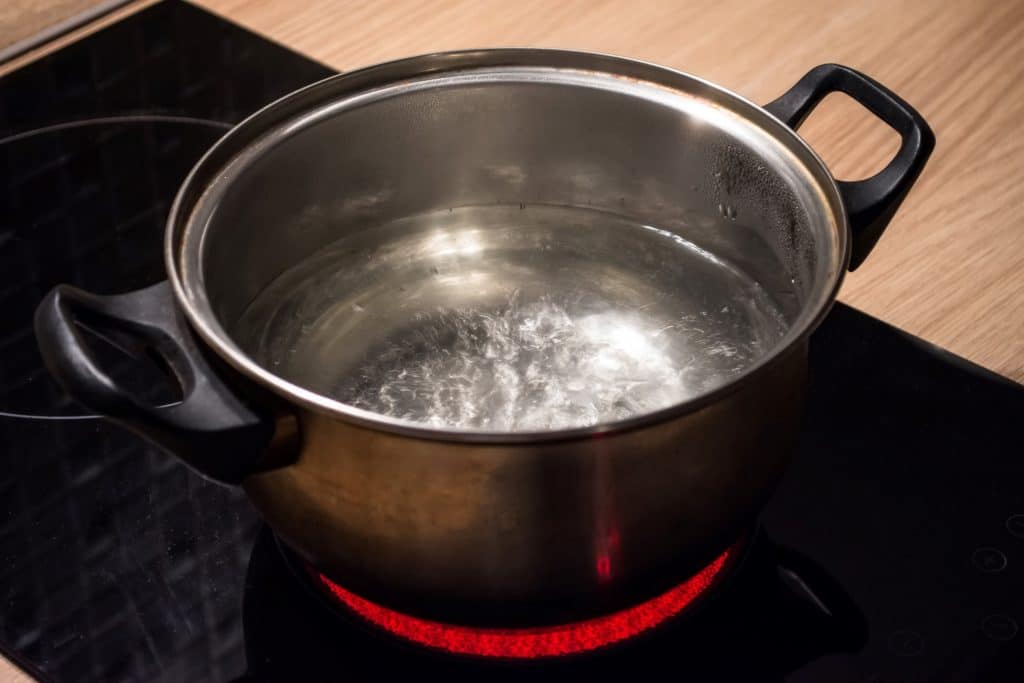
To precook, simply boil your meat in a saucepan filled with some liquid. You can use water or even marinade, but be mindful not to reuse marinade between batches.
Cook thoroughly until the internal temperature of your meat hits the necessary minimum above. From that point on, it’s just a matter of draining and waiting.
Precooking needs to be done before drying. Bacteria exposed to a dehydrator or oven develop some level of heat resistance over time. This would necessitate higher temperatures that would almost certainly ruin your beautiful jerky strips.
Be sure not to skip this step – the precook staves off most common illnesses people get from jerky.
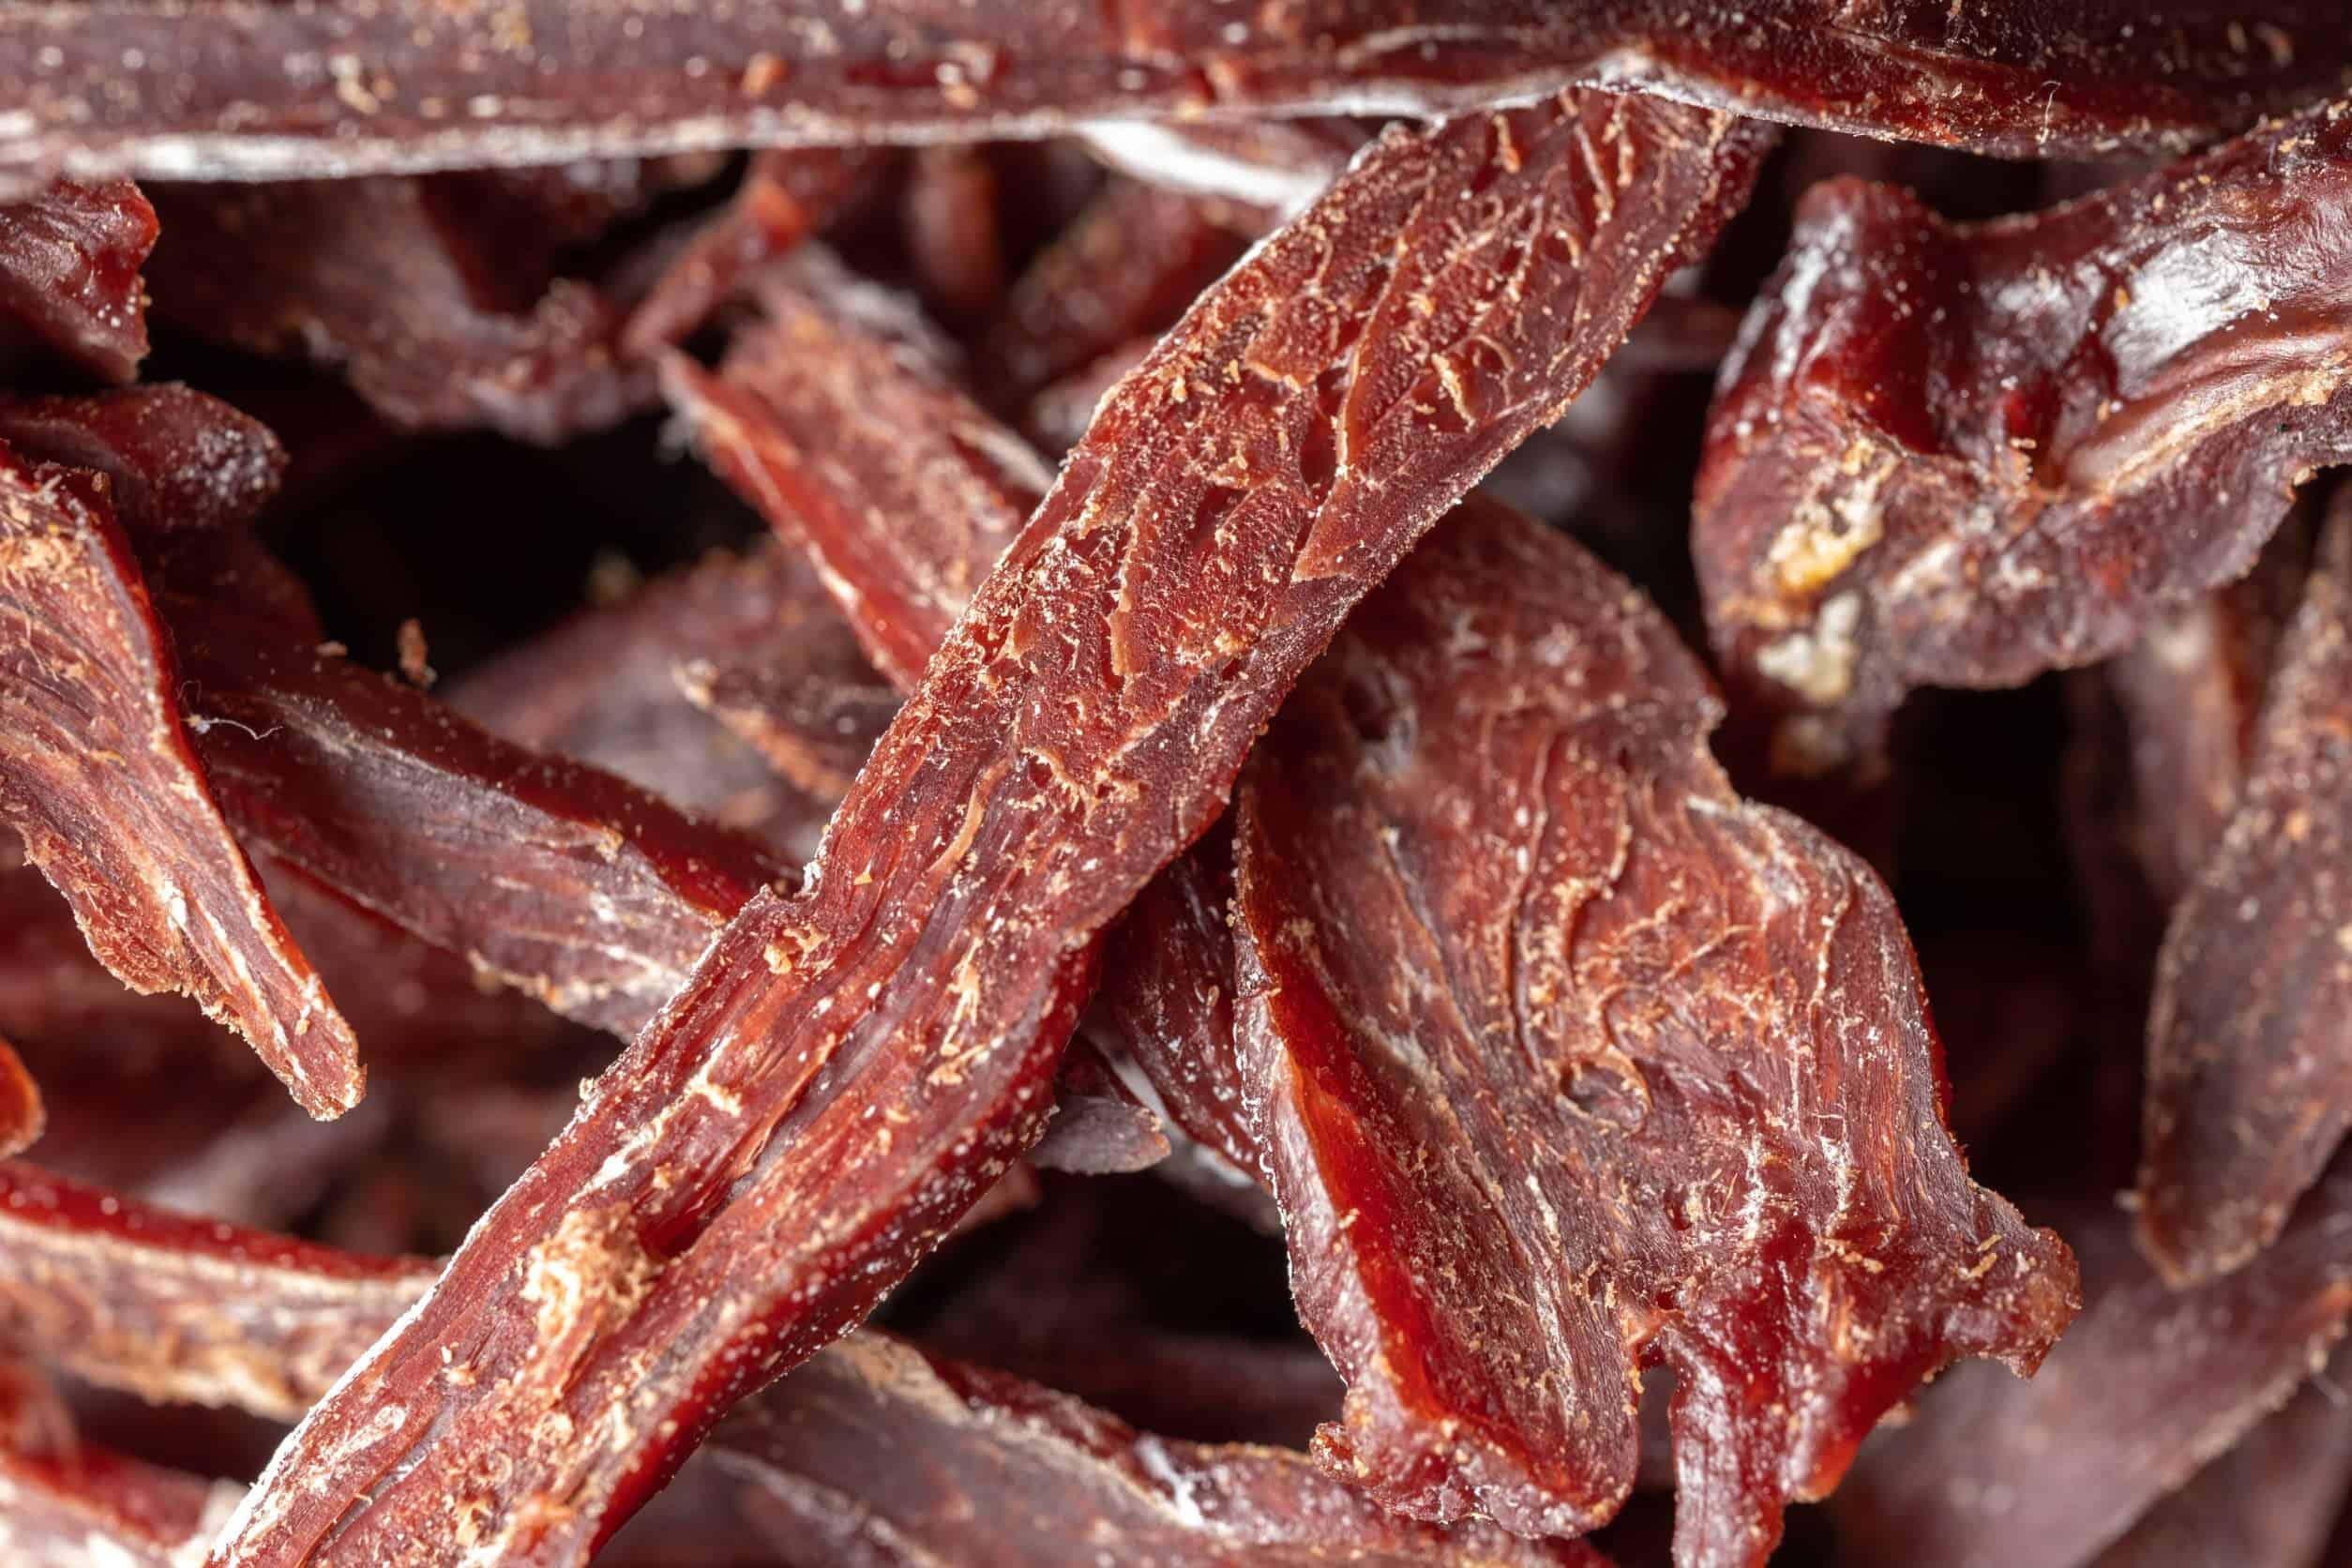
How to Know When Your Jerky Is Good
Jerky should be good if it’s dry and brittle to the touch. Try to bend a piece between your fingers. It should bend a bit under the strain but still have some resistance to it. If it bends too much, your jerky is underdone. If it snaps like a twig, you’ve overbaked your meat.
Underdone jerky can be fixed by letting it cook a bit longer. Overdone jerky is a bit harder, though you do have some options. You could soak it in butter to soften the meat, though this will have you lose out on some health benefits deer provides. We’d recommend soaking overcooked jerky in water for about an hour. This gives enough hydration to try the drying process all over again.
Safety Considerations
Salmonella and E. coli
Due to low cooking temperatures, jerky is usually at risk of Salmonella or E. coli poisoning. This is more common with ground jerky due to prior processing, but even sliced jerky carries some danger of this when improperly handled.
Salmonella usually manifests via diarrhea or vomiting. It can occasionally develop into fevers, cramps, and migraines. E. coli shares a few symptoms with Salmonella – usually more extreme. It commonly leads to bloody diarrhea and profuse vomiting.
Fortunately, both can be dealt with via precooking. Salmonella is easy to kill off, dying at around 150°F (65.6°C). E. coli is much hardier and requires temperatures of at least 160°F (71.1°C). Make sure to do so during the precook, as E. coli bacteria might develop limited heat resistance in the low, constant temperature used for making jerky.
Don’t defrost your meat on the open countertop. In fact, don’t defrost your meat at room temperature period – especially for jerky. Use your fridge chiller to minimize bacteria exposure and properly regulate temperature. This is important for both ground and sliced jerky.
Lead Poisoning
Some deer meat can also cause lead poisoning. During hunting, there are occasionally tiny bullet fragments that embed themselves into the meat. These are so small that we may not notice eating them, and pose a significant poisoning hazard for children and pregnant women.
This is a more common concern when handling ground deer meat. Make sure to properly scrutinize your brand of choice to see if this risk ever came up throughout their company history.
It’s less of a concern for sliced meat since professional hunters aim for vital organs by the animal’s front. The back cuts of the deer (round, rump, and shank) should be free of this problem. These also happen to be very well-muscled and make for great parts for deer jerky.
Be mindful of how the deer was killed. If you happen to have been the one to hunt it, you’ll likely have a good idea of which parts you need to be especially mindful of. You could also use different weapons to do the deed, such as a bow, to mitigate the risk of nasty particulates.
Final Thoughts
Deer jerky can take a while to dehydrate, with the total time depending on temperature. Both ground and sliced jerky take about the same time to bake. Make sure to precook your meat to avoid bacteria. You’ll be rewarded with amazing, healthy, and delicious jerky for all your efforts.