After an emergency or environmental catastrophe, there’s no way of knowing when emergency respondents will arrive. It could take days to weeks, depending on your accessibility.
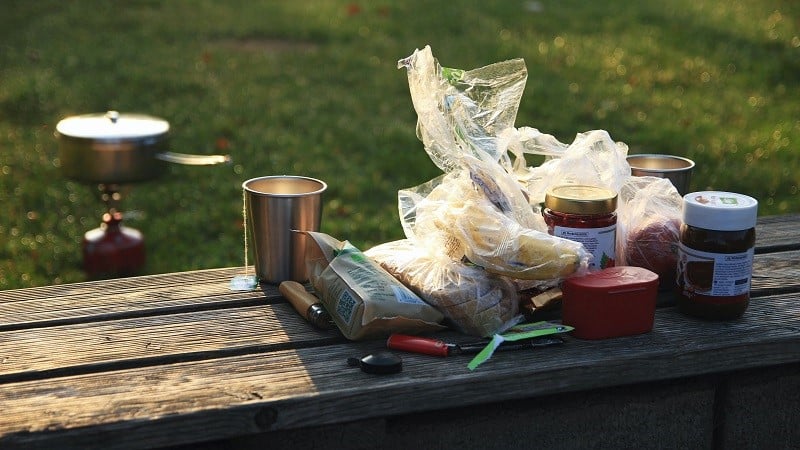
It’s greatly beneficial to know how to pack and prepare food for long-term storage to ensure you and your family’s survival. The key takeaway is to keep your food dry and sealed in an airtight container to prevent them from going bad. Purchase foods and basic ingredients with long shelf life.
How Does Food Spoil?

It helps to understand what causes food to spoil so that you can take the necessary measures to prevent it. Food gets spoiled because of the growth of microorganisms. Most microorganisms grow and reproduce in the presence of water and oxygen. As such, storing food in airtight containers often prevents them from getting spoiled. Make sure the food containers are sterilized beforehand to get rid of all possible microorganisms.
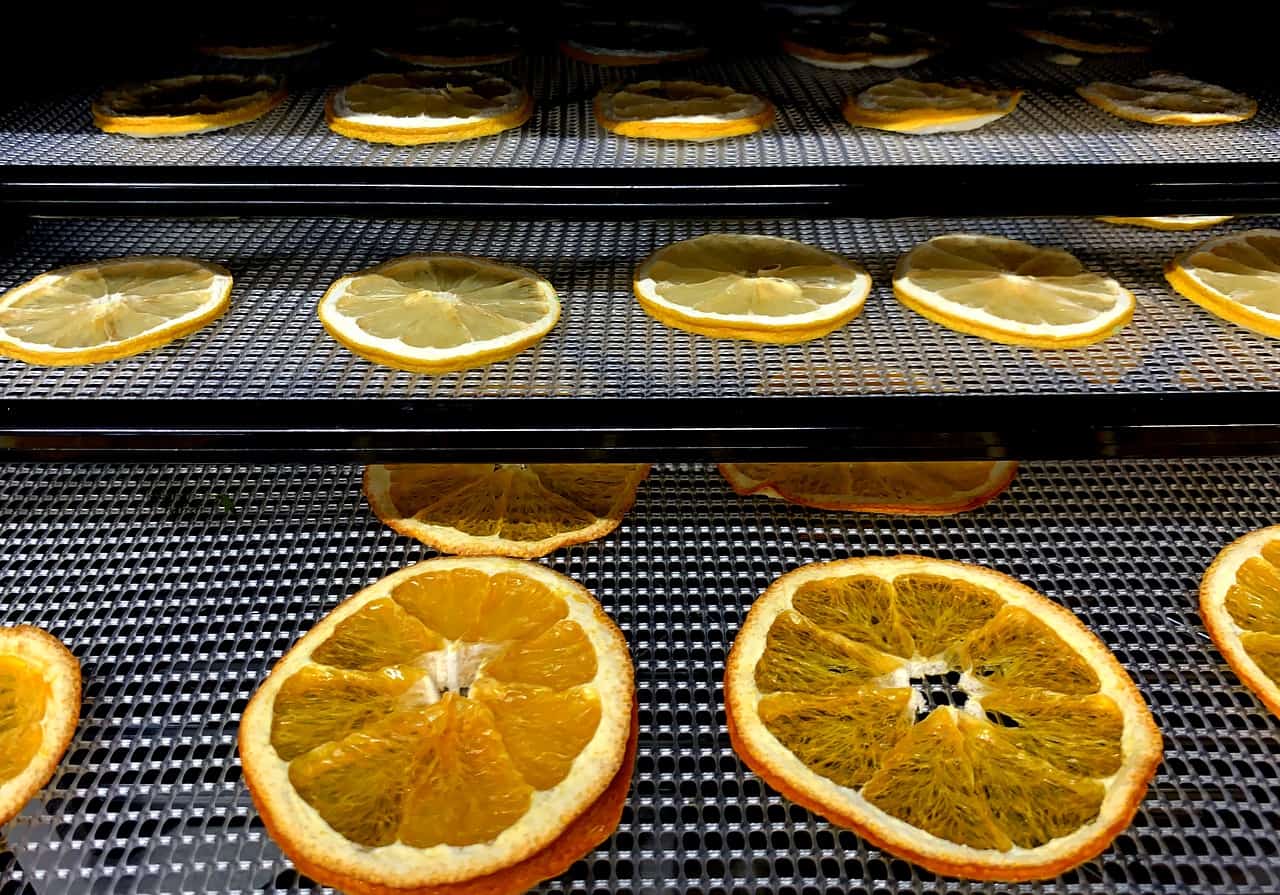
Dehydrated foods like jerky and dried fruits are also less prone to spoilage because of the absence of water. Dehydrating foods can be performed by using a dehydrating machine or by letting the food sit under the sun until all the water is drained and evaporated.
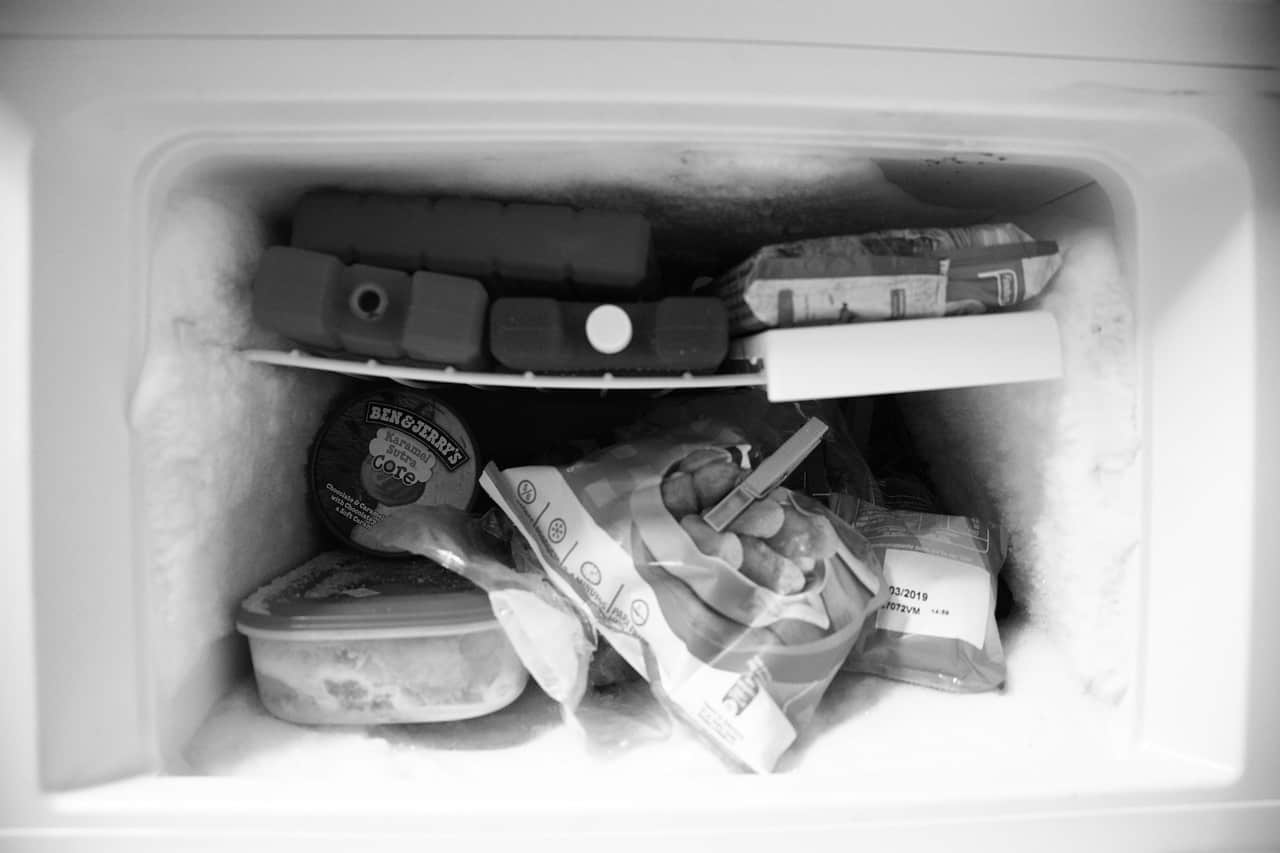
Another preservation method is to freeze the food. Extremely low temperatures can stop the growth of numerous microorganisms. Freezing is better at stopping microorganisms compared to plain refrigeration.
How To Use Mylar Bags
Mylar bags are thick plastic bags that are perfect for airtight closures for food. Dehydrated food is placed inside and then all the air is vacuumed out of the bag before it is sealed with heat. This bag is strong but not completely puncture-proof which is why the sealed food must be stored in another airtight container, like 5-gallon buckets with airtight lids.
There are two main ways by which you can remove oxygen from Mylar bags. The first method is to place oxygen-absorbing packets into the bag. These packets are usually sold by the same supplier of Mylar bags.
The second method is through using carbon dioxide to replace the oxygen contained in the bag. This is done through dry ice.

Dry ice is just solidified carbon dioxide. Be careful when handling this because it is extremely cold and can cause “burns” on your skin. Here’s how to use dry ice in food preservation:
Purchase dry ice from your local dealer. This is fairly common and you can even find a listing in the Yellow Pages. Since it is extremely cold, make sure to handle it with thick gloves.
Fill your storage container with dry ice. Leave at least an inch of space at the top for your food. Place in your food and then add some dry ice at the top.
Don’t seal the container yet. You need to wait for the carbon dioxide to completely evaporate to build pressure in the container and to drive out any traces of oxygen. Dry ice is heavier and denser than air so it will stay put in the container. Seal it in.
Make sure to use the correct amount of dry ice. One to two ounces or 50 grams of dry ice will be needed for a five-gallon airtight bucket.
How To Use Oxygen-Absorbing Packs
As aforementioned, oxygen-absorbing packs are used to eliminate oxygen from airtight Mylar bags. Here’s how to use them for long-term food storage.
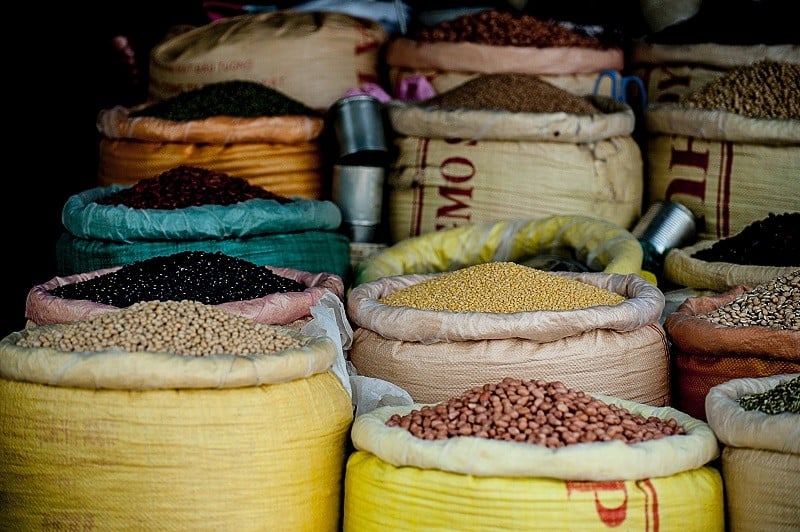
Purchase your food like whole foods, wheat, berries, and nuts. It’s advisable to buy in bulk to get discounts and to save money in the long run. Purchase 5 to 6-gallon buckets with airtight lids to store all of your foods. These buckets come in two types of plastics: food-grade and normal. Food-grade buckets are expensive so it’s better if you just seal the food in Mylar bags first so that they won’t make contact with the plastic.
Purchase 20 in x 30 in Mylar bags. Place your food inside. Vacuum all the air out. Place a 200-cc oxygen-absorbing pack in the bag before sealing it with a hot iron. Make sure to work quickly to keep the packs functional. Take a 30-inch board and wrap a towel around it to create a makeshift ironing board. Place the bag on top of it and run the hot iron. Trim off any excess.
Label the buckets accordingly. Place the date, the food, as well as the expiration date. If done correctly, your food can last up to ten years.
How To Freeze Dry Food For Long-Term Storage

Freeze drying your food is another viable option for long-term food storage. It’s a skill every survivalist must know especially if you reside in an area with very harsh winter conditions during which food may become scarce and your frozen food stash becomes the difference between life and death.
All About Freeze Drying
Before jumping into the actual logistics of how to freeze dry food for long-term storage, it helps to first understand what exactly this means. Food spoilage occurs when there are oxygen and moisture. These two things are the main elements that cause microorganisms to grow and lead to spoilage. Once these are absent, food can last indefinitely.
Freeze drying aims for the removal of moisture from the food. Normal dehydration processes largely involve laying out the food under the sun repeatedly until every single drop of moisture has evaporated. Freeze-drying uses a different method to get rid of the water in the food. This is also comparatively faster than naturally drying the food.
Freeze drying removes moisture from the food through sublimation. A vacuum is applied which causes the food moisture to freeze. It then turns into gas in the low-pressure setting so the food is left completely dry. You can achieve this by using a freezer with a high freezing output or by using some dry ice. The flash-frozen food loses up to ninety-percent of its weight and is now viable for long-term storage. Once you need to eat it, you can eat it in its dehydrated form or simply rehydrate and cook.
Benefits Of Freeze Drying Your Food

The primary benefit of freeze-drying your food is that it’s an effective long-term storage solution that makes your food viable for a very long time. It also makes the food easier to store and transport since it loses up to ninety percent of its original weight. This is also a great preservation technique because it leaves the taste and flavor of the food intact even after the freeze-drying process. That also means that the food retains its nutritional value. The best part is that it’s quite easy to reverse the dehydration process by simply rehydrating your food.
Shelf Life Of Freeze-Dried Food
As aforementioned, freeze-drying food greatly extends its shelf life. Freeze-dried food can last way longer than canned or naturally dehydrated food. Frozen food lasts for two years. Canned food lasts for three years. Dehydrated food can last up to four years. But freeze-dried food can last from five to twenty-five years (except for fruits, which can only last for two years).
Another factor that affects the longevity of your freeze-dried food is its storage. It’s very important to select a good and thick packaging material since it’s the only barrier between your food and the contaminants that can cause spoilage. Try Mylar bags with vacuum sealing. It’s also important to remember that once you break the seal of the bag, you significantly reduce the shelf life of the food and it’s best to eat it immediately after opening.
How To Prepare Your Food
Freeze drying applies to almost any type of food. Food preparation is the first step in freeze-drying. The foods you select must be fresh. For fruits and vegetables, it’s best to freeze-dry them while they’re fresh, ripe, and in season. Some of the basic survival foods to consider include:
- Bananas
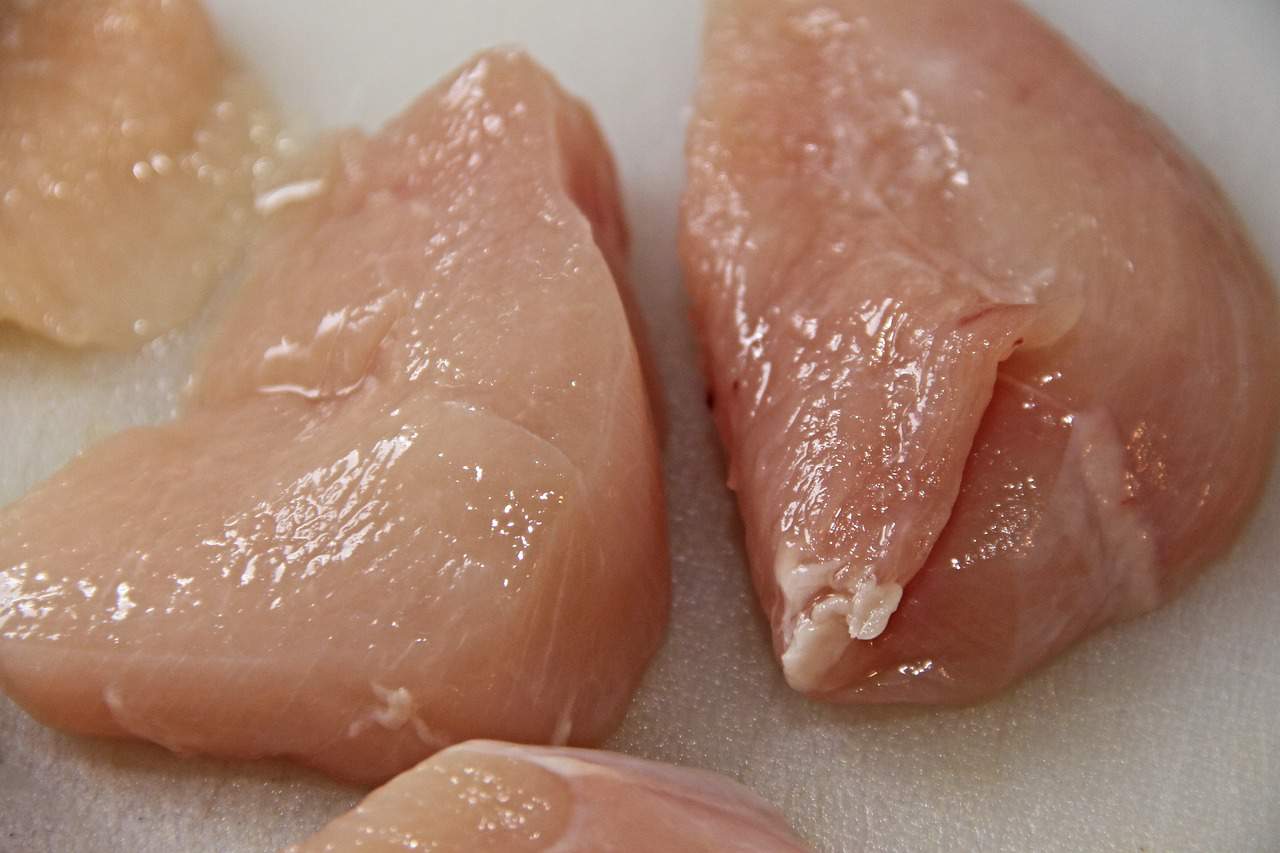
- Chicken
- Potatoes
- Apples and berries
- Dry meats
- Cheese
- Ice cream and yogurt
- Eggs
- Peppers
- Carrots
- Full meals
Clean and pat dry your food to the best of your ability. If you wish to hasten the freeze-drying process, you may chop the food into smaller segments.
Freeze Drying The Food
There are three main methods of freeze-drying.
- Dry Ice
This is the easiest freeze-drying method but it is quite dangerous so proceed with caution. When doing this, make sure to wear gloves and other protective gear. Always be careful to not make the dry ice make contact with your bare skin.
Place the food in a dry and freezer-safe bag. Eliminate as much air as possible. It also helps to separate the food and space them out evenly to avoid the formation of clumps. Place the bag flat inside a cooler. Cover the bag with some dry ice. If you intend to freeze batches of food, try layering them by placing dry ice between the bags. Replace the lid and leave this undisturbed for six to eight hours. This is enough time for the dry ice to cause all the moisture to evaporate. Check the bags after twenty-four hours. If the dry ice is gone, then it’s all used up to make the moisture evaporate.
- Freezer
This is an inexpensive and accessible method. You can simply use the freezer you already have at home. Begin by placing your food on trays. Space them out evenly so that they won’t freeze into clumps. Empty your freezer of anything else and then turn its temperature setting to the coldest level possible. Place the trays of food at the bottom and then close the freezer. Leave this uninterrupted for seven to ten days. Don’t open the freezer during the said time frame because that will interrupt the sublimation process. Ice crystals will also form on the food and that will slow the entire process down.
After seven to ten days, you can check if the food is ready by taking a piece and then letting it fully thaw. Once the color turns a blackish shade, then that means it’s not yet sufficiently dried. Place it back in the freezer until it is fully dried. The dried food can be stored in the freezer, in emergency kits, or the pantry.
- Freeze Dryer
This is the simplest and easiest way to freeze dry your food but it entails purchasing a freeze dryer appliance. They’re quite expensive but they’re great investments for long-term food preservation. The vacuum chamber must be set to ten degrees Celsius and it’ll take about seven days for all the moisture to get completely removed from the food through the process of sublimation. Afterward, the food can be stored in airtight Mylar bags and rehydrated for consumption.
How To Dehydrate Food For Survival
Dehydrated food is excellent survival food. It has no moisture which means there are no opportunities for the growth of microorganisms that cause spoilage. This is also ideal for emergencies because it requires no electricity to keep the food from spoiling. All you need to do is to ensure that the dehydrated foods are stored in airtight containers and placed in cool, dark, and dry places like a closed cabinet or a storage cellar.
Methods Of Dehydration
- Electric Dehydrator
This is the easiest and most common way to dehydrate your food. These appliances are very easy to find and they come in a wide price range, depending on size, capacity, and performance. If you’re a beginner and you only need to feed yourself and a handful of family members, you may start with a small and budget-friendly dehydrator rather than jumping to a larger, more expensive, and harder to manage the machine.

Most electronic dehydrators operate the same way. You need to chop up the food that you wish to preserve. Lay them flat on the tray and keep them evenly spaced so that they won’t dry in clumps. Then, pop them in the dehydrator for the recommended number of hours and at the recommended temperature. This varies depending on the type of food.
Most dehydrators already have recommended settings depending on the food you wish to dehydrate. For instance, there are low-temperature settings for herbs while high settings are for meats.
- Solar Dehydrator
This type of dehydrator is not as readily available as an electronic one but it’s very easy and affordable to make one for yourself. Check out this video for an easy tutorial on how to make a solar dehydrator:
- Air Drying
Air drying is possible in areas with low humidity, like the southwest. All you need to do is to layout the food on screens and then place them under the sun for hours. Herbs and greens dry better when placed on strings and hung in the air to dry. This is a great method because it’s easy and cheap, but you do need to keep an eye out for insects that may eat or contaminate your food.
Dehydrating Tips And Tricks

The first tip is to ensure that everything is completely dry before storing in bags for long-term storage. You can check by bending the food. If it breaks, then it’s completely dry.
The second tip is to incorporate meal planning into your food dehydration sessions. This ensures that you waste the least amount of food possible by only dehydrating food that you’ll use and enjoy eating. Keep in mind that rehydration takes some time so you need to prepare for that when planning your meals.
The last tip is to remember that the lower the dehydration temperature is, the more nutrients your food will retain. The only setback is that it’ll take more time for your food to completely dry, but that’s a small price to pay if it meant eating more nutritious meals so that you can hit your minimum nutritional requirements even during an emergency.
Storing Dehydrated Foods

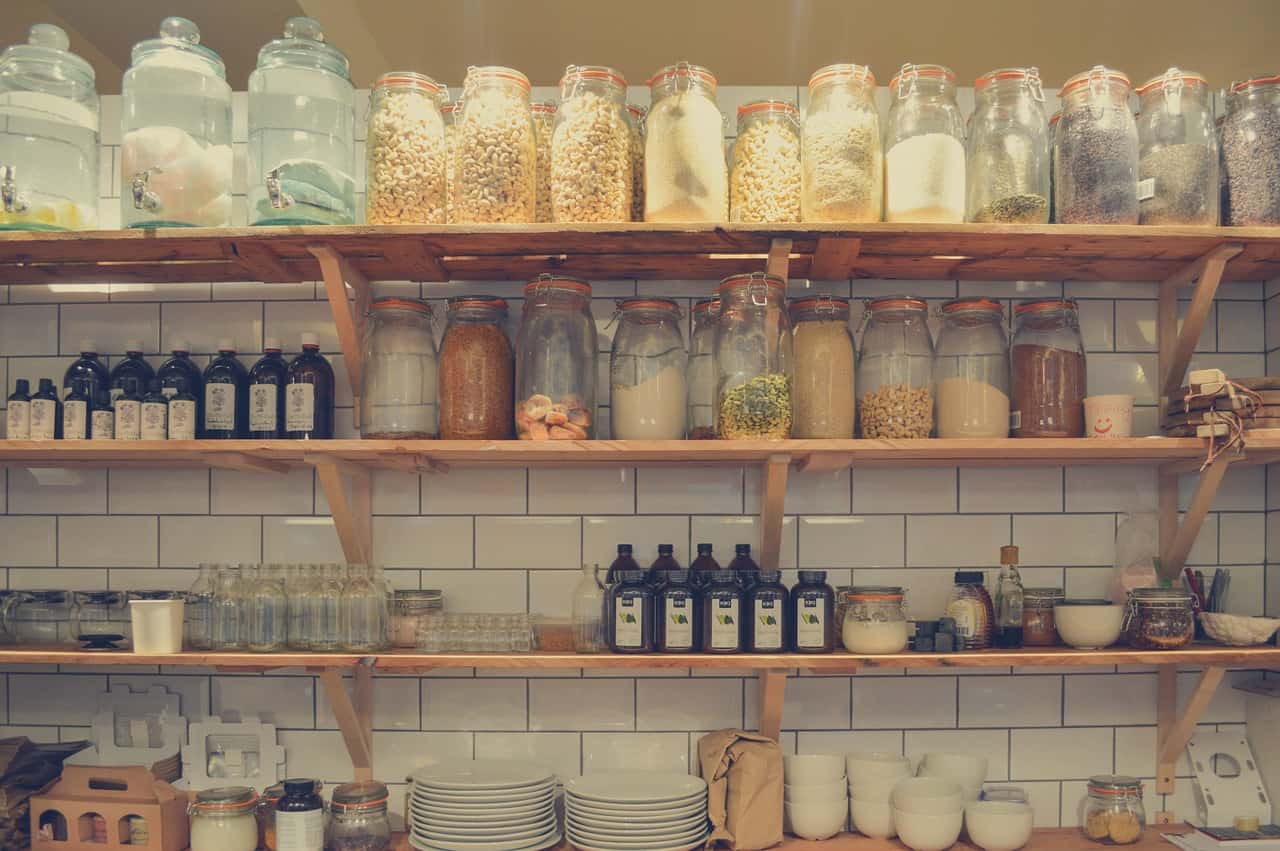
You can use practically any container to store dehydrated food for as long as they’re airtight, food-grade, and durable. Some food containers you can try include airtight Tupperware, canning jars, freezer bags, vacuum bags, Mylar bags with oxygen absorbers, food-grade gallon buckets with gamma seal lids, IBC totes, etc.
Make sure to place these food containers in cool, dark, and dry areas. If you notice any moisture in the containers, then you can take out the food to dehydrate and then store them again. Do this right away to prevent spoilage.
Shelf Life Of Foods
Knowing the shelf life of different foods can help you identify if they’re still edible. This also helps you keep your shelf up to date by clearing out the expired goods and replacing them with something fresh.
- Whole wheat berries, white sugar, salt, pure sorghum molasses, pure honey – indefinite
- Dried beans, dried corn, rice, couscous, whole spices, cereals, oats – 5 to 10 years
- Hard grains (Kamut millet, triticale, corn, wheat, dry flax seeds) – 15 to 20 years
- Soft grains (oat groats, barley, rye, rolled oats, quinoa) – 8 years
- White rice – 8 to 10 years
- Brown rice – 1 to 2 years
- Beans (blackeye, barbazo, great northern, lentils, mung, soy, pinto) – 8 to 10 years
- Dehydrated vegetables (carrots, cabbage, celery, peppers, onions, potatoes, broccoli, etc.) – 8 to 10 years
- Dried dairy (powdered milk, powdered eggs, cheese powder, whey powder, cocoa, powdered margarine, or butter) – 8 to 10 years
- Flour and all ground products – 5 years
- Pasta (spaghetti, fettuccine, angel hair, macaroni, noodles) – 10 to 15 years
- Garden seeds for sprouting seeds – 2 to 3 years
- Hardtack (also known as bread that lasts forever) – no expiry
- Ramen noodles – two years or more, depending on the packaging and storage conditions
- Canned spaghetti – 2 years
- Canned beans – 6 years
- Dehydrated fruit – 15 to 30 years
- Dehydrated vegetables – 15 to 20 years
- Dried corn – 15 years
- Potato flakes – 15 to 30 years
- Dried meat – 2 years
- Freeze-dried meat – 15 years
- Canned meat – 2 to 5 years
- Pemmican (a blend of powdered lean meats with some powdered berries and animal fat) – 50 or more years
- Powdered whole eggs – 15 years
- Peanut butter – 2 years
- Coconut oil – 2 to 5 years
- Olive oil – 2 years
- Ghee (clarified butter) – 2 years
- Maple syrup – indefinitely
- Corn syrup – indefinitely
- Raw honey – indefinitely
- Hard candy – 1 to 2 years
- Corn starch – indefinitely
- Soy sauce – 2 to 3 years
- Vinegar or apple cider vinegar – indefinitely
- Alcohol – indefinitely
- Wine – 2 years
How To Use Wheat Berries
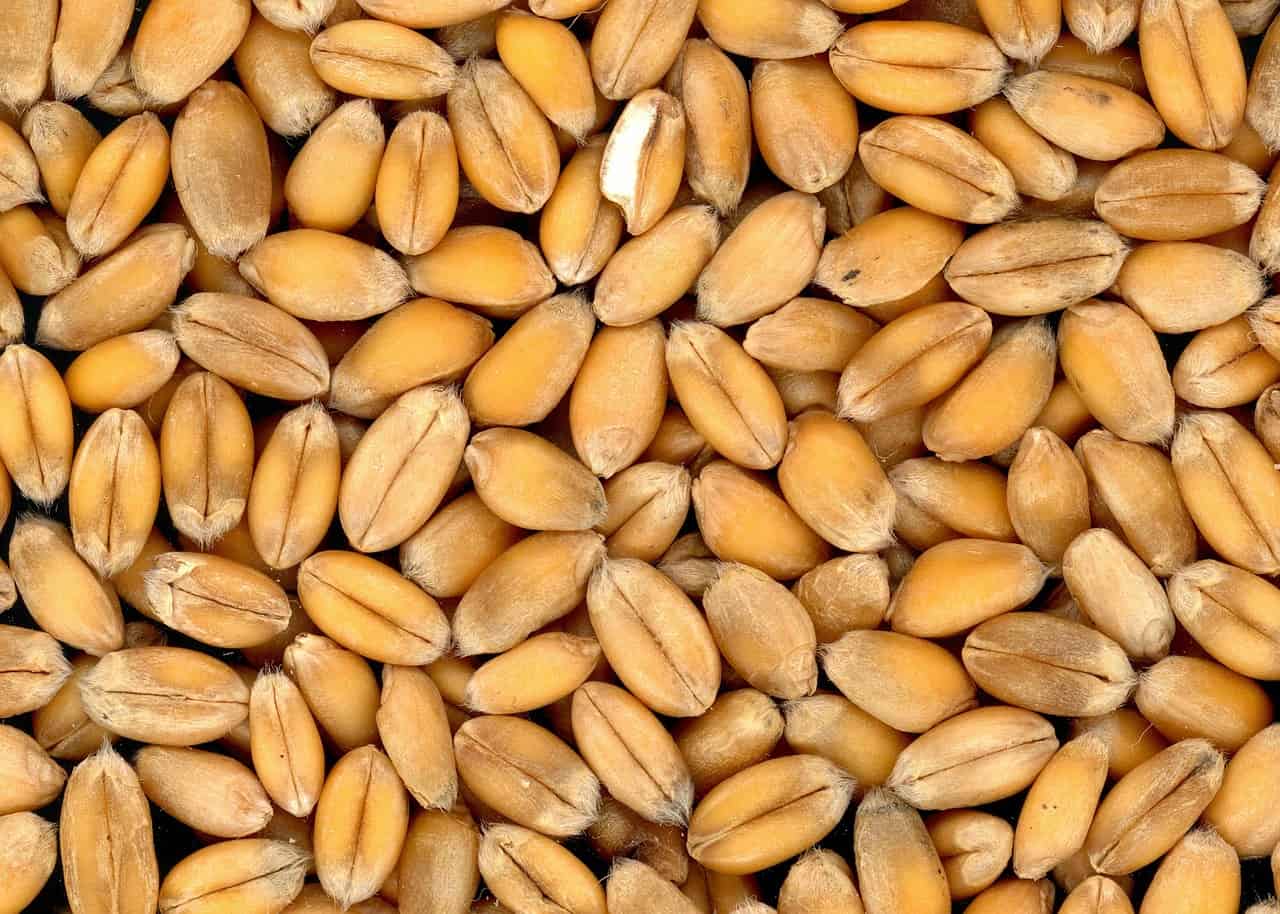
Wheat berries are survivalist staples because they are so versatile. You can roast, sprout, or even grow wheatgrass. The most common recipe is to ground them and turn them into flour. You can throw in some other ground ingredients like grains or dried beans. You can now use the flour to make pancakes or to bake some cake.
Make sure to use a reliable hand-operated grinding machine to effectively turn the wheat berries into a fine powder.
Basic Caloric Requirements For Humans
There’s a common misconception that calories are automatically bad. That’s false because calories are forms of energy that the body needs to maintain its basic physiological activities. For the body to keep on functioning properly, the minimum caloric requirements must be met.
The USDA said that the average caloric intake for humans is between two thousand to two thousand five hundred calories per day. You can break that down to fifteen to twenty-six servings of food. The heavier you are, the more calories your body needs to survive and function. For example, for a hundred and fifty-pound adult man, his basic caloric requirement per day will be:
- Inactive: 2,360 calories
- Average: 2,722 calories
- Active 3,176
The caloric requirement differs per age group and overall body weight and composition. It helps to know the minimum requirement for each member of the family so that you can prepare your emergency foods accordingly. The supplies in your stash must be enough to help all the members of your family hit their minimum caloric requirement per day. Otherwise, they might experience caloric deficiency which will result in severe weight loss and malnutrition.
Caloric Calculations

The best way to keep track of everyone’s caloric intake is to keep tabs on the number of calories per serving of a specific food. It should be noted that not all foods from the same food group will possess the same number of calories per serving. For example, in the grain food group, white rice has so much more calories than black beans or wheat.
Nutrition
It can be challenging to meet all of the body’s basic nutritional requirements during an emergency. Nutrient deficiency can result in symptoms like pain, mental deterioration, heart complications, heart failure, general weakness, neurological illnesses, a decline in mental health, nausea, twitching, convulsions, internal infections, slow wound recovery, excessive bleeding, and many more.
The best you can do is to make sure that you’re still eating well-balanced meals despite the situation. Another way is to take vitamins and supplements to make sure you won’t miss any nutritional requirements.

Go for multivitamins that have everything you need in one tablet per day. The body contains forty minerals, but there are only fifteen that are essential for survival. These include:
- Calcium
- Phosphorus
- Potassium
- Sodium
- Chloride
- Magnesium
- Rion
- Zinc
- Iodine
- Chromium
- Copper
- Fluoride
- Molybdenum
- Manganese
- Selenium
Vitamins and supplements have a shelf life of around two years. After their expiration date, most of them are still consumable but may have lost most of their potency which is why it’s important to consume them on time. When shopping for long-term storage, make sure to ask for new stocks that still have a lot of time before they expire.
There are two main types of vitamins:
- Water-soluble vitamins. Water-soluble vitamins are the vitamins that can be stored in the body in trace amounts. A deficiency in water-soluble vitamins can appear within a few weeks to a few months of irregular diets. The most popular examples under this category include vitamin B complex and vitamin C.
- Fat-soluble vitamins. These vitamins are dissolved in the body fat. As such, they’re stored where body fat is typically found like under the skin, in the liver, and more. Fat-soluble vitamin deficiencies materialize at a slower rate because they are stored in fat in the first place.
Grow Your Food

For severely long-term emergencies, it’s a handy skill to know how to grow your food. This ensures that you’ll have a consistent supply of food even if it’ll take months for things to go back to normal. Vegetable gardening and fruit growing are two handy skills for every survivalist.
Designing The Survival Garden
The first step is to plan the layout of your survival garden to optimize the harvest yield. Choose a field that’s wide enough to yield enough crops to feed the family and give you enough stocks. Always pick open-pollinated seeds so that you can save your seeds. This ensures that you’ll have enough seeds for the years to come.
Keep in mind the possibilities that may cause your crops to fail, like disease, drought, nonviable seeds, lack of nutrients in the soil, damage due to insects, and more. Be prepared for these scenarios.
It helps to plant both perennial and annual seeds. You may also include trees, canes, bushes, herbs, and weeds. Diversify your plants so that you’ll have different sources of nutrition so that you can cover your basic nutritional needs.
There’s no specific size requirement for the survival garden. The size of the land is affected by factors such as the number of members in the family, the type of crops you intend to grow, the quality of soil, gardening expertise, and the amount of time you can devote each day to gardening. The minimum area for a functional and sustainable survival garden is a quarter of an acre. If you have a big family, you’ll need two acres.
Composting
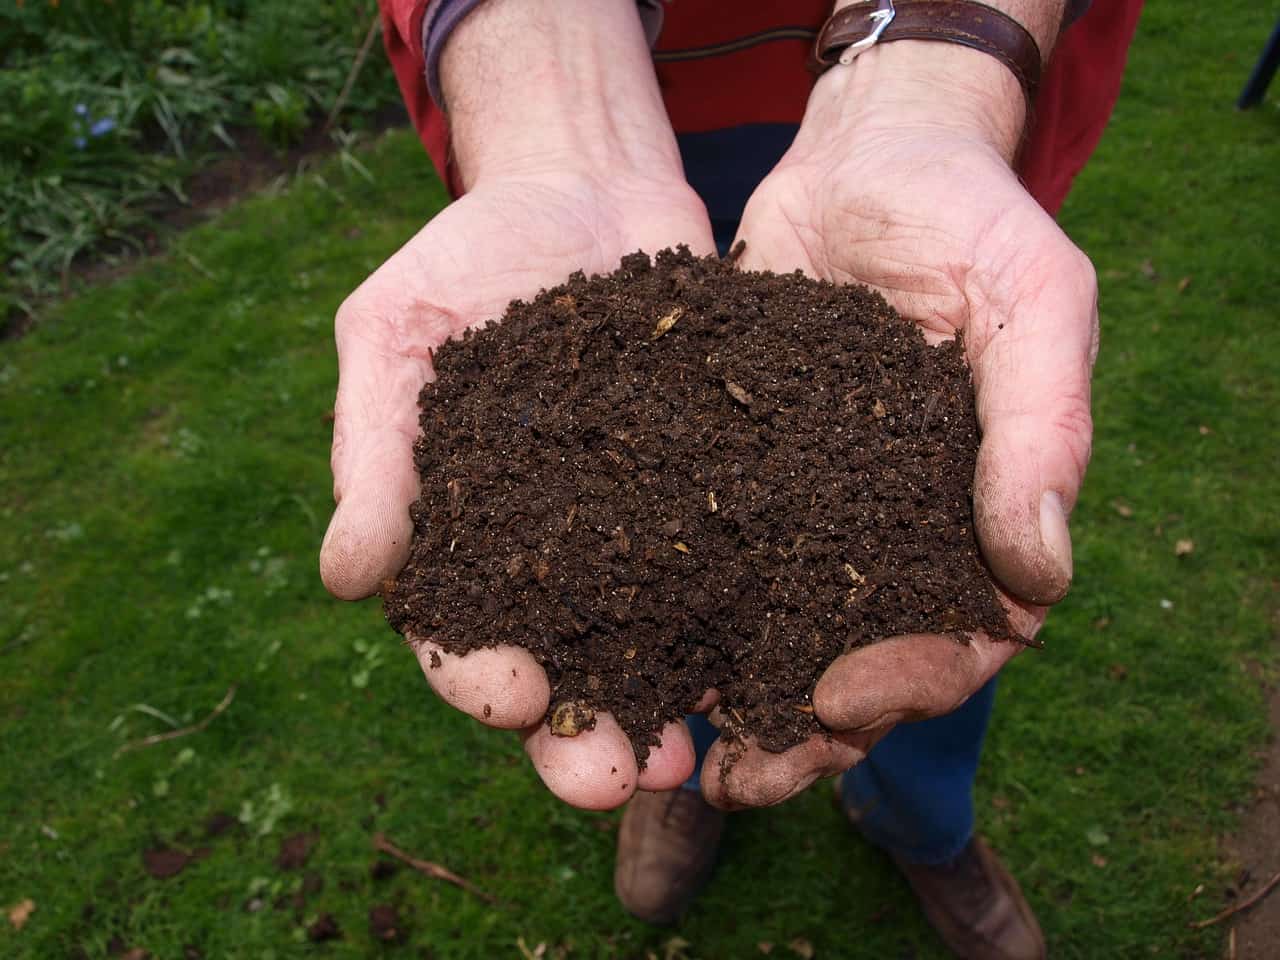
Composting is the act of recycling biodegradable wastes to turn them into nourishment for the soil. All you need to do is to bury all of your leftover food and vegetable peels in one spot. Add in some worms to aid the decomposition process. The biodegradable wastes will be broken down into nutrients for the soil. The worms will also aerate and fertilize the soil.
The soil you get from composting will be so rich in minerals that it will make any plant thrive. This also helps with waste disposal because you recycle what is normally garbage.
Composting is a self-sufficient way to sustain your plants. You no longer need to buy chemical-based fertilizers just to provide nourishment. This is an organic method that’s guaranteed to nourish your plants without any side effects.
What To Plant
Plant the vegetables that your family will enjoy eating. It’s very important to minimize food wastes as much as possible and you can avoid that by only planting vegetables that you can cook, ferment, preserve, and enjoy eating.
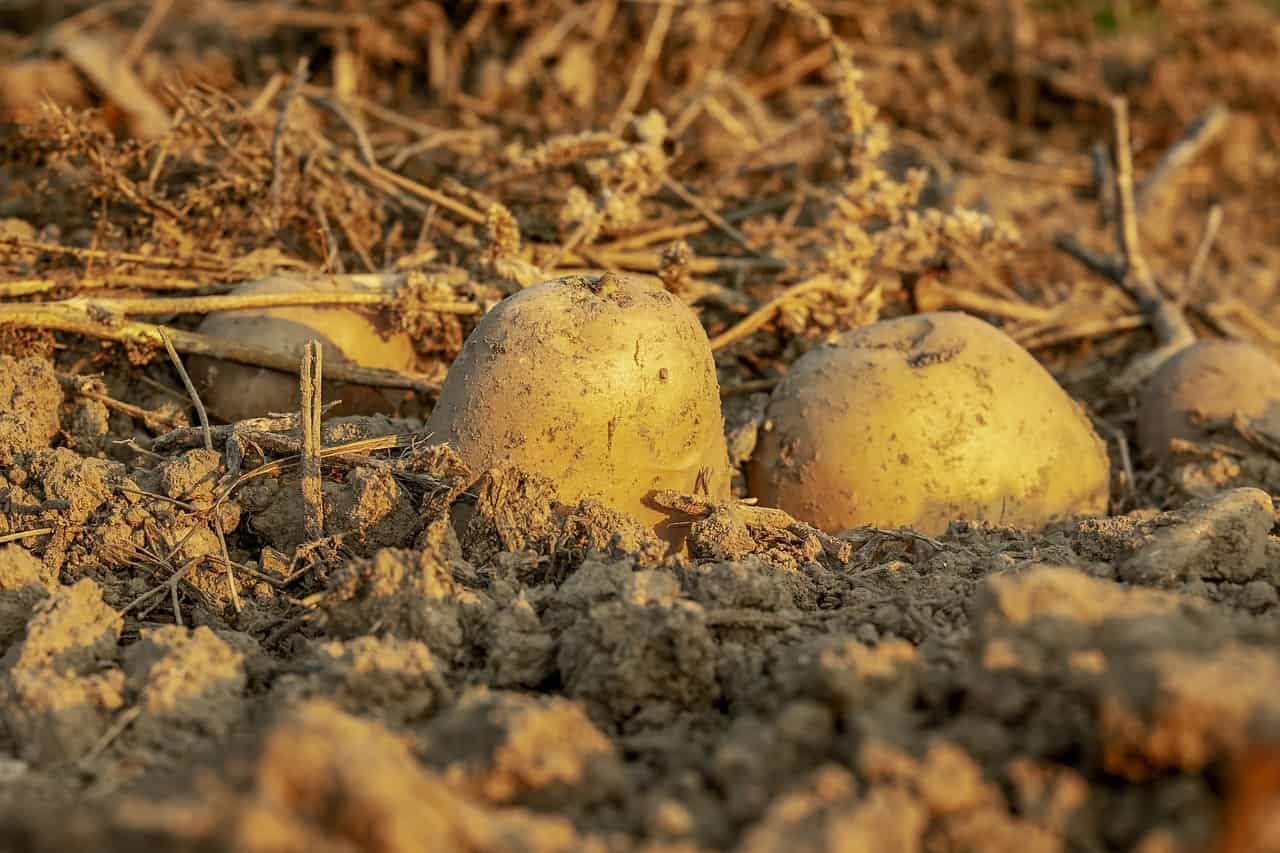
Since you might be starting from scratch in preparing your survival garden, it also helps to begin with easy to grow crops so that you’ll spend minimal effort and resources in growing them. This leaves you with more room to try out crops that are harder to grow. For starters, try planting beans, carrots, lettuce, peas, potatoes, sunflowers, and zucchini.
Another factor to consider is how easy it is to store your crops. The winter season means having no opportunity to plant more crops because the soil might be too hard and impossible to irrigate. Some plants are also unable to grow during such low temperatures. During this time, you’ll depend on the harvest of the previous season for your sustenance. That’s why it’s important to stick with crops that store well.
The best storage place for the winter is in a waterproof cellar. Some examples of crops that store well include cabbages, garlic, leeks, onions, rutabagas, turnips, and winter squash. For the crops that don’t store well, you have the option to dehydrate them or preserve them. This depends on the size and availability of your storage space.
Dealing With Thieves

Emergencies bring out the best in people, but they also bring out the worst. During emergencies, the authorities and local police will be preoccupied with emergency rescues which means that public safety and ordinance will be set aside. Prolonged emergencies usually mean that society will descend into anarchy. People with food supplies become a target to those who have none.
Don’t advertise your stash. Keep your food stash a secret except to your family members. This will prevent you from becoming a target to thieves and looters.
Camouflage your food. It may be hard to hide your survival garden so it helps to use hiding techniques like camouflaging. One tip is to grow edible crops near flowerbeds so that the plants will be hidden by the flowers. Another tip is to focus on growing root crops. These grow underground so they’re easier to hide. Some of these root crops include carrots, turnips, cassava, parsnips, potatoes, and sunchokes. The edible parts grow underground and you can just harvest them at night or when no one is watching.
Install home security devices like alarms and motion-sensor lights. You may also install a CCTV system if you wish so that you can provide surveillance on your property. The aforementioned alarms will create loud noises and trigger lights to turn on once activated. These should be enough deterrents to ward off thieves and looters.
Livestock
You need to be prepared for the hard truth which is that your pantry will run out of food stocks someday. You need a more sustainable food source that will last you throughout prolonged emergencies. Even the biggest food stockpiles can’t last forever. Your family can eat up everything or the food may reach their expiration dates before you consume them. That’s where raising livestock comes in.
This is very similar to growing a survival garden. Having livestock means having a steady supply of meat as well as other animal products like lard, dairy, eggs, fur, and hide.
Considerations
Tending to live animals is real, hard work. Its feasibility depends on factors like:
- This depends on where you live. Raising livestock is unlikely when you live in the city and more feasible if you live in the suburbs or country. The amount of space also dictates the type of livestock you can raise. For example, chickens and rabbits can survive in tight spaces because they only need a coop. Animals like goats and pigs will need a bigger space to forage.
- Food and water. It’s better if there’s a natural source of water and food nearby. In this manner, you can just get the resources to raise your animals from mother nature, instead of buying man-made feed.
- Waste disposal. Animals will regularly generate waste so you need to have a disposal system to prevent them from getting sick or contaminating your water source. You can use the feces as a natural fertilizer for your crops. Wash down any urine so that they won’t smell or cause bacterial growth. You can bury other wastes like animal carcass. Just make sure to pick a spot that’s at least fifty meters away from your water source.
Livestock Options
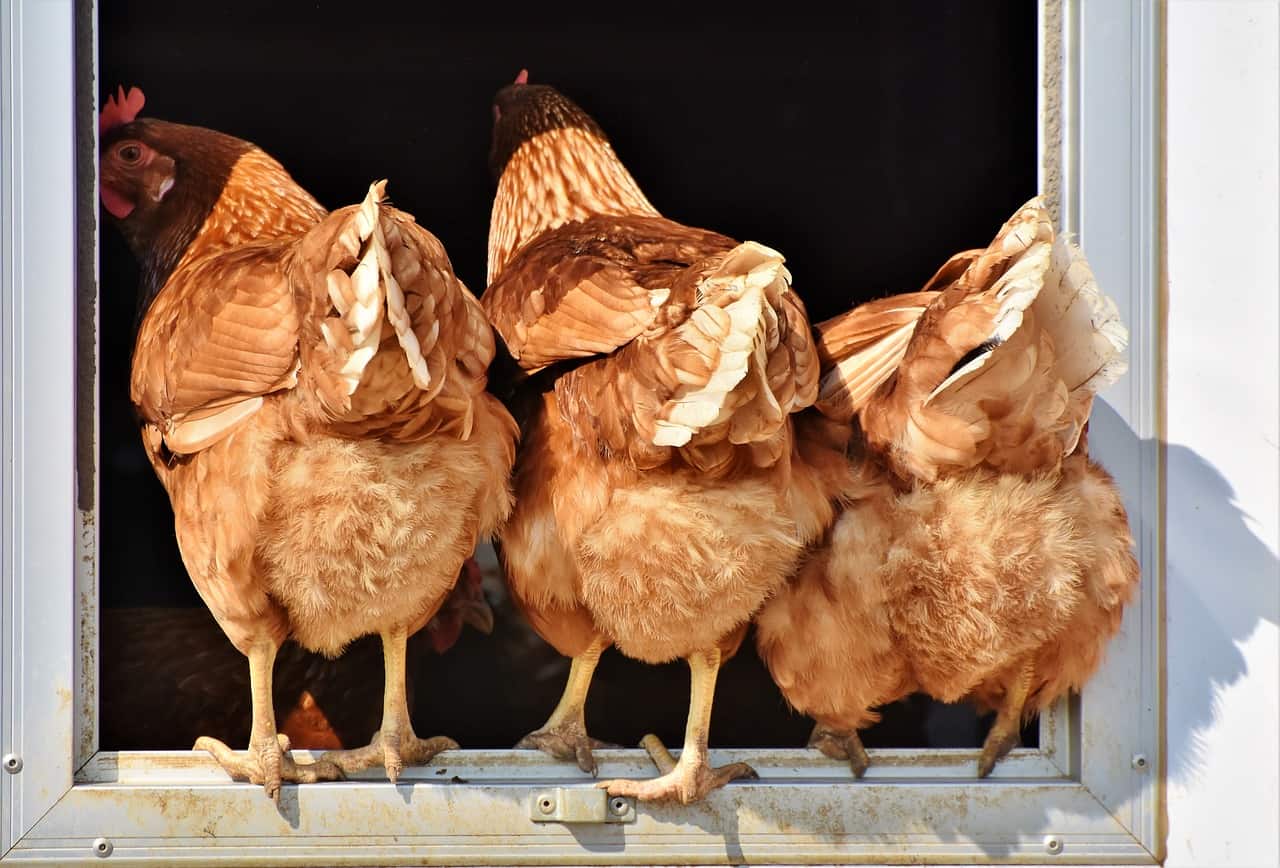
- Poultry
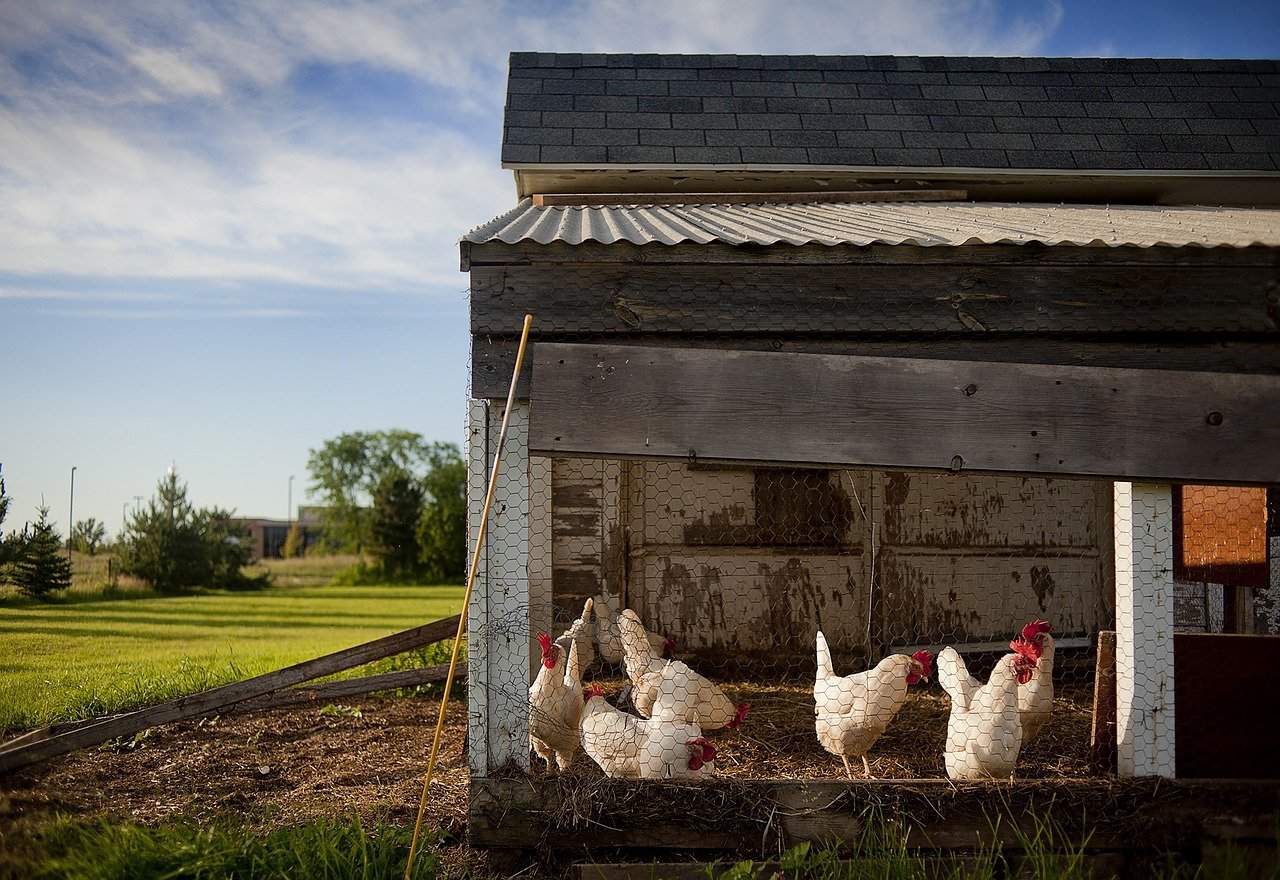
The most common poultry include chickens and ducks. They’re preferred because they provide eggs and meat. Some domesticated strains have feathers that can be used as pillow stuffing. Poultry is also preferred because raising them won’t require a lot of acreage.
Chickens can be raised in a coop and they produce one egg per day. They become low-maintenance if you allow them to forage your food. The downside is that they may harm your survival garden. If that’s the case, you can keep them in an enclosed space and give them chicken feeds. Their wastes are great fertilizers due to the high nitrogen content. Chickens are cost-effective because one chick only costs about a dollar and raising them isn’t too expensive.
Raising ducks is very similar to raising chickens. They’re likewise cost-effective and low maintenance. The primary difference is that ducks get cold really easily so you need to find ways to keep them warm during the winter.
- Rabbits

Rabbits are deemed as pets but they’re excellent sources of meat due to the fact that they reproduce really quickly. They reach their sex maturity at three to four months, gestate in twenty-eight to thirty days, and make about four to six kits per litter.
Rabbits are perfect if you have a small space. They only need vegetables and water to survive. Their pens do require regular maintenance because their wastes can stink it up really quickly. It’s also advisable to wait a month in between breeding and giving birth.
- Goats

Survivalists say it’s more practical to keep goats compared to cows. They take up less space so they’re easier to handle. They can provide the same things cows do, like milk and meat. As a matter of fact, goat’s milk is better than cow’s milk because it contains more vitamins, minerals, and protein. It’s also lower in cholesterol. Moreover, pasteurized goat milk can last up to six months when stored in a freezer.
Goats can eat virtually any type of greenery. If there are no more grass left, they can survive with eating weeds. Their manure is best used as fertilizer.
- Pigs
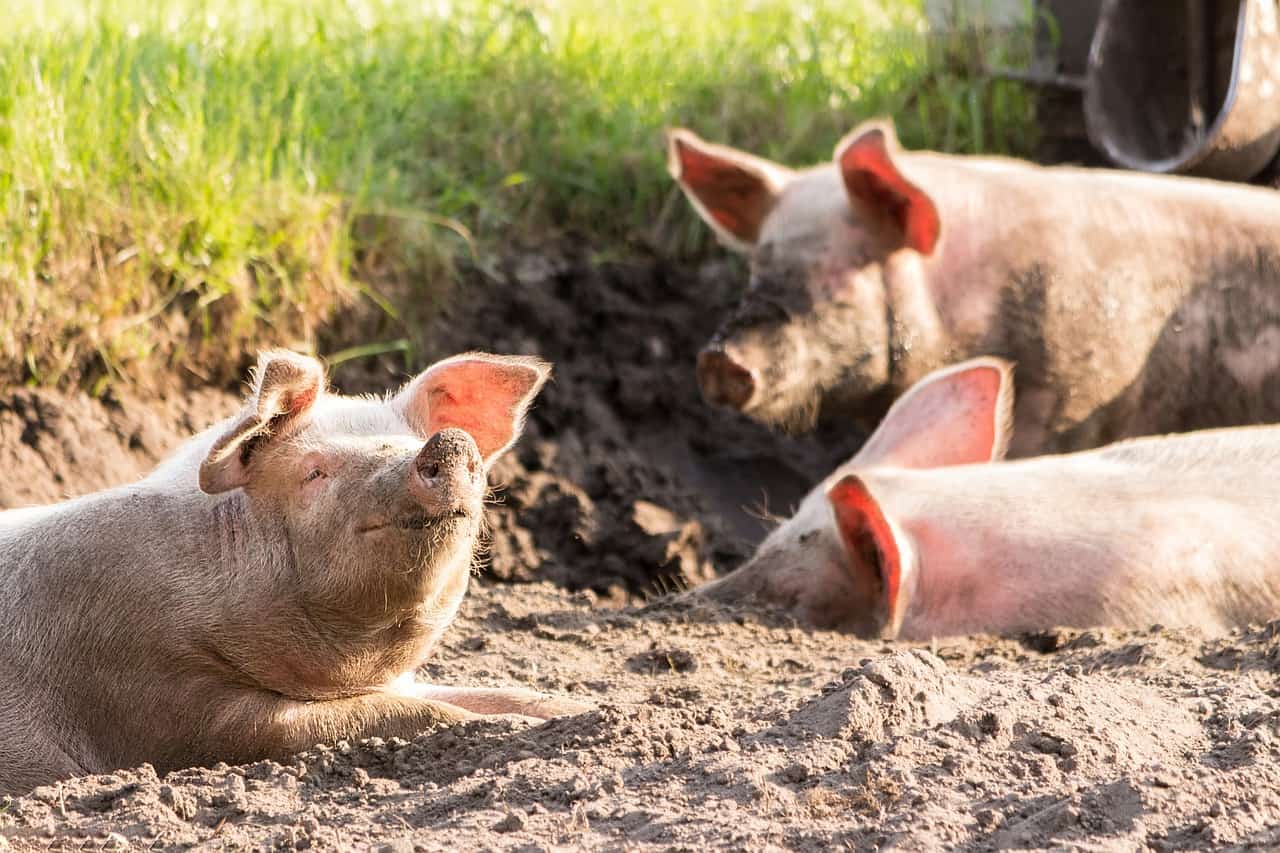
You can graduate to raising pigs once you got the hang of raising smaller livestock like poultry and rabbits. Pigs are excellent livestock because they provide so much meat. Majority of their bodies can be cooked and eaten. You can start by purchasing a pair of piglets and then butchering them once grown. If you find that you’re comfortable with caring and slaughtering pigs, you can move on to breeding pigs.
Pigs are challenging to grow because they require a lot of space and a sturdy pen. They’re also smart and known to burrow beneath fences just to escape, so you need to get more reinforcements just to keep them in. Pigs don’t sweat which means that they need a puddle of water or some mud so that they can waddle in and cool themselves down. Their diets are largely comprised of water and grass.
They’re also high maintenance. They spend a lot of time in mud pools or water puddles which means that they’re constantly exposed to sources of bacteria. Pigs need to be regularly vaccinated and dewormed so that they’ll stay healthy. Some of the most common illnesses you need to watch out for include diarrhea, swine fever, and foot-and-mouth disease.
Final Thoughts
Having a doomsday stash requires a lot of preparation and hard work. You need to outline the best foods with the longest shelf-life and then store them properly to promote longevity. Any other food can be stored for long-term through freeze drying and dehydration. Your preparation depends on the length of the emergency. For prolonged emergencies, you might need to resort to tending to a survival garden and raising livestock. These are more sustainable and prepares you for the possibility that your pantry might run dry.
Another thing to consider when preparing food for long-term storage is your defense mechanism against thieves. There will be thieves and looters who will be on the lookout for more resources since they were unable to prepare for themselves. Since law enforcement will be preoccupied with the disaster, you can’t depend on them and you need to fend for yourself. You can safeguard your stash by keeping its location a secret. You can also grow a camouflaged survival garden and install home security gadgets that will alert you of any intruder on your property.