One of the key goals for surviving when SHTF is the establishment of a reliable food source. It can be achieved through various means like hunting, foraging, bartering, and gardening. Having one’s prepper garden is going to be essential for food security. It will also help you reconnect with nature and stay active.
Below are some crops that are easy to grow, have a good yield, and provides a decent number of calorie:
- Chayote
- Potato
- Sweet Potato
- Corn
- Beans
- Squash
- Mammoth Sunflower
Prepper Garden Guide
Plant Life Cycle
Some plants only bear fruit once before completely withering away. While others can continuously produce crops for years. Knowing the life cycle of a plant is important when prioritizing which one to grow.
In botany, the life cycle of plants is described as annual, perennial, or biennial.
- Annual plants are those that perform their entire life cycle from seed to flower and back to seed within a single growing season. After the plant produces seeds, it will die, including the root system.
- Perennial plants, on the other hand, are plants that will continue to live as long as it is not intentionally killed or contracts a disease. These types usually produce a complex root system that stays alive even if the top vegetation dies off due to frost.
- Biennial plants are those that require 2 years to complete their life cycle. The first year is often spent on growing the root system and the leaves. In the second year, these plants will start to flower and produce fruits before completely dying.
General Planting Guides
Germinating Seeds Indoors
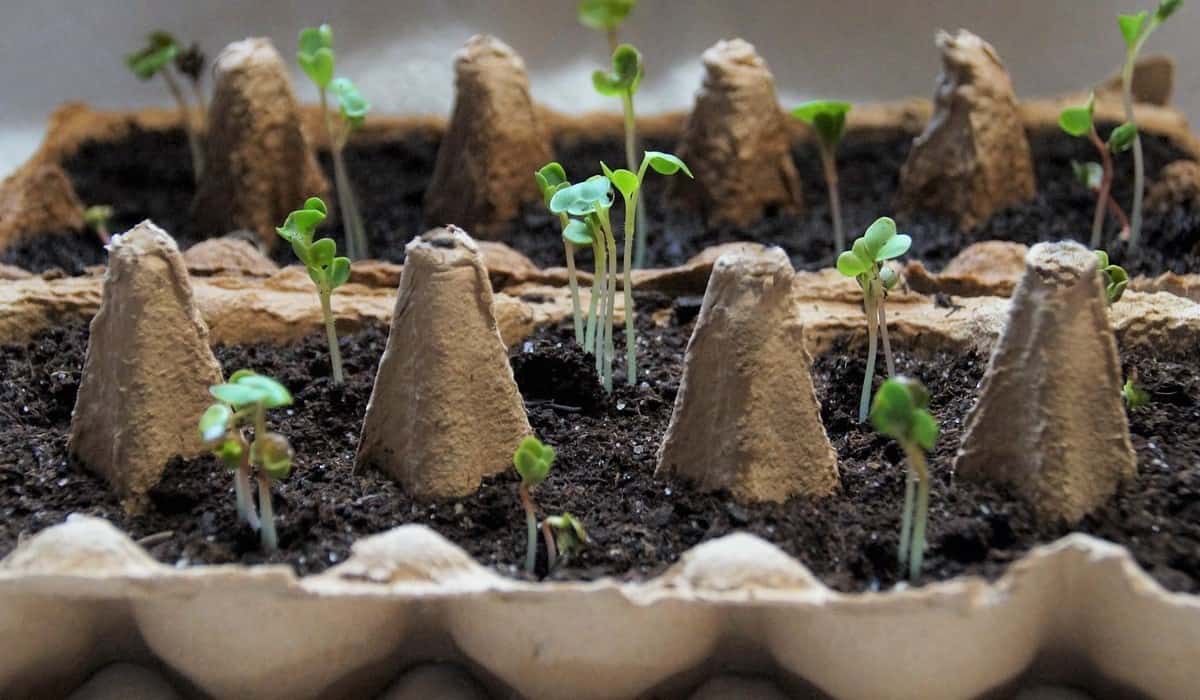
Germination is the process by which a plant grows from a seed or a similar structure. In most cases, it is best to germinate seeds indoors where the seeds are protected from wild animals and the weather, until the plant grows into its more stable form, before transplanting to the outside garden.
To germinate seeds, plant a seed or two in a small plastic cup with soil, or use a germination tray, or ice cube trays with holes drilled at the bottom in order to drain excess water. The cups or trays should be kept moist but not overwatered. Use a cling wrap to cover it to avoid moisture loss, and keep it in a warm location, or near a window sill. Once the seeds have sprouted, the plants should be transplanted to a bigger container, but still kept indoors until it is around a half a foot tall.
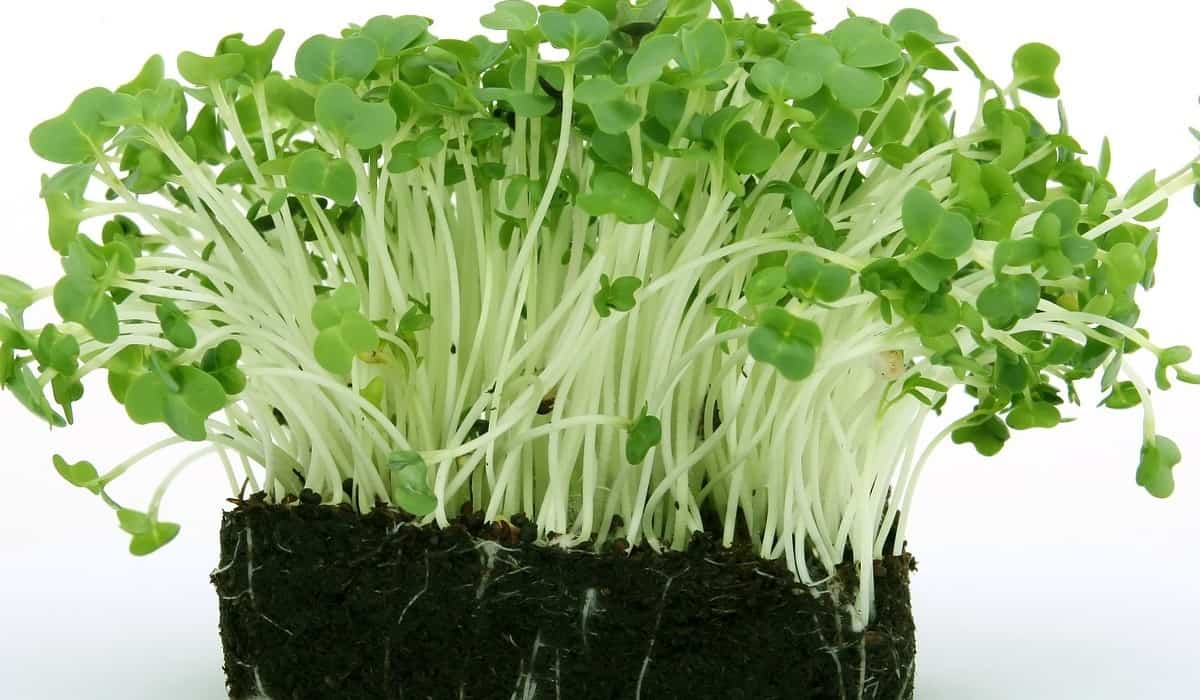
Growing from a Cutting
It is faster to grow from a cutting compared to growing a plant from a seed. However, not all plants can be propagated this way. To start, cut a branch or stem diagonally using a pair of scissors or a sharp knife. The cut part is then placed on a container filled with half a cup of water with or without store-bought rooting hormones.
Several plants in this article like the chayote, sweet potato, beans, and squash can be propagated this way to save time from growing from a seed. In general, it takes around 1 week for roots to appear, and another week for the roots to be well established to survive replanting in soil.
Transplanting Indoor Grown Plants
Plants that are grown indoors need support when transplanted outside due to their softer, weaker stem, which is not used to the wind. This is achieved by setting up small stakes and tying the stem of a plant loosely unto it.
Transplanting is best done in the early morning. Start by digging a hole that has the same depth as the container of the plant. Carefully take the plant out of its old pot/container, along with the soil, and plant it on the hole. Water the plant deeply after transplanting.
Pinching Plants
Pinching is a technique to grow a bushier plant, which means there will be more stems and more room for fruits to grow. It is done by pinching off the top part of a sprouting plant, just above a set of mature leaves. Doing this promotes stems to branch off sideways. Instead of a tall plant, one can grow a fuller-looking plant this way. Plants discussed in this article that can be pinched to promote branching are chayote, beans and squash.
Hand Pollinating
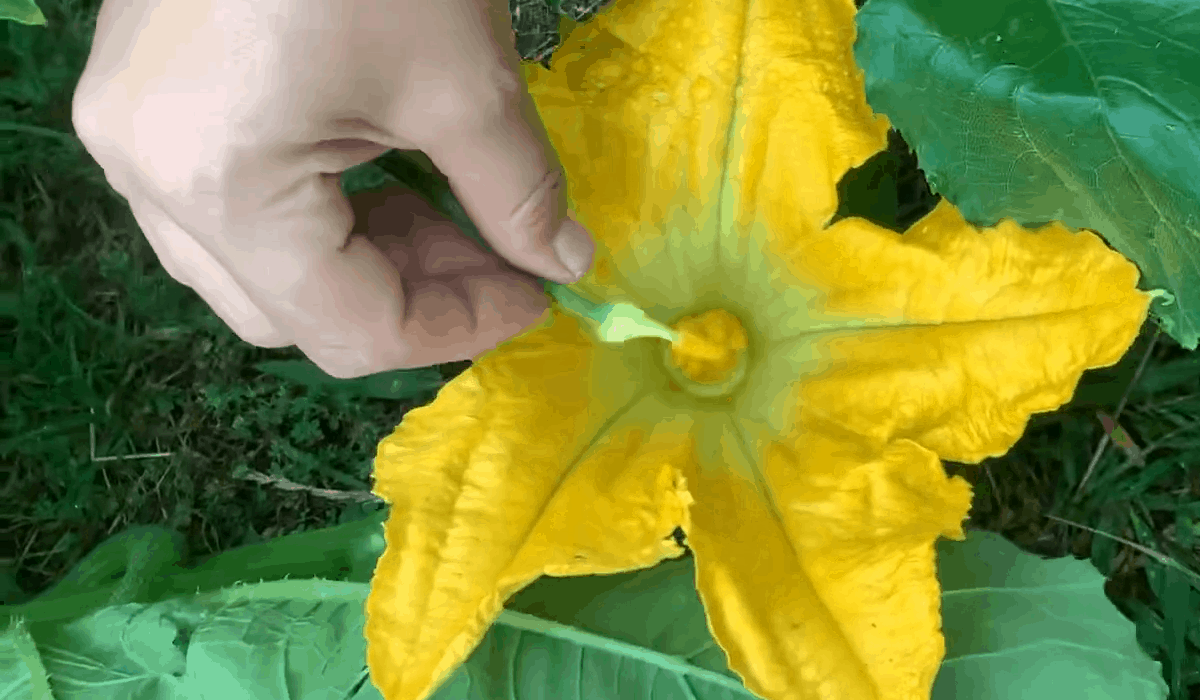
Pollination is the process by which pollen from a male flower is transferred to the stigma of a female flower (center structure surrounded by petals) which results in the fertilization, and subsequent fruit production of the female flower. Most fruiting plants in this article can be hand pollinated. It is an essential technique, especially when growing plants indoors. The first thing to do is to distinguish the female from the male flower. The female flowers will have a miniature fruit directly underneath them, while the male flowers will have pollens in the morning.
To hand pollinate, use a cotton swab or an old toothbrush to gather pollen from the male flower. Rub the swab around the center of a male flower to gather pollen. After which, gently rub the swab filled with pollen on the center of the female flower. This is best done in the morning when the male flowers produce pollen.
Hand pollination can also be done by plucking off a male flower and stripping its petals, leaving only its pollen filled stamen. It is then rubbed on the female flower’s stigma (female flower’s reproductive organ) which is at the center of its petals.
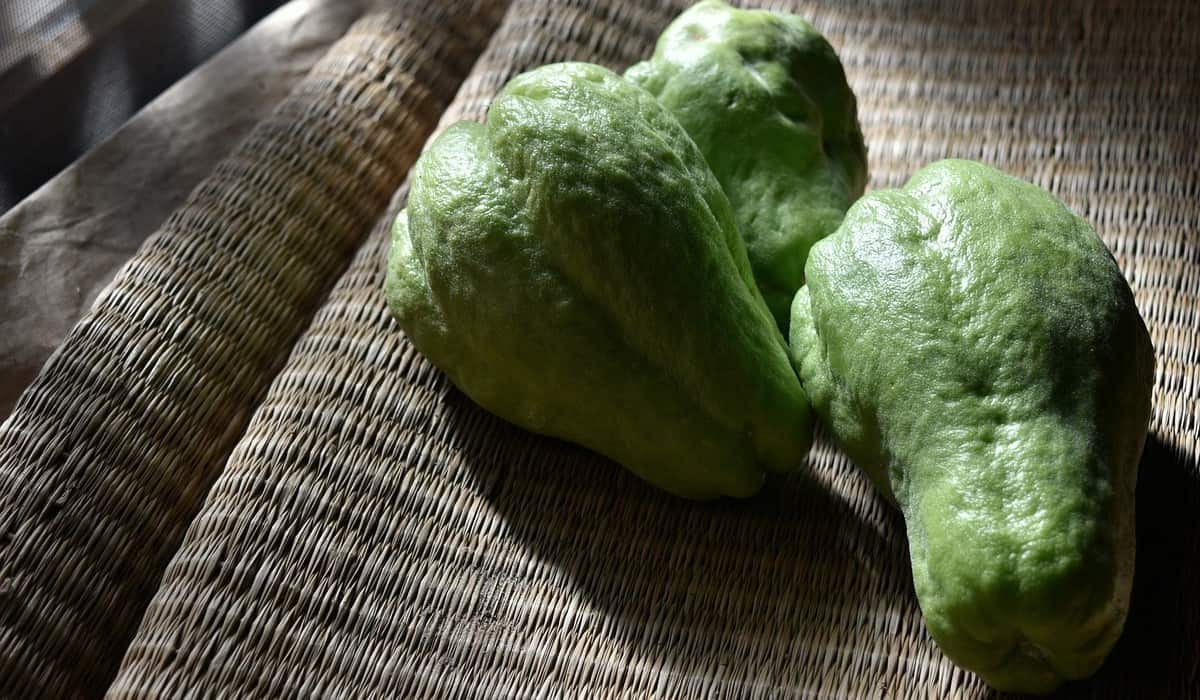
Chayote
Average time until harvest: 120 to 150 days
Calorie per cup (130g): 25 calories
Yield: 75 to 600 fruits per vine
Life span: Perennial
Chayote is a vine that grows up to 50ft (15.2m) long or more. It produces a pear-shaped fruit that is the main crop consumed. Moreover, the young shoots can be harvested and used as additional ingredients in cooking. Since it’s a perennial plant, the top leafy part and vines may die off in winter, but the root system is still intact and will regrow in spring.
It may not be the most calorie-dense crop, but this is offset by its ease of growing, and the sheer volume of fruit it produces. A mature fruit weighs around 6 to 12oz (170 to 340g) on average. Additionally, chayote can be candied, canned, or pickled to further prolong its shelf life.
Growing Chayote
The chayote is best planted in spring when the temperature is around 59 up to 86 °F (15 to 30 °C). It can be propagated from fruits bought from the supermarket. Before planting, make sure to choose a mature fruit, which is large and darker in color.
Begin by setting the fruit on its side on top of a pot of soil or on the area you want it to grow. Likewise, it can be grown by carefully removing the seed, and placing it on top of the soil. The fruit contains one seed, but it’s difficult to remove without causing any damage to it.
If planting from a fruit, there’s no need for watering until it germinates. However, if planting using a seed, it should be watered twice a week, and then covered with plastic wrap to keep it from drying until it germinates.
After several days to a week, a root system will sprout from the bottom side of the fruit, and a vine will sprout at the stem part of it. When the roots appear, they can either be left on the pot of soil or transplanted to the chosen growing area. Its vines can be pinched off when it is around 4 inches long to promote branching.
The chayote is a climbing vine and is best planted near a fence, or a structure it can climb on like a trellis or stakes. As the vine grows, it should be watered deeply every 1 to 2 weeks. The plant flowers at around 3 to 4 months, and will produce a fruit 28 to 32 days after pollination. The flowers can be hand-pollinated or left alone to be pollinated naturally by pollinators.
Potato
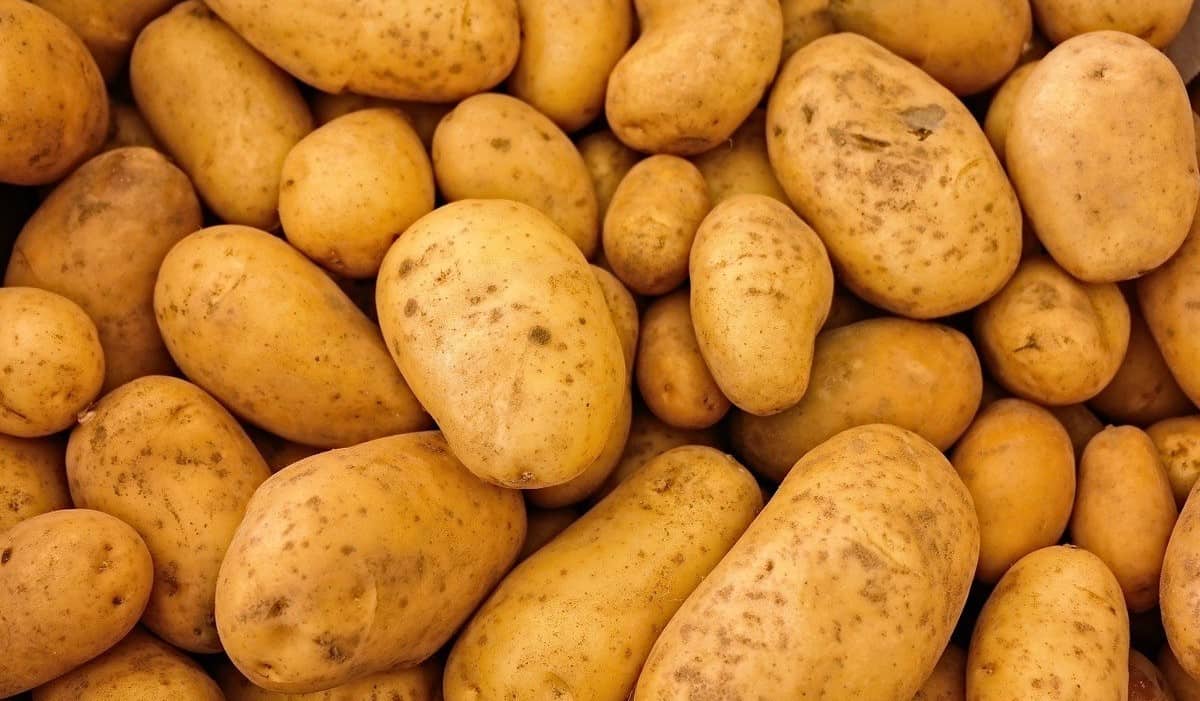
Average time until harvest: 70 to 98 days
Calories per cup (130g): 113 calories
Average Yield: 2lbs. (900g) per plant
Life span: Annual
In theory, one can survive for a very long time by eating nothing but potatoes. It’s a fast-growing plant that has a good yield and can be planted in a different medium. The only consumable part is the tubers, as long as it has not been exposed to sunlight. Exposed potato tubers that develop a greenish color of its skin contains a chemical called solanine, a poison found in the stems and tubers of the nightshade family.
Growing Potato
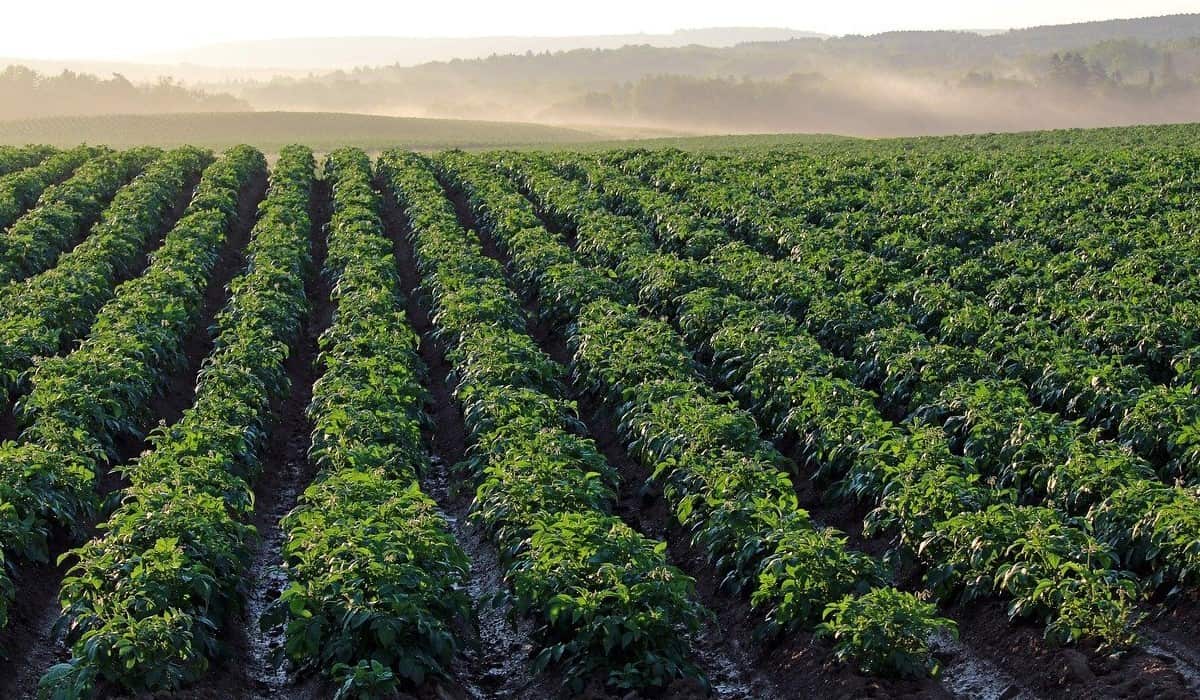
The potato tubers grow better in loose, fertile, well-drained, and cool soil, at around 50 °F (10°C). Planting the seeds is usually started from March to May. Although, it can be planted during fall in areas that do not experience harsh winters.
Potato plants are propagated from the tubers. To start, pick a potato with a lot of small circular indentation called eyes. A stem will sprout from one of those eyes. Due to this, it’s best to cut the potato into 3 to 4 parts to separate the eyes, as planting a whole large potato will lead to a stemmy plant with less room for new potato tubers to grow.
Once the potato is cut, the pieces are cured under the sun or on a warm counter at around 70 °F (21 °C) for three to five days. This is done to dry the cut surface and create a skin which will help prevent rot. Before planting, it’s best to water the garden plot deeply, because no watering should be done until the plant has sprouted. This is to prevent the seed from rotting and prevent the proliferation of pathogens that can kill or slow the growth of the plant.
Potato seeds are planted in 6 inch deep holes or trenches. Before covering with soil, fertilizer or organic compost can be sprinkled on top of the seeds. The holes are then covered with at least 2 inches of soil.
When the potato sprout reaches around 8 inches in height, it’s necessary to hill/mound the vines in order to cool the soil temperature which will promote tuber growth. It is done by covering the lower 4 inches with soil, straw, or shredded leaves. Hill again every time the vine reaches 8 inches, stopping only when there are flowers present.
Aside from full sunlight (6 hours or more), each potato plant will need 1 inch of water every week. This is equivalent to 0.6 gallons (2.2 liters) of water per potato plant/week. It should be spread out at 0.2 gallons three times a week.
Once the plant flowers and fruits, it signals the formation of potato tubers. Two weeks after flowering, baby potatoes are available for harvest. However, to get larger potatoes, one should wait until the plant dies, as this is the sign that the tubers are fully matured.
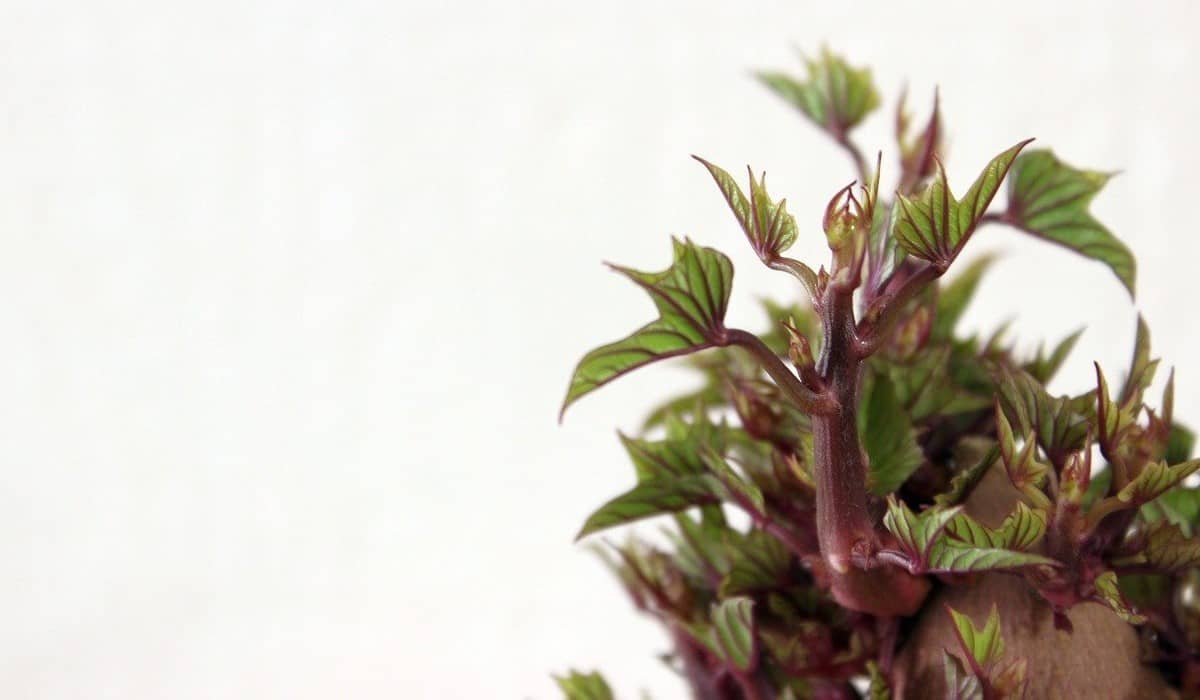
Sweet Potato
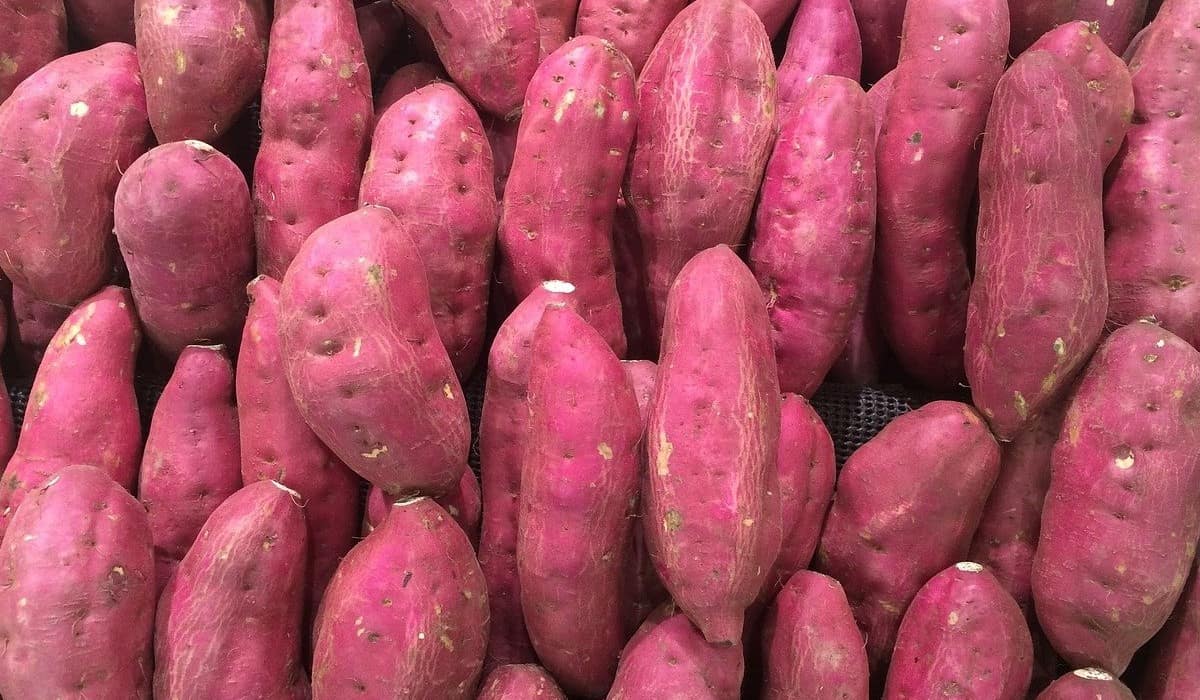
Average time until harvest: 90 to 120 days
Calorie per cup (130g): 112 calories
Yield: 2 to 2.5lbs. per plant
Life span: Perennial, but dies on the harvest.
Despite its name, the sweet potato and the potato are unrelated to each other. It is part of the morning glory family, as compared to the nightshade family where the potato belongs. As such, the propagation of these two plants is also different, and one cannot apply the techniques of propagating potatoes to try and grow sweet potato tubers.
Unlike the toxic potato plant, the sweet potato vines and shoots are edible.
Growing Sweet Potato
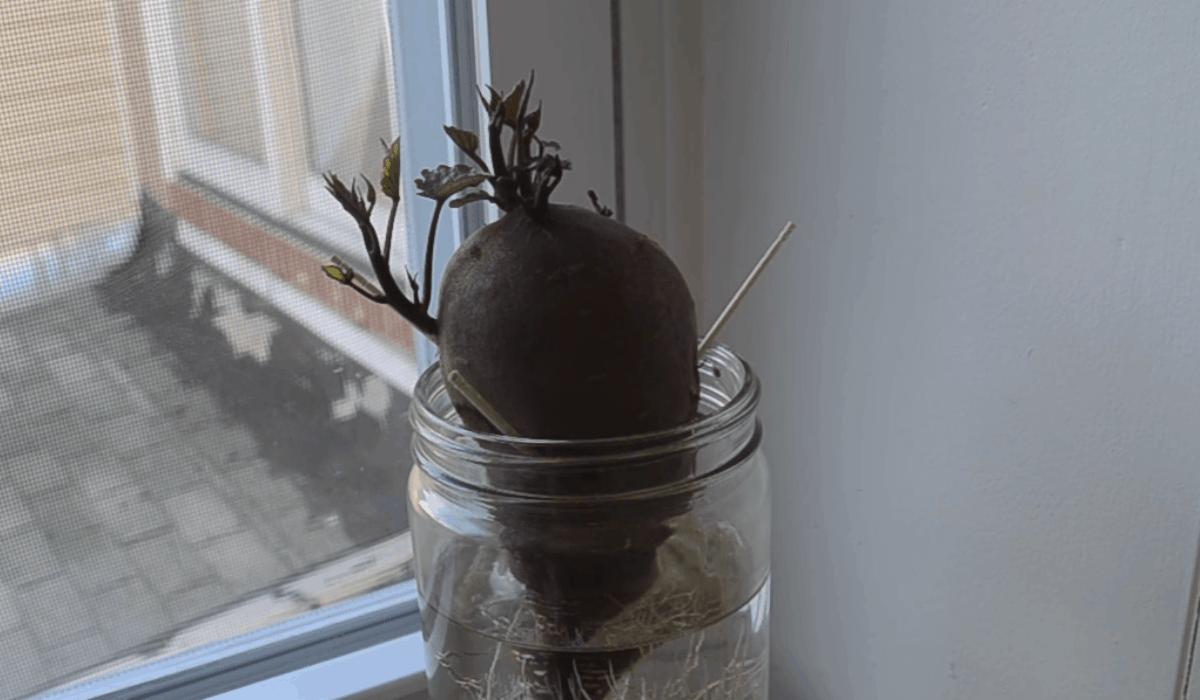
Sweet potato plants grow from stems called slips. A large tuber is capable of producing 15 slips. The slips grow from a sweet potato tuber and will eventually grow leaves and roots. It can then be cut off along with its roots and transplanted outside. Unlike potatoes, planting a whole sweet potato will not result in more tuber production, which is why a new plant from slips needs to be propagated.
To make a sweet potato form slips, it can be left in a warm, humid container until sprouting is observed. Another way to hasten the production of slips is to submerge half of the sweet potato in water, making sure to replace the water every day.
It’s best to wait for a slip to grow leaves and roots, before separating it from the main tuber. On average, a slip will start growing after a week or two and will be ready for transplant outside after 6 weeks.
Sweet potatoes grow best on loose, well-drained, loamy, or somewhat sandy soil under full sunlight. It is planted from March to May when the soil is warmer. Transplant the slips outdoors, burying them in a 6-inch-deep hole and spaced 1 foot apart from other plants.
It will need 1 inch of water every week per plant (0.6 gallons per plant/week). The plant can tolerate dry soil once established but will produce a better yield if watered properly. However, overwatering should be avoided since it can cause the tubers to rot.
After 4 months, the tips of the vines will start to yellow. This is the sign that the tuber has matured and is ready for harvest. After harvesting, the tubers need to be cured by drying them under the sun for a few hours.
The curing process is continued for 10 more days indoors, at temperatures of 80 to 85 °F (26.6 to 29.4 °C). It is done to prolong the storage life of the sweet potato for up to several months. Additionally, curing/aging the sweet potato will improve its sweetness greatly.
Corn
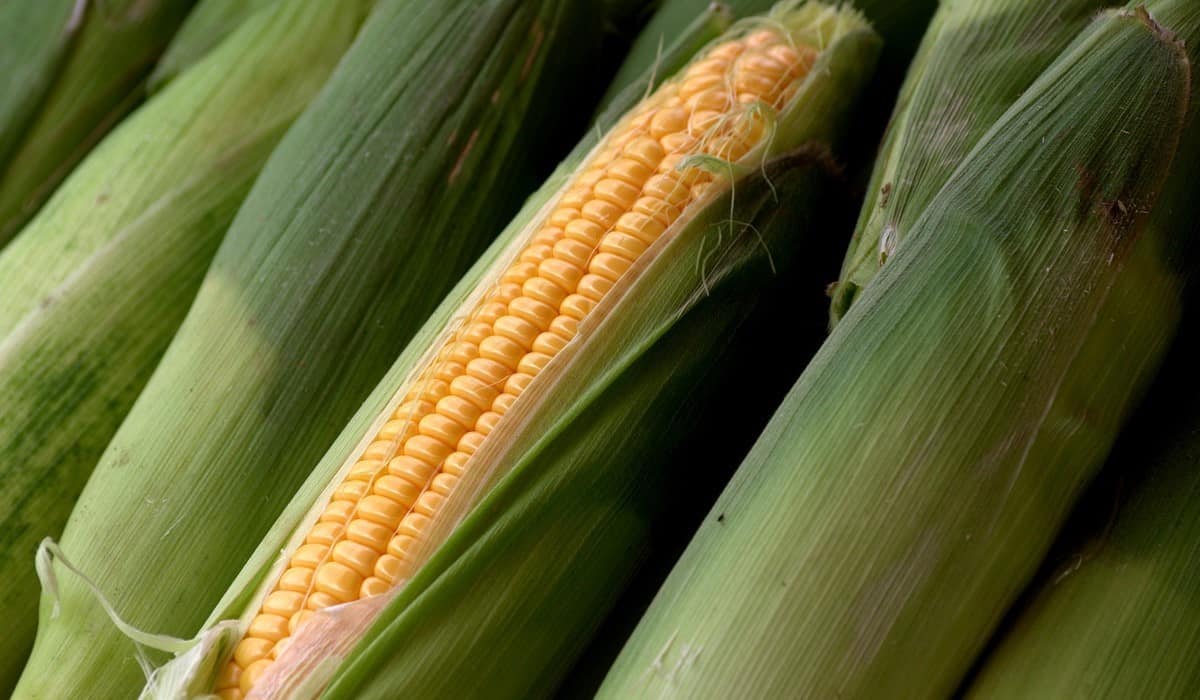
Average time until harvest: 85 to 126 days
Calorie per cup (164g): 177 calories
Yield: 2 to 4 ears of corn per plant, 1/2 cup to a 3/4 cup of kernels per cob.
Life span: Annual
Corn is a very drought tolerant crop. There are different varieties of corn but in this article, we will be referring to the sweet yellow corn. It is because sweet corn has a higher vitamin A, and other nutrients compared to the other corn variants.
Despite its need for a rich, and fertile soil to grow abundantly, the corn is a versatile crop that can be stored for extended periods. It can be stored as raw grain, steamed and canned, or ground to make corn flour. Its growth rate varies depending on the weather. In warm weather, it takes at least 85 days from planting to harvest, and longer, for up to 100 days in moderately cool climates.
Growing Corn
Corn needs to be planted in loose, fluffy, warm soil, at nothing less than 60 °F (15.5°C). If planted at cooler soil temperatures, rot rapidly sets in which kills the seed. An important resource the corn needs is nitrogen-rich soil. Corn is a type of grass and requires abundant nitrogen in the soil to reach its peak height and produce leaves.
The taller the corn, the larger the ears and cobs produced. Before planting, the soil should be loaded with nitrogen by fertilizing with fish emulsion fertilizer, chicken manure, or compost. Planting corn starts with pre-soaking seeds in water for at least 8 hours. This hydrates the corn and gives it a better chance at germinating.
The corn is planted in patches, close together with a 3 to 6 inches spacing in between at a depth of at least 1 inch. A plant will need an inch of water (0.6 gallons or 2.2 liters) once a week, and at least 8 to 10 hours of direct sunlight every day.

The reason for planting so close together is because corn is air pollinated. A corn plant will have both male and female parts. The male part (tassel) is at the very top of the plant, while the female part (ears) grows at the stem below the tassels.
To produce a full corn cob, the individual silks that stick out at the end of the ears need to be pollinated. This happens when the wind blows and the pollen from the male tassel falls on the silks. By planting corn adjacent to each other in a tight patch, the pollination rate is increased.
Otherwise, if planting a small patch, hand pollination can be done to ensure a better harvest. Ears and tassels usually appear at 9 weeks. Within 10 days of the appearance of the corn silk from the corn ears, it should be hand-pollinated to produce a fuller corn cob.
The cobs mature at around 16 to 18 weeks (112 to 126 days) after sprouting. By this time, the leaves of the plant will turn brown. The sugar content of corn degrades as soon as it is picked from the plant. As such, to enjoy its best flavor, it should be consumed or processed as soon as possible.
In order to save sweet corn seeds, it’s best to do it right after the milky stage, that is the stage when pressing a thumbnail on a kernel no longer produces a milky liquid. After this stage, the ear can be cut off from the plant, and the husk is peeled back, before hanging the whole cob to dehydrate in a dry, and well-ventilated area.
The seed is ready for storage when it is shriveled up and completely dry which usually takes a few weeks. After drying, the kernels can be removed from the cob and stored in an airtight jar.
Beans
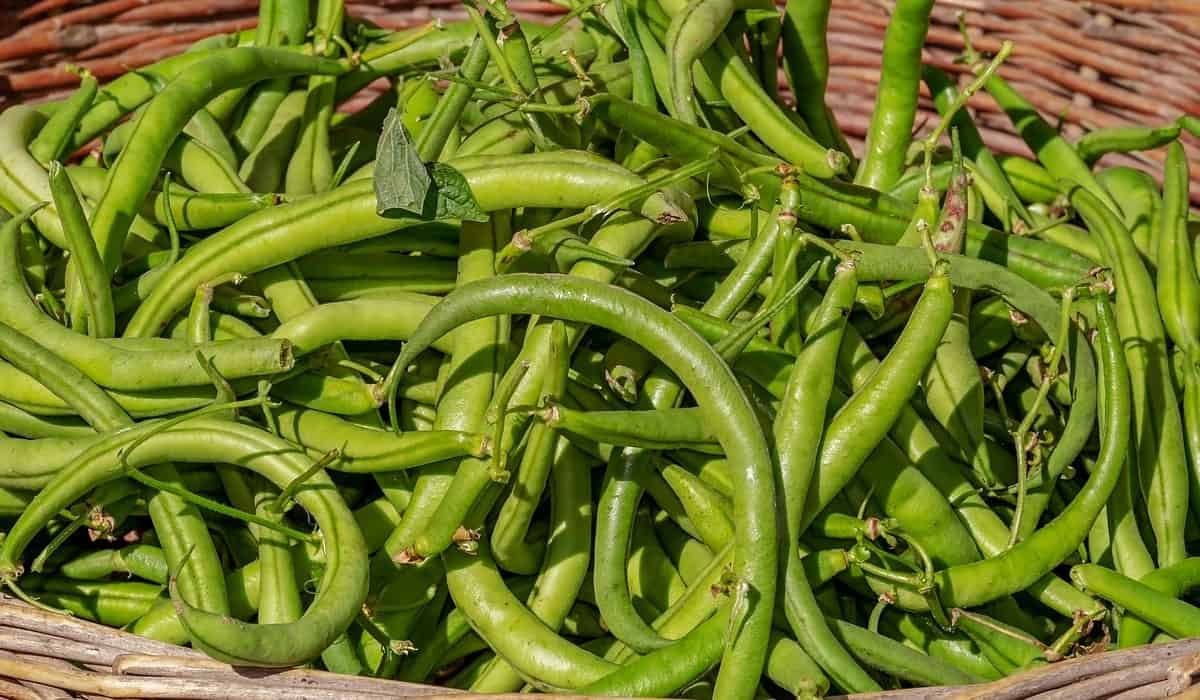
Average time until harvest: 45 to 75 days
Calorie per cup of green beans(100g): 31 calories
Calorie per 3.5oz of cooked shelled, dried beans (100g): 127 calories
Yield: Varied. Average of 1lb. for a 13-foot row.
Life span: Annual
Almost all types of beans can be eaten fresh, or dried before being used as an ingredient. It is a hardy plant that produces nutritionally dense pods, and edible seeds. On top of this, according to the USDA, dried beans can last up to 2 years or more, if stored in an airtight jar.
Bush Beans vs. Pole Beans
In general, there two ways beans grow, as a bush, and as a climbing vine. The bush bean grows up to 2 feet tall and is suitable for a smaller garden. The pole beans on the other hand will need support, and structures like a trellis for it to climb to. Aside from the support, both plants will have similar growing needs.
Growing Beans
Before planting or germinating a bean, identify first if it is a bush or a pole bean. This can be done by looking at the seed package or asking the person where you got the seeds. Beans will only germinate in warm soil with at least 60 °F up to 85 °F (15.5 to 29.4 °C) but a full-grown plant can tolerate temperatures as low as 40 °F (4.4 °C).
As such, it can be germinated and grown indoors until it is warm enough outside to be transplanted. When planting seeds outdoors, the seeds should be buried in a 1 to 1 ½ inch deep hole, in loose and sandy soil.
Bush beans are planted 3 to 4 inches apart, while pole beans should be planted 4 to 6 inches apart. The tip of beans germinated indoors can be pinched back after it develops 4 sets of mature leaves. This enables a bushier plant or branching of the vines of a pole bean.
Each plant needs ½ inch (0.6 gallons or 1.1 liters) of water per day. During the blossoming period, it’s best to only water the base of the plant to prevent loss of flower buds and potential pods. On average, bean plants flower at 6 to 8 weeks. If fertilized, the flower drops and a bean pod develops in its place and will mature within 7 to 10 days.
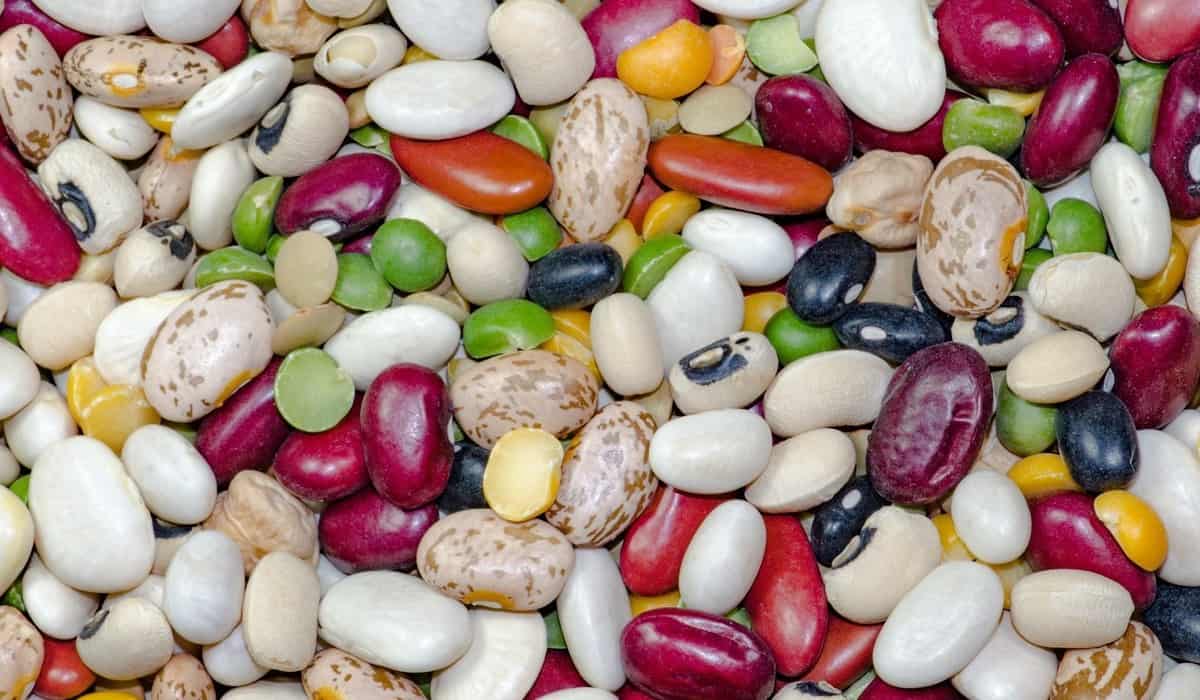
At this time, the fresh bean pods can already be harvested and used in cooking. To get dried beans, the pods are left in the bush or vines until it dries and turns brown. Only the dried beans can be germinated and planted.
Squash
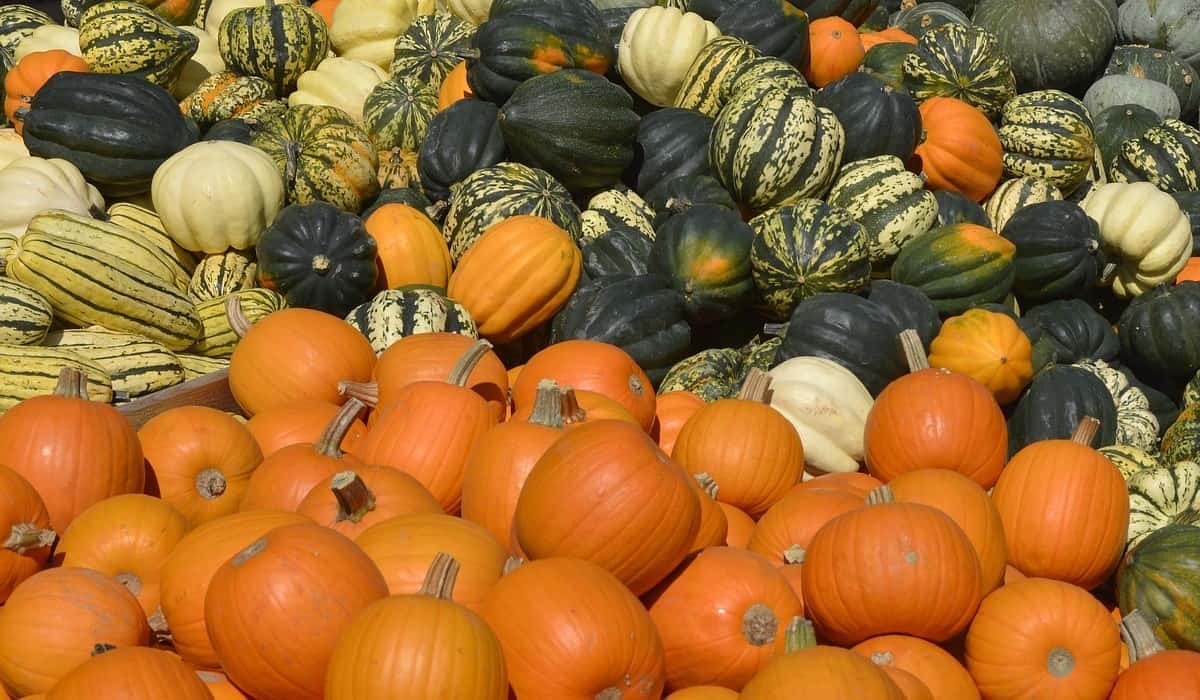
Average time until harvest: 60 days (Summer Squash), 80 to 110 days (Winter Squash)
Calorie per cup (250g): 45 to 90 calories depending on the variety
Yield: 5 to 25lbs. of squash per plant.
Life span: Annual
There are two types of squash, the summer, and the winter squash. Despite their name, most of these are available for growing all year round. The main difference between the two is how fast they grow, and how thick their skin is.
Summer squash grows faster at around 60 days. They have a thinner skin compared to winter squashes. Some examples of these are the zucchini, yellow squash, pattypan squash, zephyr squash, and chayote.
Winter squash on the other hand grows slower at 80 to 110 days. They have thicker skin which makes them great for longer storage. Examples of these are pumpkin, butternut squash, acorn squash, dumpling squash, and spaghetti squash.
Aside from the gourd this plant produces, all parts of the squash plant are edible. From the young shoots, its flowers, and the fruit. The squash produces male and female flowers. The male flowers can be plucked and cooked after hand-pollinating the female flowers.
Growing Squash
Both the summer and winter types will have similar growing needs. It’s best to germinate seeds indoors and raise them for 3 to 4 weeks before transplanting the seedlings outside. It ensures that the seeds sprout and grow into strong, hardy plants, as the cool outside soil prevents the seeds from germinating.
The best time to plant them is around February to May when the soil temperature is around 60 °F (16 °C). Squash needs fertile, evenly moist, loose soil. Before planting, it’s best to spread compost or fertilizer on the soil.
When ready to transplant the seedlings, plant them 4 to 8 feet apart depending on the variety of squash. Plants that produce larger gourds need to be spaced farther from each other to provide room for the fruit to grow.
Watering is done when the top 2 inches of soil around the plant is dry. In temperate climates, this is usually done once every week. However, on very hot days, the plants will need frequent watering. In general, a squash plant will need 1-2 inches of water (0.6gal to 1.2gal) per week per plant. It is also important to water the soil deeply, and not the leaves because wetting the leaves can lead to a disease called powdery mildew.
The squash’s flowers usually appear at around 35 to 45 days according to the Utah State University. Male flowers will appear earlier and in greater numbers. When the female flowers appear, which is identified by having a small fruit directly beneath them, hand pollination can be done.
It takes 1 week from pollination for summer squash to be ready for harvest. These types are harvested immaturely, as they lose their flavor and nutrients the longer they stay on the vine. Winter squash on the other hand takes 45 to 55 days to mature. To determine if a winter squash is fully ripe, the fruit should be fully colored, and a thick rind that is impervious to scratching has developed.
Squash can be planted alongside other crops, specifically beans, and corn. When all three are planted together, it is known as the three sisters’ garden. By doing so, the beans can climb the corn stalk, while the sprawling vines and leaves of the squash cover the ground which helps retain moisture and keep weeds out.
Sunflowers
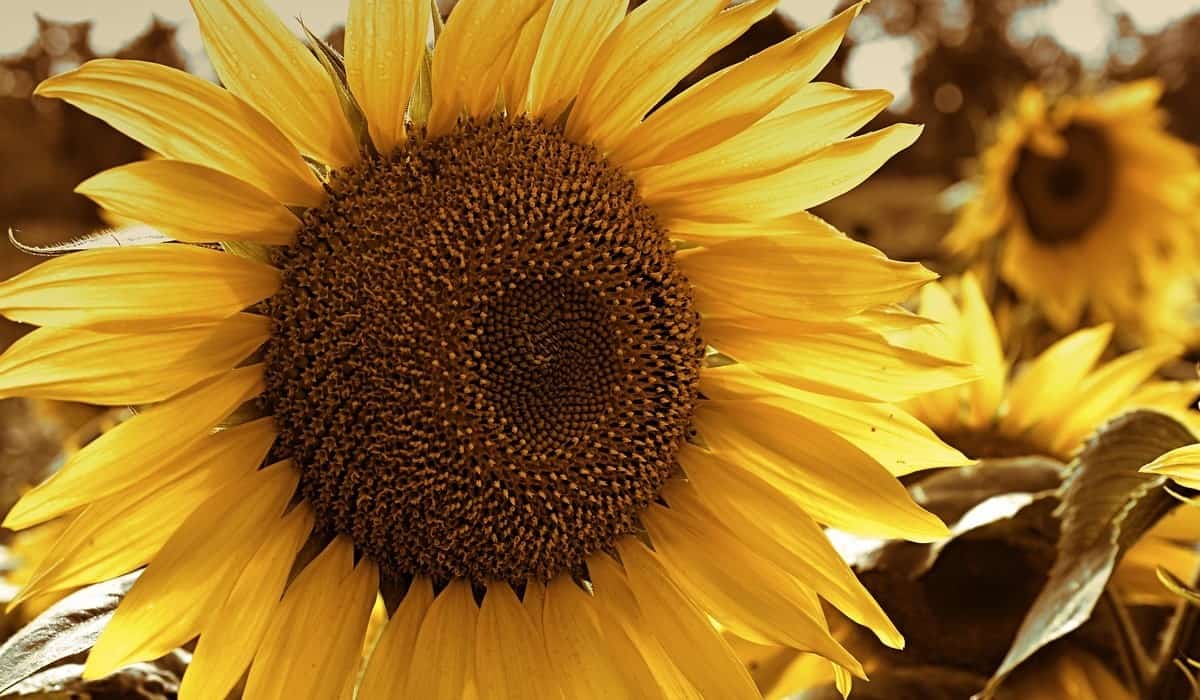
Average time until harvest: 90 to 120 days
Calorie per 1/4 cup of raw shelled seeds: 204 calories
Yield: 1000 to 1500 seeds per flower
Life span: Annual
The giant sunflower blooms into 12 to 14 inches diameter flower heads which produces seeds that are thin-shelled and meaty. These plants are easy to grow and don’t need too much attention aside from setting up stakes for support, due to how tall they grow (12 to 15ft tall). Additionally, the seeds are calorie-dense and can be stored for long periods in an airtight container.
There are different cultivars of sunflowers that produce edible seeds. The most common ones are the Russian Mammoth Sunflower, Giant Sunflower, and Mammoth Gray Stripe.
Growing Sunflowers
Due to its waxy shell, the sunflower seeds take 10 to 14 days to germinate. It can be planted in any kind of soil as long as it’s not waterlogged. Similar to most plants, sunflower seeds requires a soil temperature of at least 55 to 60 °F (12.7 to 16°C) to germinate. As such, it’s best to sprout the seeds indoors, and transplant the seedling outside when the weather becomes warmer.
When transplanting outdoors, the seedlings should be spaced at around 18 to 24 inches apart. The growing seedlings need to be watered daily just to keep the soil moist. As the plant becomes established, it can be given an inch of water (0.6gal or 2.2 liters) every week. The plant also needs full sunlight, around 8 to 12 hours of direct sunlight every day.
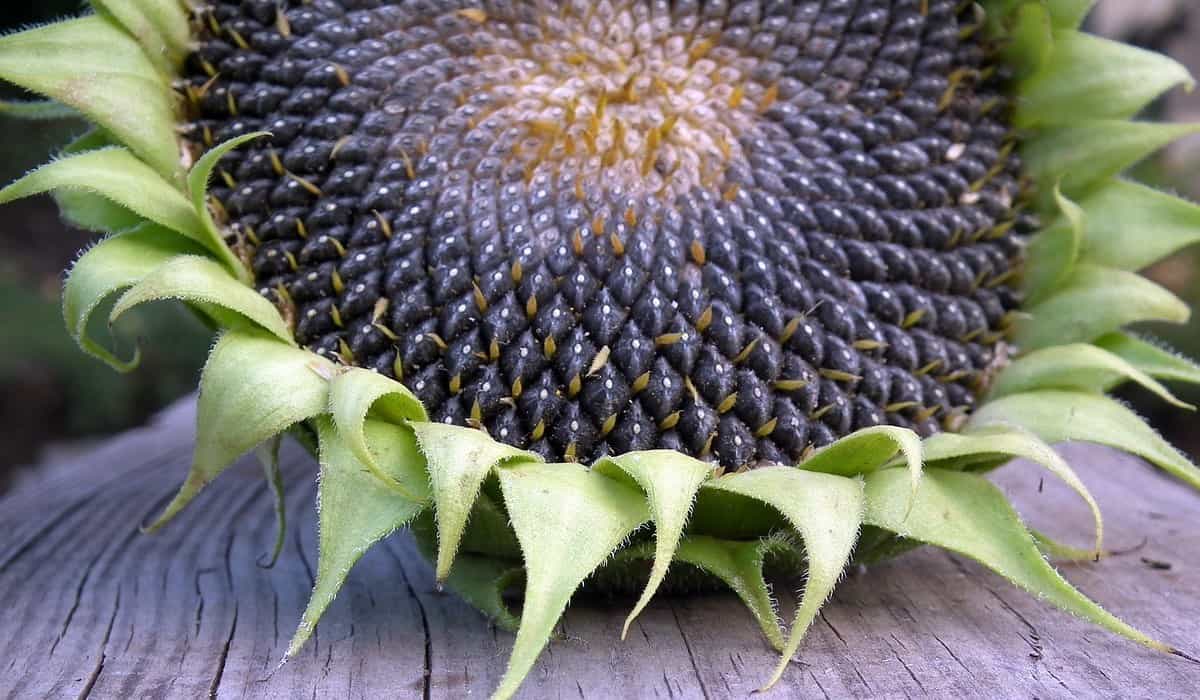
At around 60 to 85 days, the plant has reached its maximum height and will start producing a flower bud. It takes on average around 20 days for a flower bud to bloom into a flower head. If pollinated, the flower head will develop seeds and start to ripen.
On the 120th day, the flower head and the plant would have dried out, which signals that the sunflower seeds are ready for harvest. The seeds form at the center of the sunflower and can be easily knocked out when completely dried.
It is important to note that the sunflower’s roots and stem produce a chemical that is toxic to other plants, especially potatoes and squash. Due to this, its best planted away from other vegetables and crops.
Final Thoughts
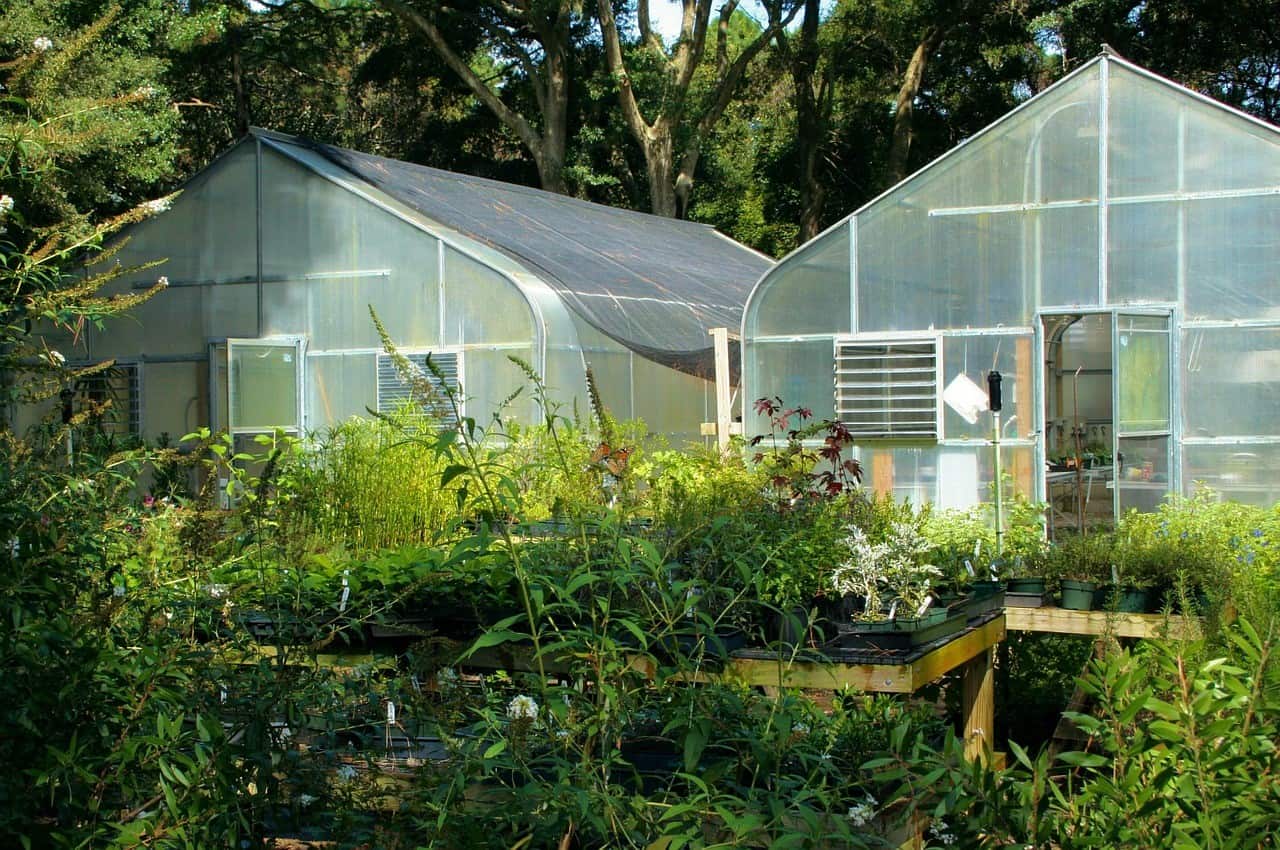
Although frost can be a problem in some parts of the states, some of the plants in this article such as the squash and bush beans can be planted indoors in pots as long as they get 8 to 12 hours of direct sunlight every day. Ideally, preppers and survivalists should also have an indoor garden or a greenhouse which is essential especially during winter.