Bic lighters are made to be thrown away after their content is depleted. Because of this, it wasn’t made to have a refilling port or valve. When SHTF and the only lighter you have is a disposable Bic, it’s good to know that there are still ways to refill it. Bic lighters can be refilled through the outlet where the lighter fluid comes out. This can be done by disassembling all the top parts:
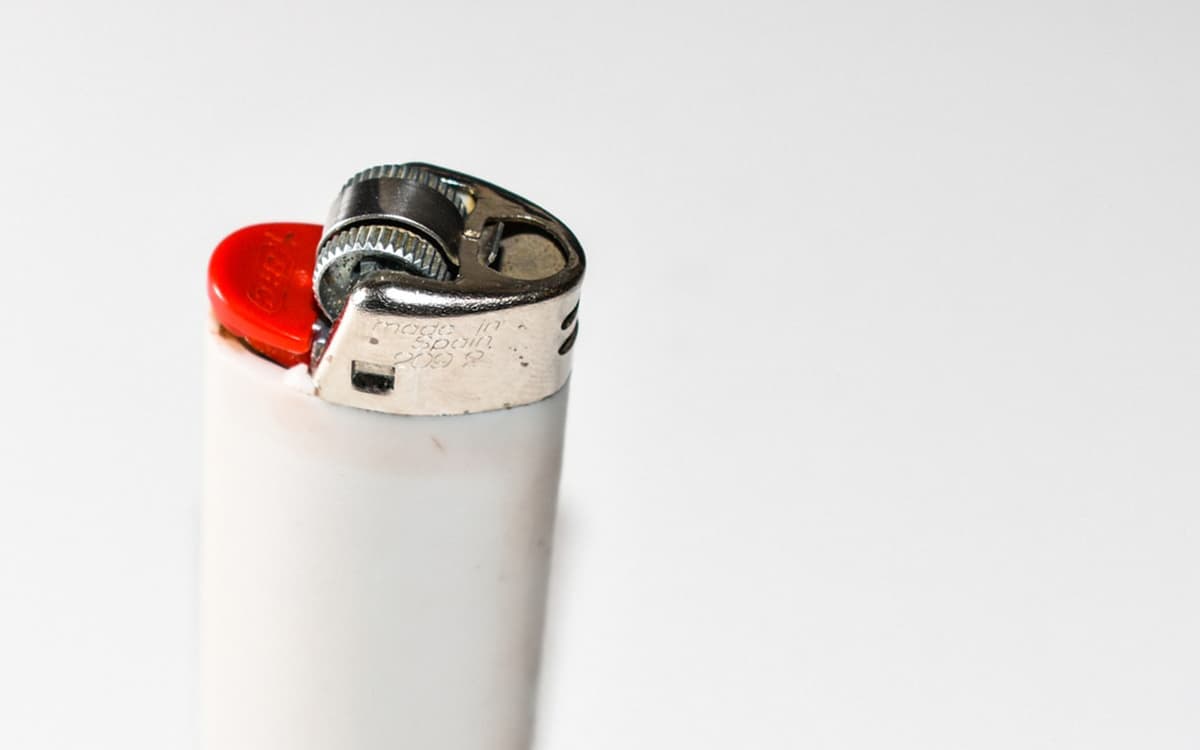
- metal hood
- child lock
- spark wheel
- flint
- flint spring
After all these parts have been removed, the fuel outlet becomes more accessible, and the lighter can be refilled through this port.
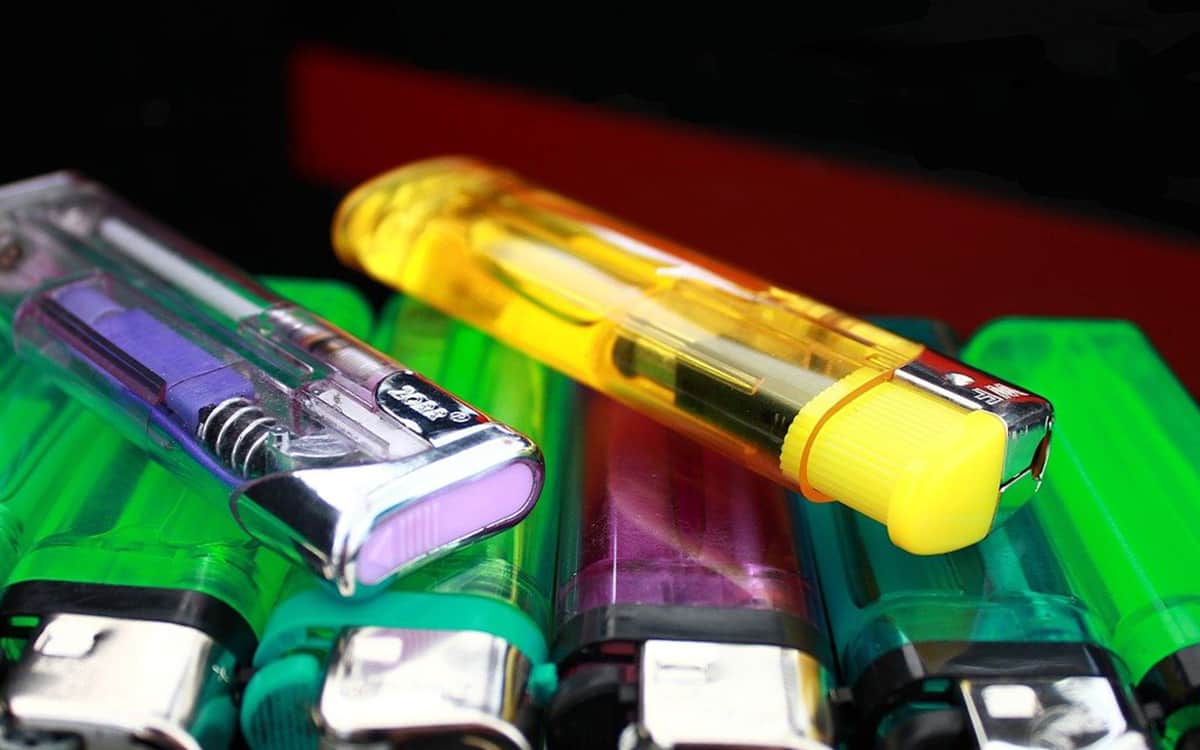
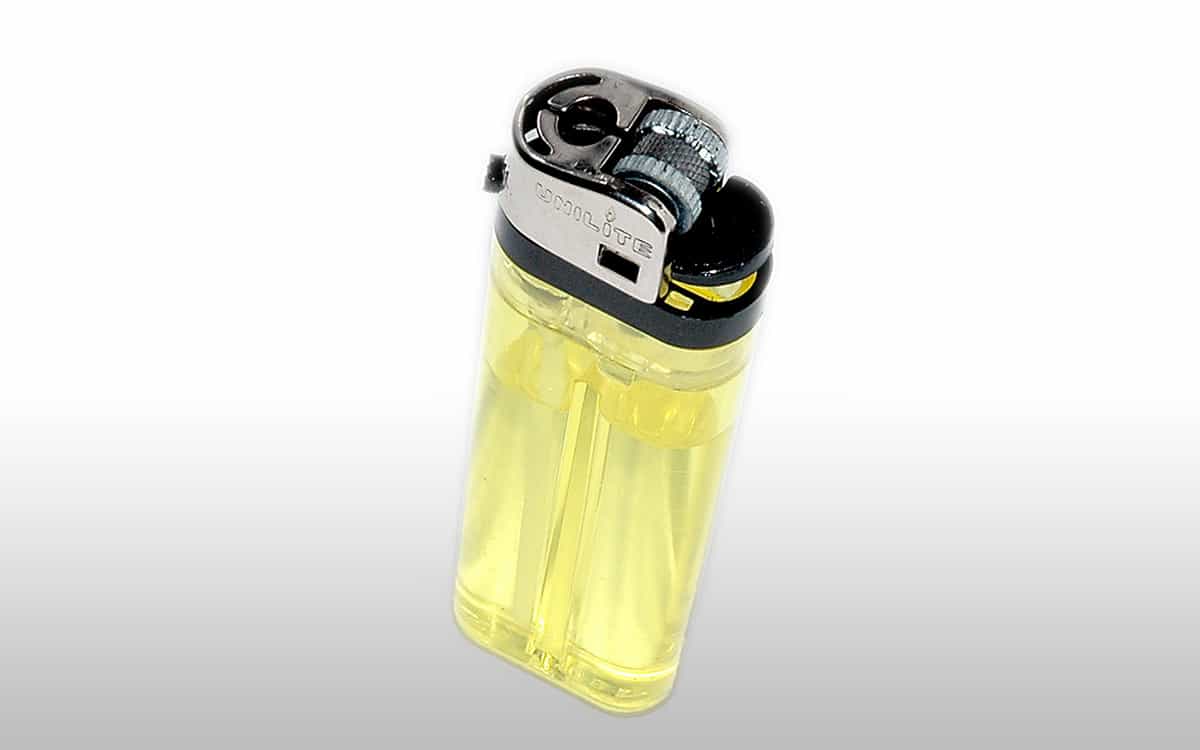
Parts of a Bic Lighter
 Before attempting to refill your Bic lighter from the top, know that some parts are made of plastic that will easily break. If you happen to break these parts, the lighter will be ruined.
- Metal Hood – this is the part that covers most of the top assembly parts of a Bic lighter. It’s usually made with a sturdy metal to protect the output valve and the plastic cheeks that holds the spark wheel.
- Child Lock – a curved metal spring plate that is situated on top of the spark wheel to make it difficult for children to turn the wheel, and light a flame.
- Spark Wheel – is a carbon steel wheel with ridges like a file and is in constant contact with the flint. Turning this rubs the ridged wheel and the flint together creating a spark.
- Cheeks – this is the structure holding the spark wheel. It is one of the most delicate parts of the Bic lighter. The hole where the sides of the spark wheel inserts can easily chip off or break if too much force is applied in removing the wheel. If you break the cheeks, then the lighter is ruined.
- Flint and Flint Spring – the flint is the source of the spark. It sits on top of a spring that pushes it upward, allowing for constant contact with the spark wheel.
- Fork and Fuel Release Button or Switch – this part is a lever with the fork in front and the button at the back. Pressing the button lifts the fork which opens up the output valve allowing the fuel to flow out.
- Regulator Wheel – this wheel adjusts how much fuel is released when the fuel release button is pressed. In Bic lighters it does not have an external adjustment switch, compared to other lighters where you can adjust the size of the flame without the need to remove the metal hood.
- Output Valve – this is the vent where the fuel comes out. It is opened and closed by the action of the fork. Continuously pressing on the fuel release button keeps the vent open.
- Body – the body acts as the fuel reservoir. The larger the body, the more fuel that can be stored. Bic lighters don’t have a refill valve, although they have an entry port at the base of the body that is being kept close by a tiny piece of plastic.
- Piezo Ignition – this part is only present in electric lighters. It replaces the spark wheel, the flint, and the flint spring. It creates an electric arc to ignite the fuel.
Step by Step Guide on How to Refill a Bic Lighter from the Top
 Materials
- Butane refill canister
- Empty Bic lighter
- Paper clip
- Mini flat nose pliers, any small forceps, or a 1.5 to 2.0 flat head screwdriver for prying purposes
- Flint
- Wide white cloth
Step 1: Preparing the work area
Before starting, cover the work table with a white cloth. The lighter has small parts that are easily lost. Covering your work area with a white cloth increases the visibility of the small parts, and prevents them from bouncing, or rolling when they fall on the table.
Step 2: Removing the child lock spring
To remove the child lock spring, wedge your prying tool (pliers, forceps, or flat head screwdriver) through the space between the spark wheel and the child lock. Then carefully pry the spring outwards until it pops out.
Step 3: Removing the metal hood
The metal hood has two small depressions on both sides where the metal was deformed to clip on the cheeks. To remove the hood, insert your prying tool inside the hole of the metal hood where the flame comes out, and try to position it near where the depression is. Next, push the hood outwards to loosen it, and finally, remove it.
Step 4: Removing the spark mechanisms
You should now be able to see the spark wheel and the cheeks holding it more clearly. You will also be able to see the output valve, the fork, and the regulator wheel. Insert your prying tool in the space between the cheek and the spark wheel, making sure not to put too much pressure on the cheeks. Now carefully pry the wheel until it pops out. Be careful when prying the wheel since the flint and the spring is underneath the wheel and can fly outwards and be lost.
Step 5: Loosening the regulator wheel
 Locate the regulator wheel. It is at the front of the assembly together with the output valve, and underneath the fork. Using your prying tool, turn the wheel counter-clockwise, which is going from the left to the right, around eight to ten times. This expands the opening of the output valve making it easier to refill.
Step 6: Opening the output valve
Using a paper clip, wedge it under the fork to lift it and keep the valve open. If your Bic lighter still has some fuel in it, expect it to gush out. Secure the paper clip so it won’t fall off and accidentally shut off the valve when refilling.
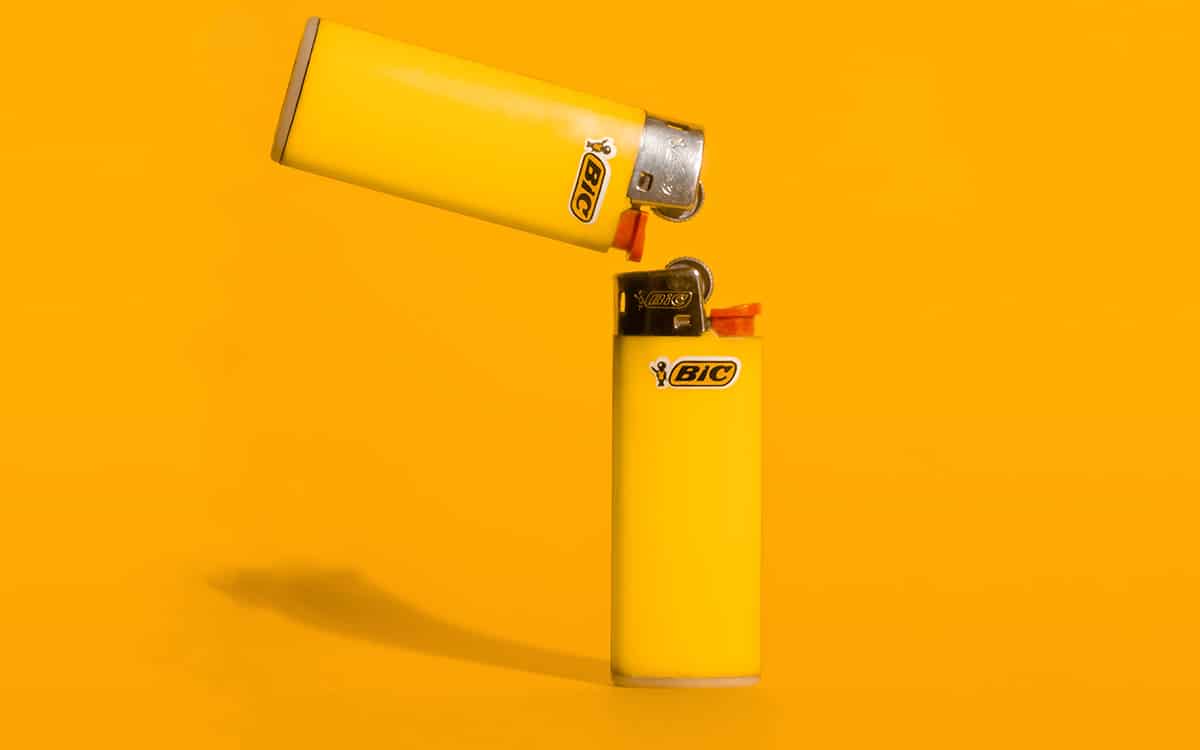
Step 7: Refilling the Bic Lighter
Position the lighter upright and get the butane canister. Hold the canister upside down and insert the butane nozzle on the output valve and press down for 20 to 30 seconds making sure there is proper contact. Before removing the canister, remove the wedged paper clip to shut off the output valve. Shake the lighter or push the fuel release to check if it was refilled. If not, make sure that the fork is lifted, and then refill it again.
Step 8: Re-assembly
To reassemble, turn the regulator wheel clockwise six to eight times. Insert the flint spring and a new flint in their slot. Make sure the flint is inserted last so it sits on top of the spring. Now carefully reinstall the spark wheel, making sure that the flint and spring are correctly in place. Before replacing the hood, try the lighter again to check the size of the flame. If the flame is too small or too large, you can adjust the regulator wheel to your desired flame size. Finally, replace the metal hood. Reinstalling the child lock is optional and does not affect the lighter’s functionality.
Electric Lighter Variant
 To refill an electric Bic lighter all of the steps above can be followed except the ones relating to the spark mechanism and the child lock. Some structures and designs are different and should be noted.
- Instead of a spark wheel and a flint, a spark is generated by a piezoelectric switch.
- In the electric variant, some types do not have a regulator wheel or have a different form of flame regulation.
- The fork is raised by the removable plastic button covering the piezoelectric switch, compared to a single piece lever button in the flint ignited lighter. Although, the fork can still be lifted by jamming a paper clip underneath it. This is important because it means that the electric lighter can also be refilled from the top.
Refilling a Bic Lighter from the Closed Bottom Port
Another option to refill a disposable Bic lighter is through the bottom port. If you do not want to mess with the top assembly, then you can try this method instead. Materials
- Plastic push pin with a flat top
- 3-5pcs rubber grommet that can fit the nozzle of your butane canister, or a thin elastic string
- Butane canister
- Empty Bic lighter
- File (for smoothing rough edges)
Step 1: Opening the port
To start, make sure you have an empty Bic lighter. Locate the closed off fuel insertion port at the bottom of the lighter and poke it with the pushpin. The small plastic cover should pop off, and shaking the body should produce a rattling sound. Remove the pushpin.
Step 2: Preparing the butane nozzle
 Use 3 to 5 rubber grommets and insert them on the nozzle of the butane canister. This is done to ensure that there is enough seal between the nozzle and the lighter fuel port. If you cannot find a rubber grommet that fits, tying an elastic string around the tip of the nozzle, and securing it can be used as an alternative. What’s important is to create a sealed contact between the insertion port and the nozzle.
Step 3: Refilling and closing the port
Place the pushpin on the table at arm’s length. Position the lighter and the butane canister upside down. Match up the nozzle with the insertion port and press down for 20 to 30 seconds. After this, remove the canister and quickly cover the port with your thumb. Get the pushpin, and get ready to plug the hole quickly. This step should be done quickly to prevent too much loss of fuel. Insert the whole length of the pushpin. Cut the protruding end and file it to make it smoother and prevent it from getting snagged in the pocket. Lighters are extremely handy and easy to use. Preppers should always have one on hand and in their kits. In an SHTF situation, having a lighter with you can mean an emergency source of light, and a faster way to make fire, which depending on the situation is critical for survival. Disposable lighters can easily break and eventually run out of fuel. This is why it is also important to stockpile lighter fluid and to learn how to refill disposable ones. Knowing the moving parts can also mean that you can potentially repair a broken lighter. An indispensable knowledge and skill for a critical situation.